Earlier we wrote on how you can view file and folder path on Mac using Finder. Today, we are going a step further and explain how you can quickly copy file or folder path from Finder on Mac. There are multiple ways to get it done, and I’ll leave it on you which one to use depending on your requirements.

In total, there are three ways to copy file and folder path from Finder. First is with a keyboard shortcut, second is using the Terminal, and the last one is using the Automator app and creating a permanent service. We will discuss all three in details, so let’s get started.
How to Quickly Copy File or Folder Path in Finder on Mac
- How to Copy File or Folder path in Finder on Mac using Keyboard shortcut
- How to Copy Path from Finder on Mac using Terminal App
- How to Copy File or Folder Path Using Automator App
Copy File or Folder path in Finder on Mac using Keyboard shortcut
Step #1. Open Finder on your Mac and then navigate to file or folder and click it to select.
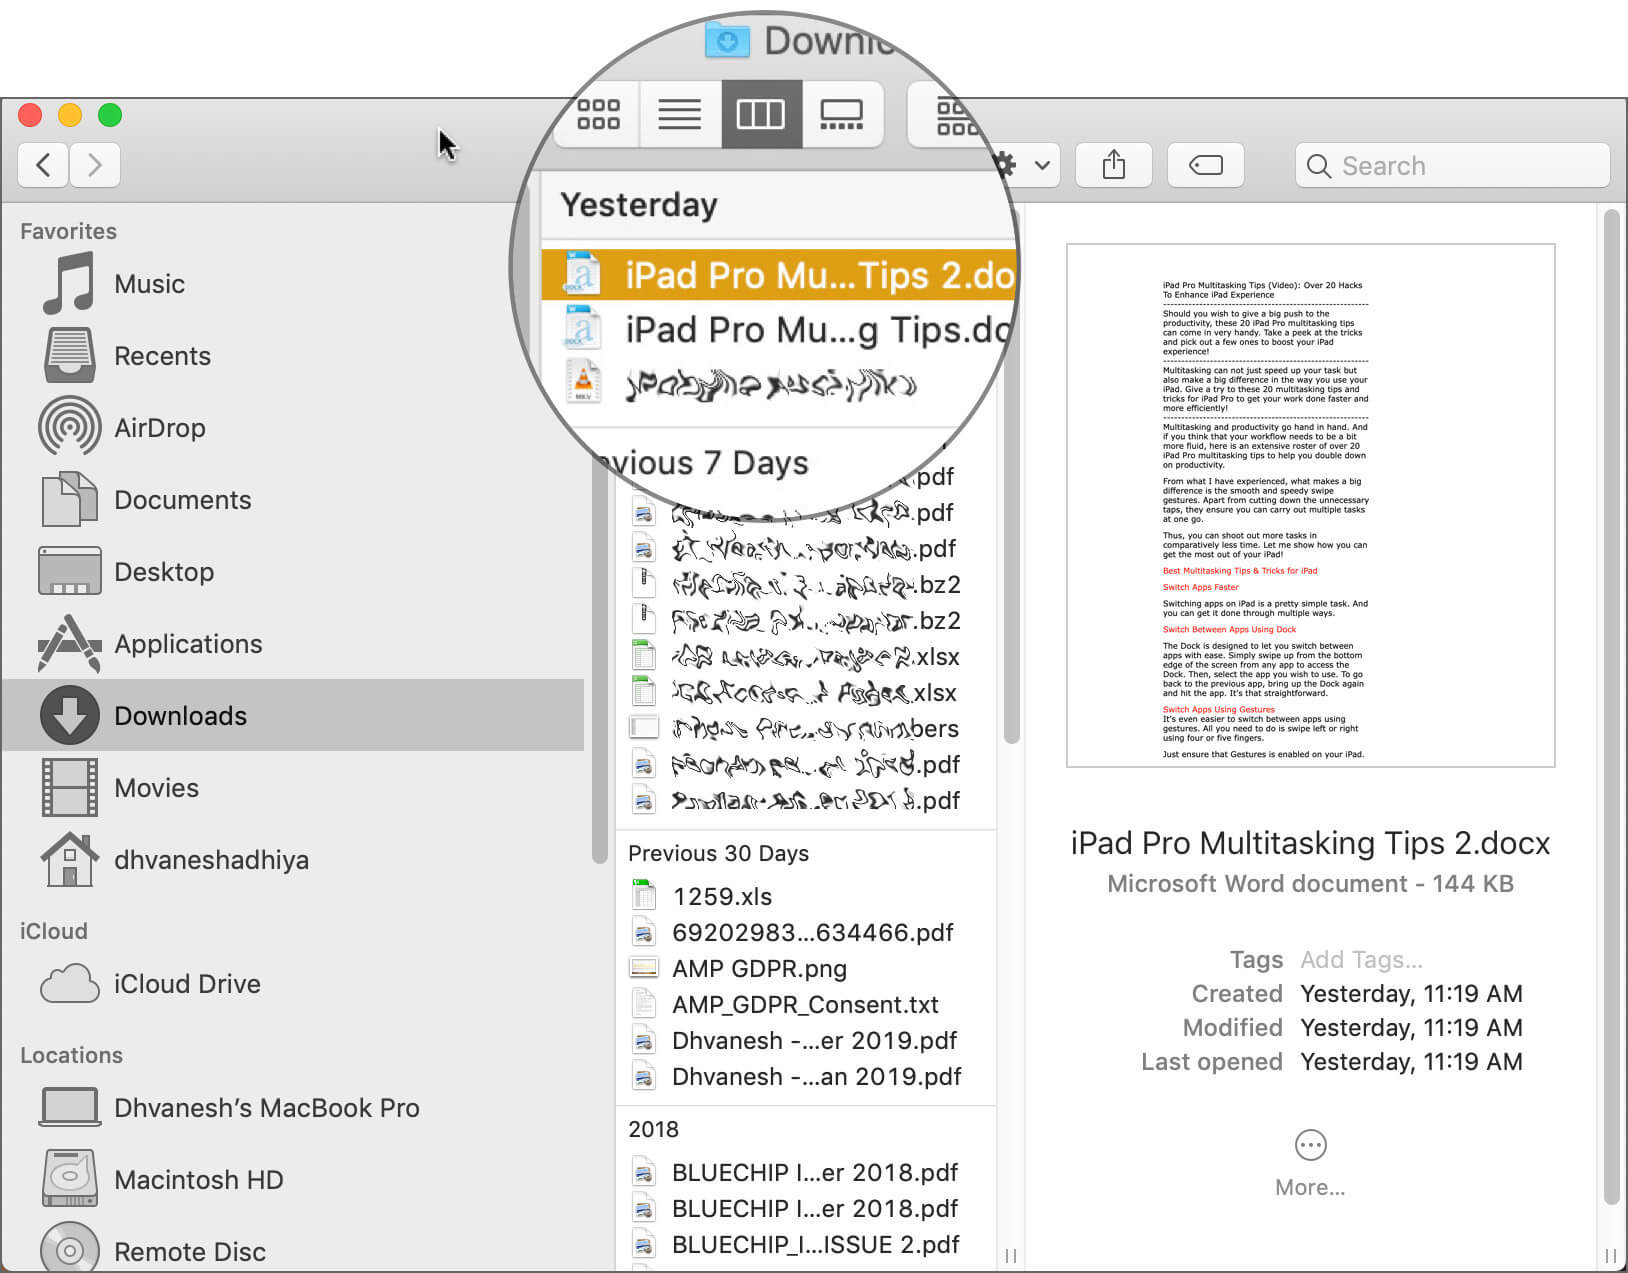
Step #2. Now press Command (⌘) + I. It will open the Get info window of the file or folder.
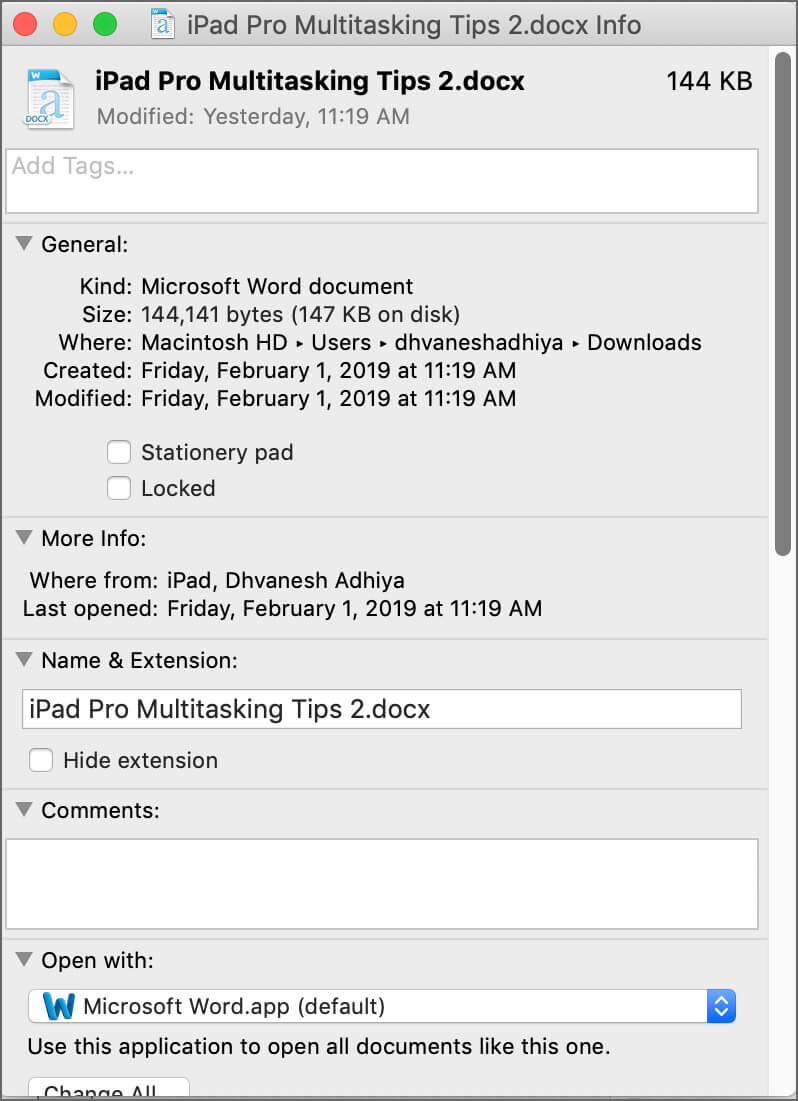
Step #3. Triple-click the file path beside “Where” to select it.
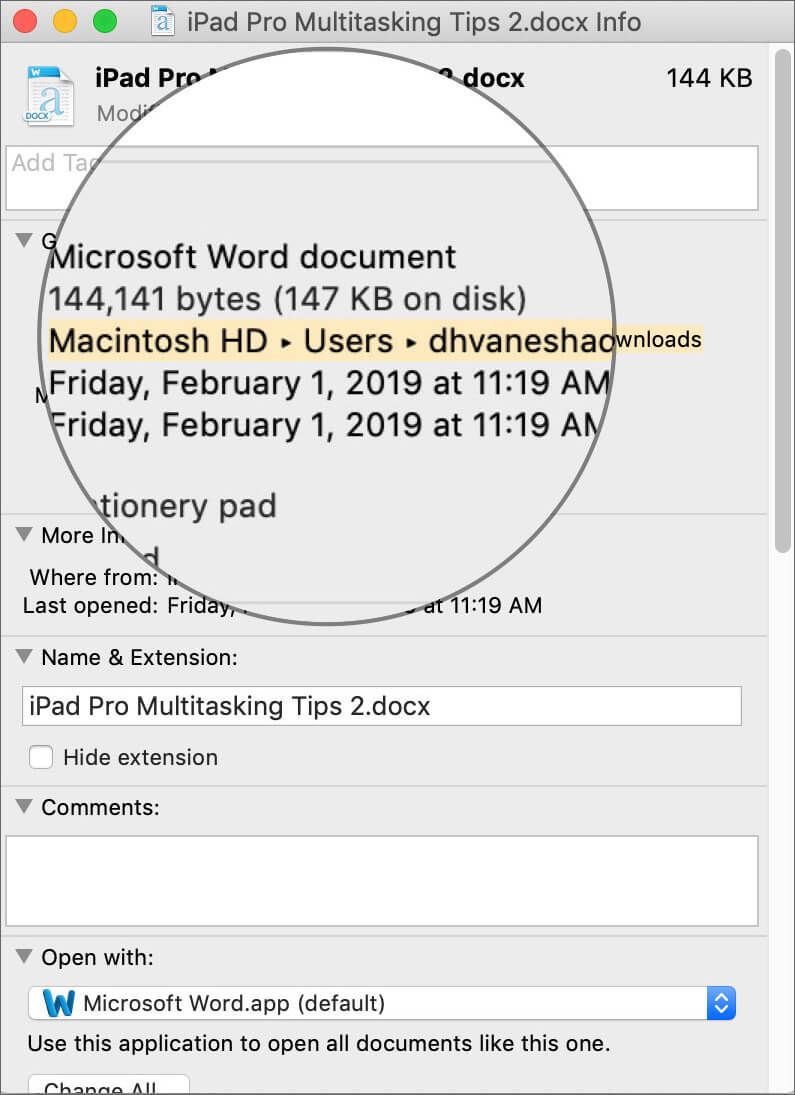
Step #4. Now press Command (⌘)+C to copy the file or folder path. You can paste the same using Command (⌘)+V wherever it is required.
That’s it. It was easy. Now let’s see how you can do the same using Terminal.
Copy Path from Finder on Mac using Terminal App
Step #1. Like we did in the above guide, open Finder app and navigate to file or folder for which you need to copy the path.
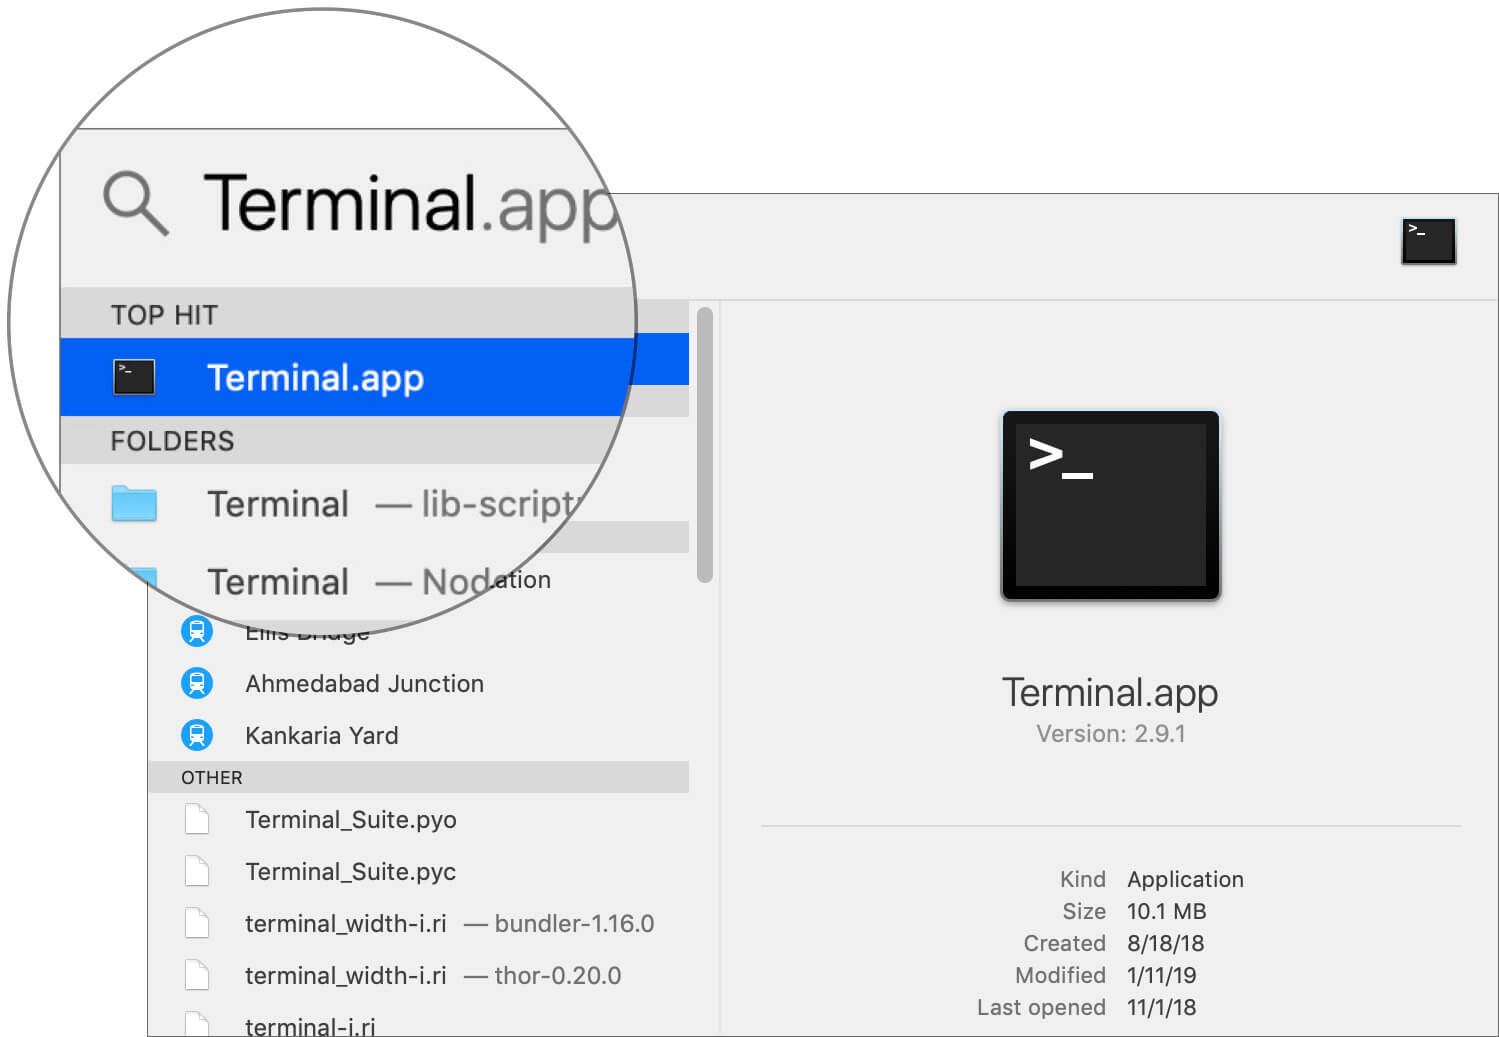
Step #2. Now open the Terminal app. The easiest way is either using Spotlight search or using the Launchpad.
Step #3. You now need to drag the file or folder inside the Terminal app. It will instantly show the path.
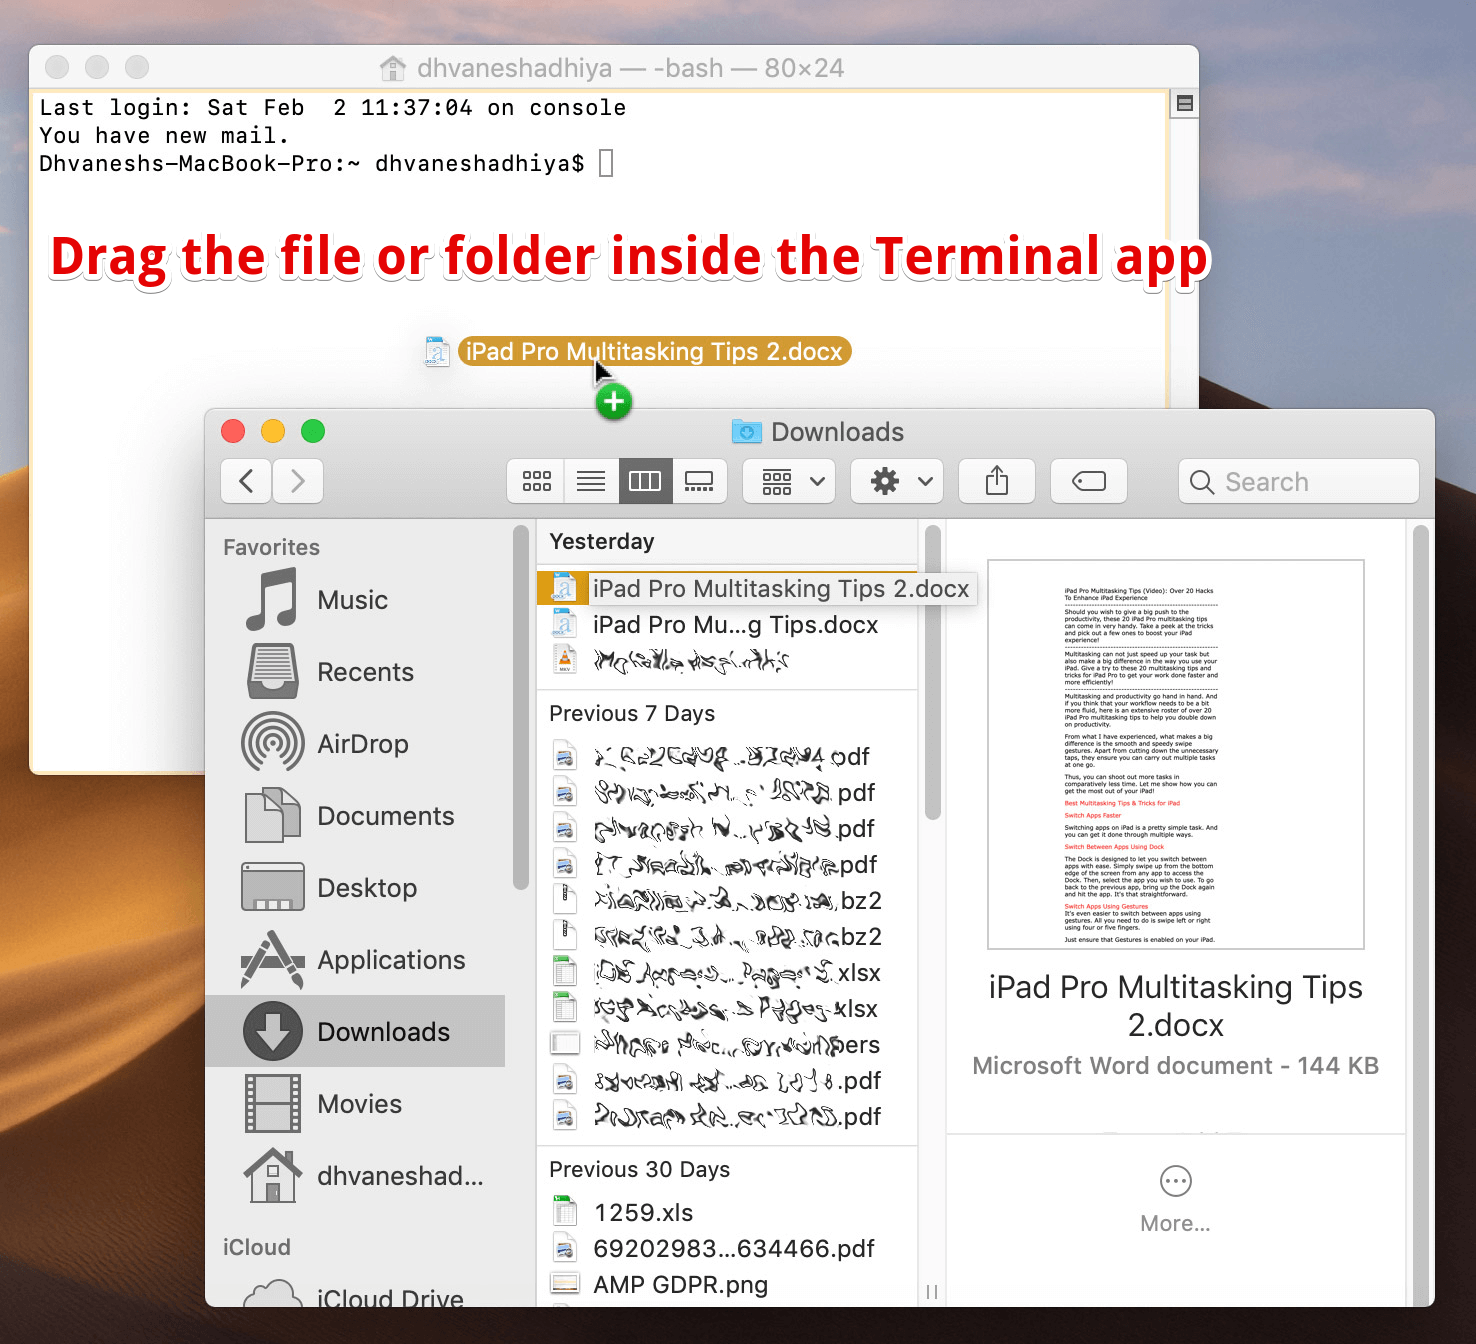
Step #4. All you need to do now is to select that path and then copy it. You can then paste it anywhere you wish to.

Using the Terminal app to copy path is not an ideal way of doing the job. Unless you wish to open that respective folder in the Terminal itself, it’s a lengthy process to copy the file path. The easiest and the permanent solution is by creating a service in Automator app. Let’s see how to do it.
Copy File or Folder Path Using Automator App
Step #1. Unlike the two processes above, you won’t need to open the Finder app. Instead, open the Automator app on your Mac.

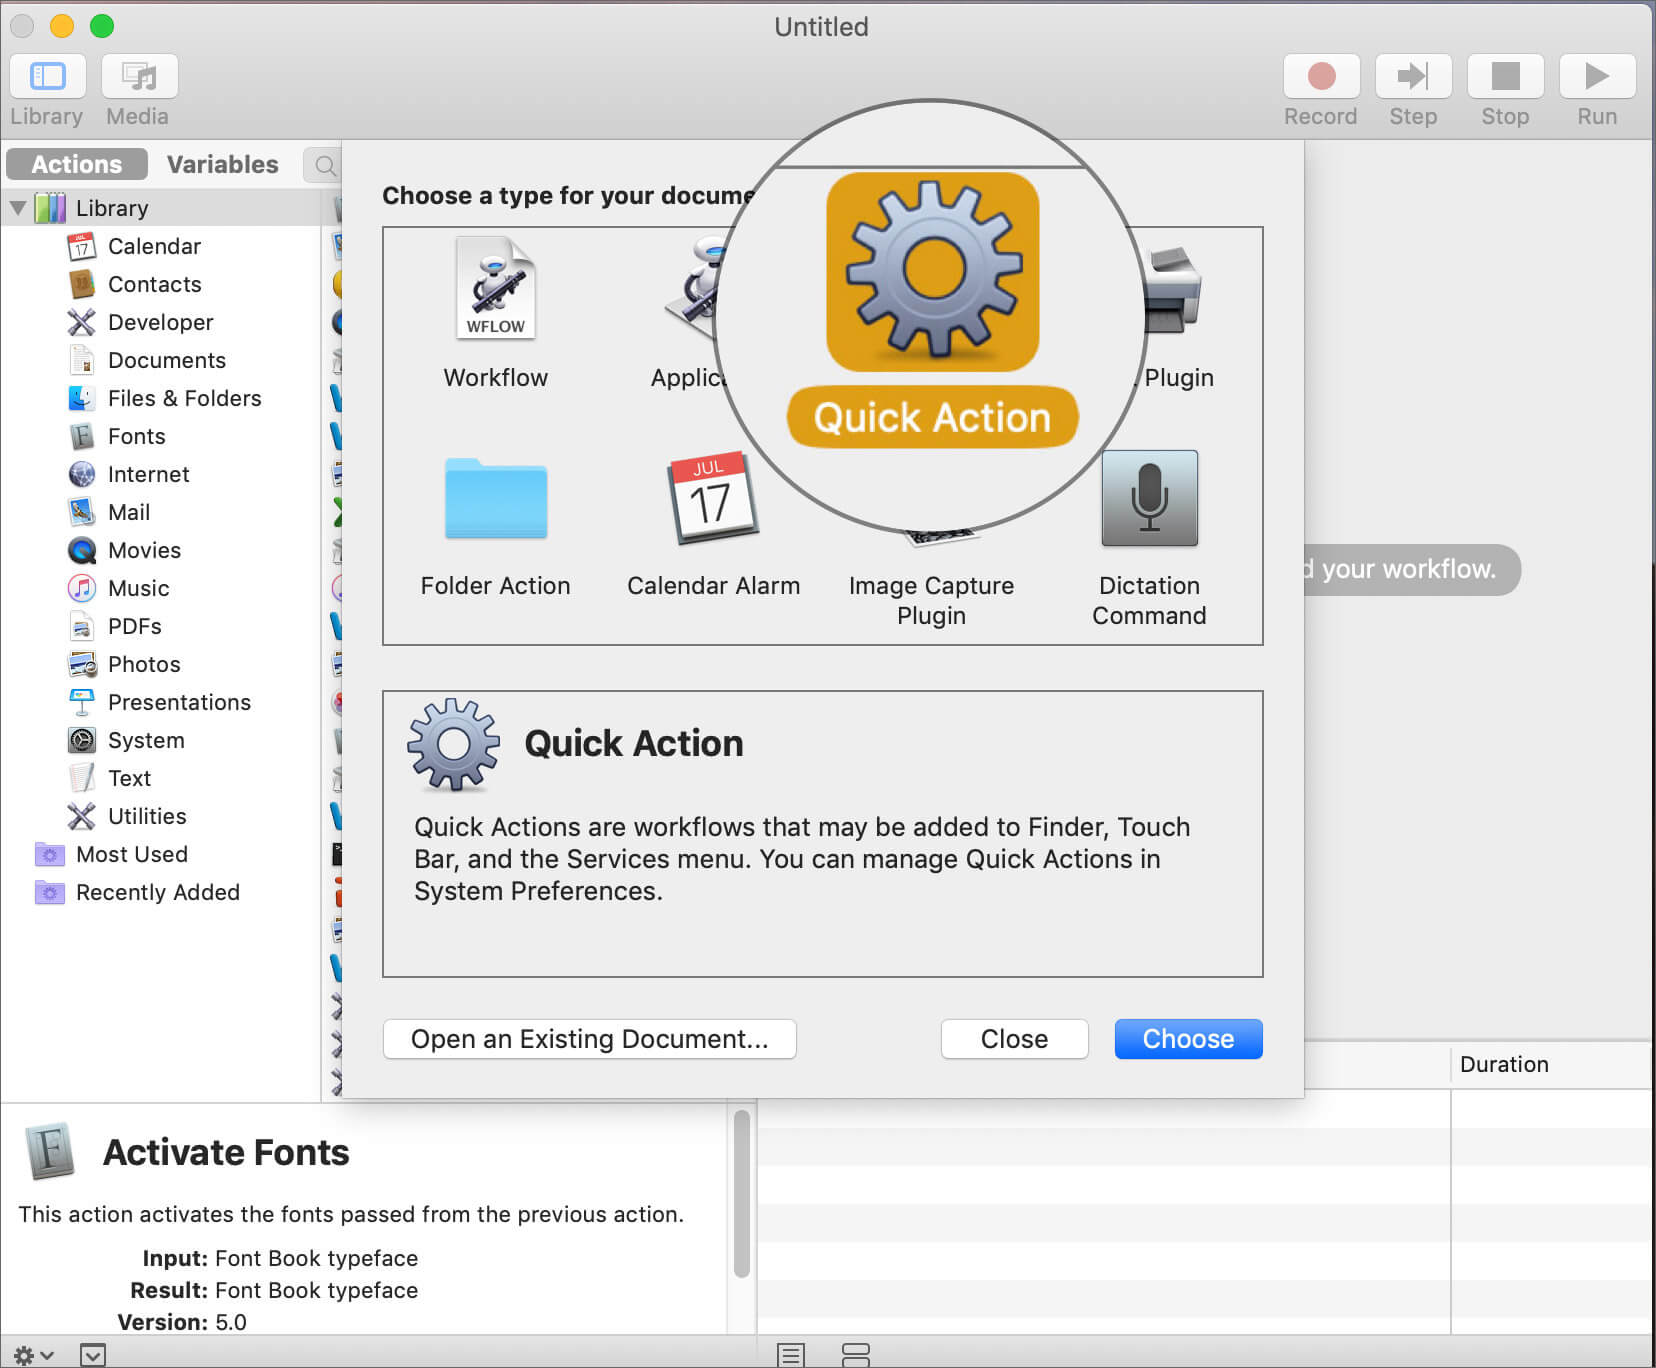
Step #2. If you are not presented with the new file creation window by default, launch it by pressing Command (⌘) + N on the keyboard and then double click on “Quick Action.”
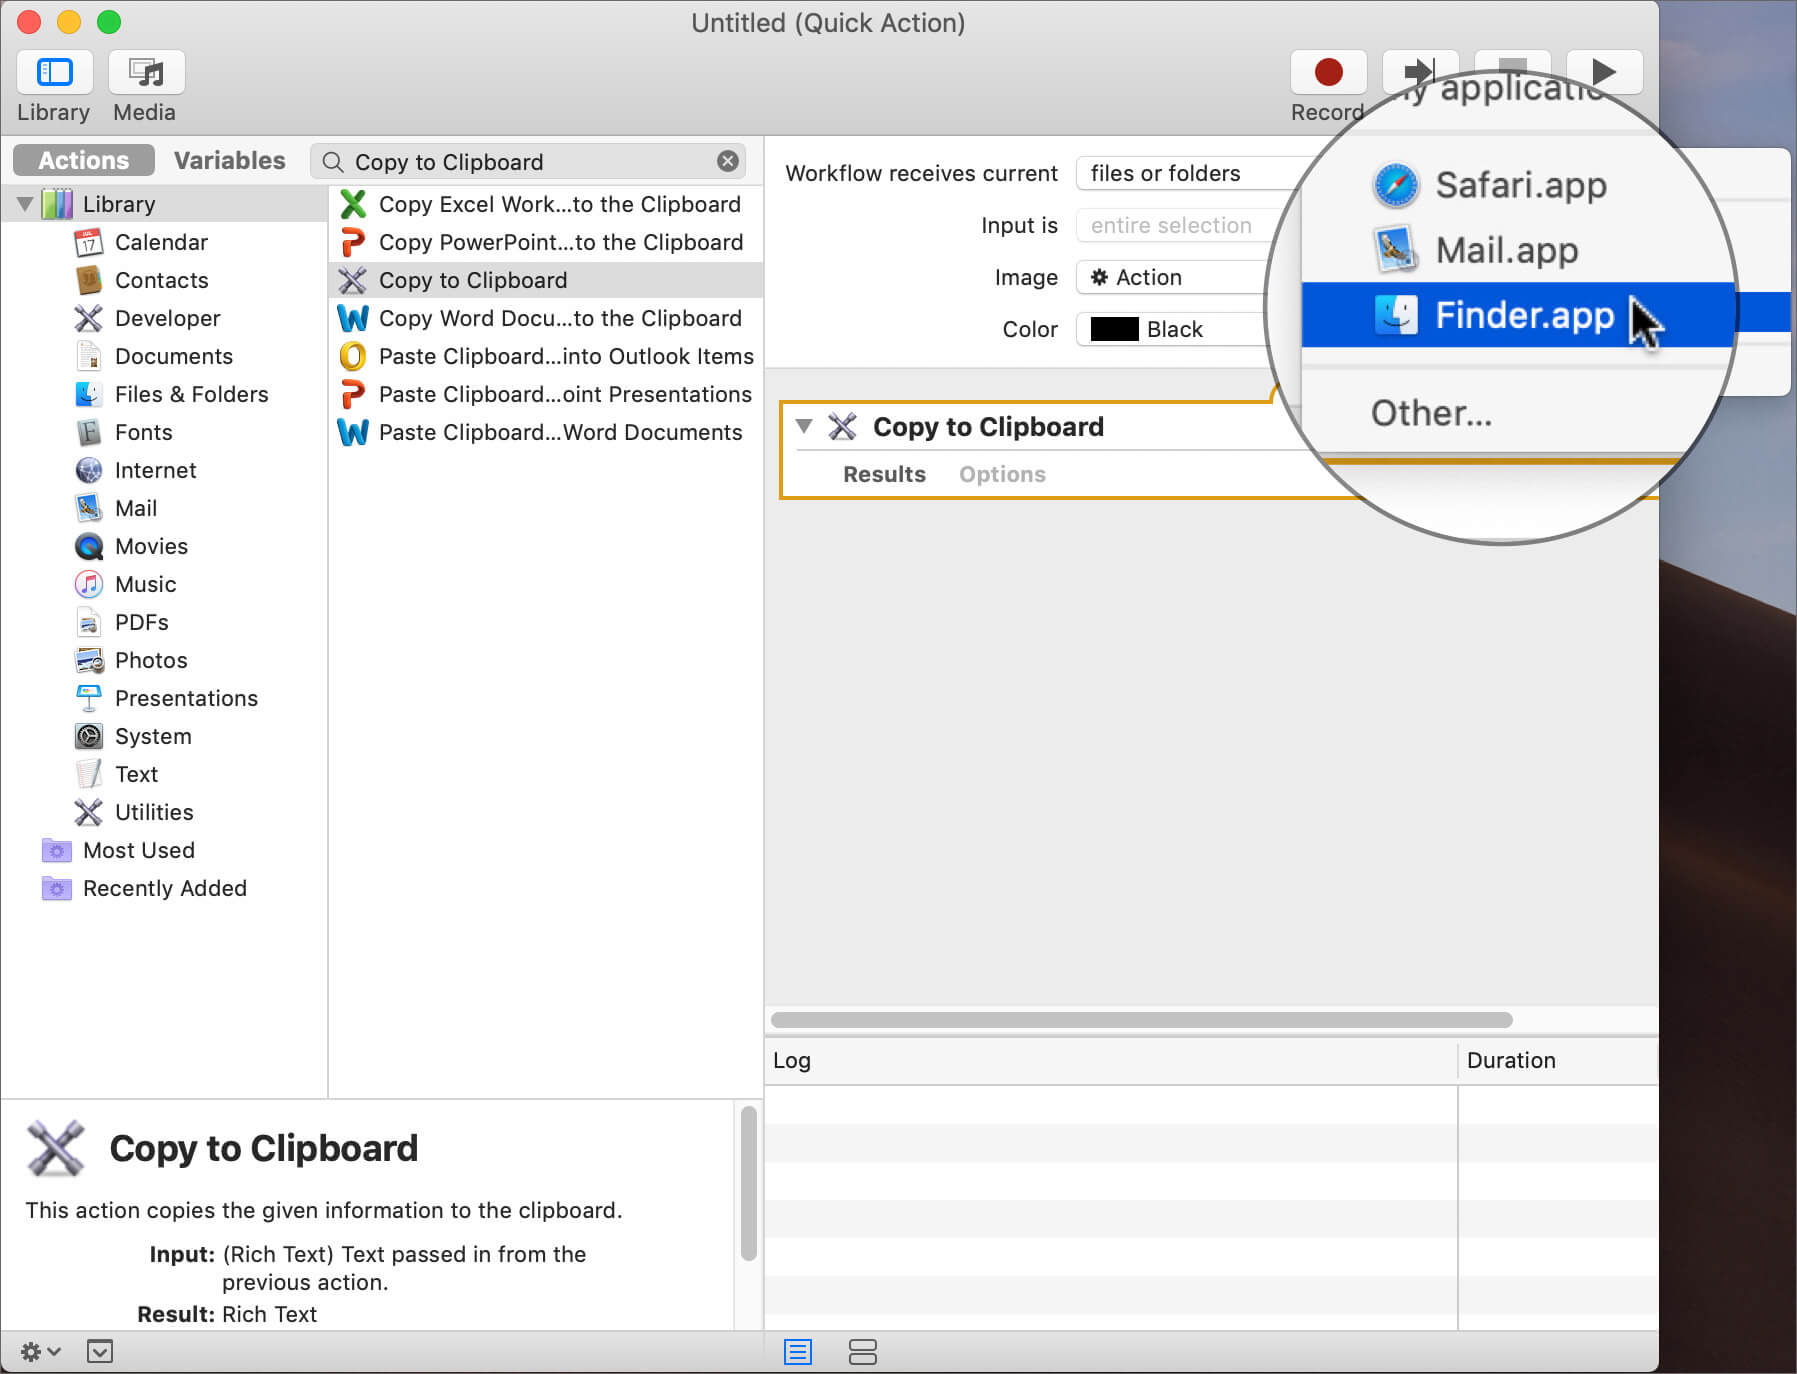
Step #3. On the left sidebar, in the input box beside “Variables;” type “Copy to Clipboard.”
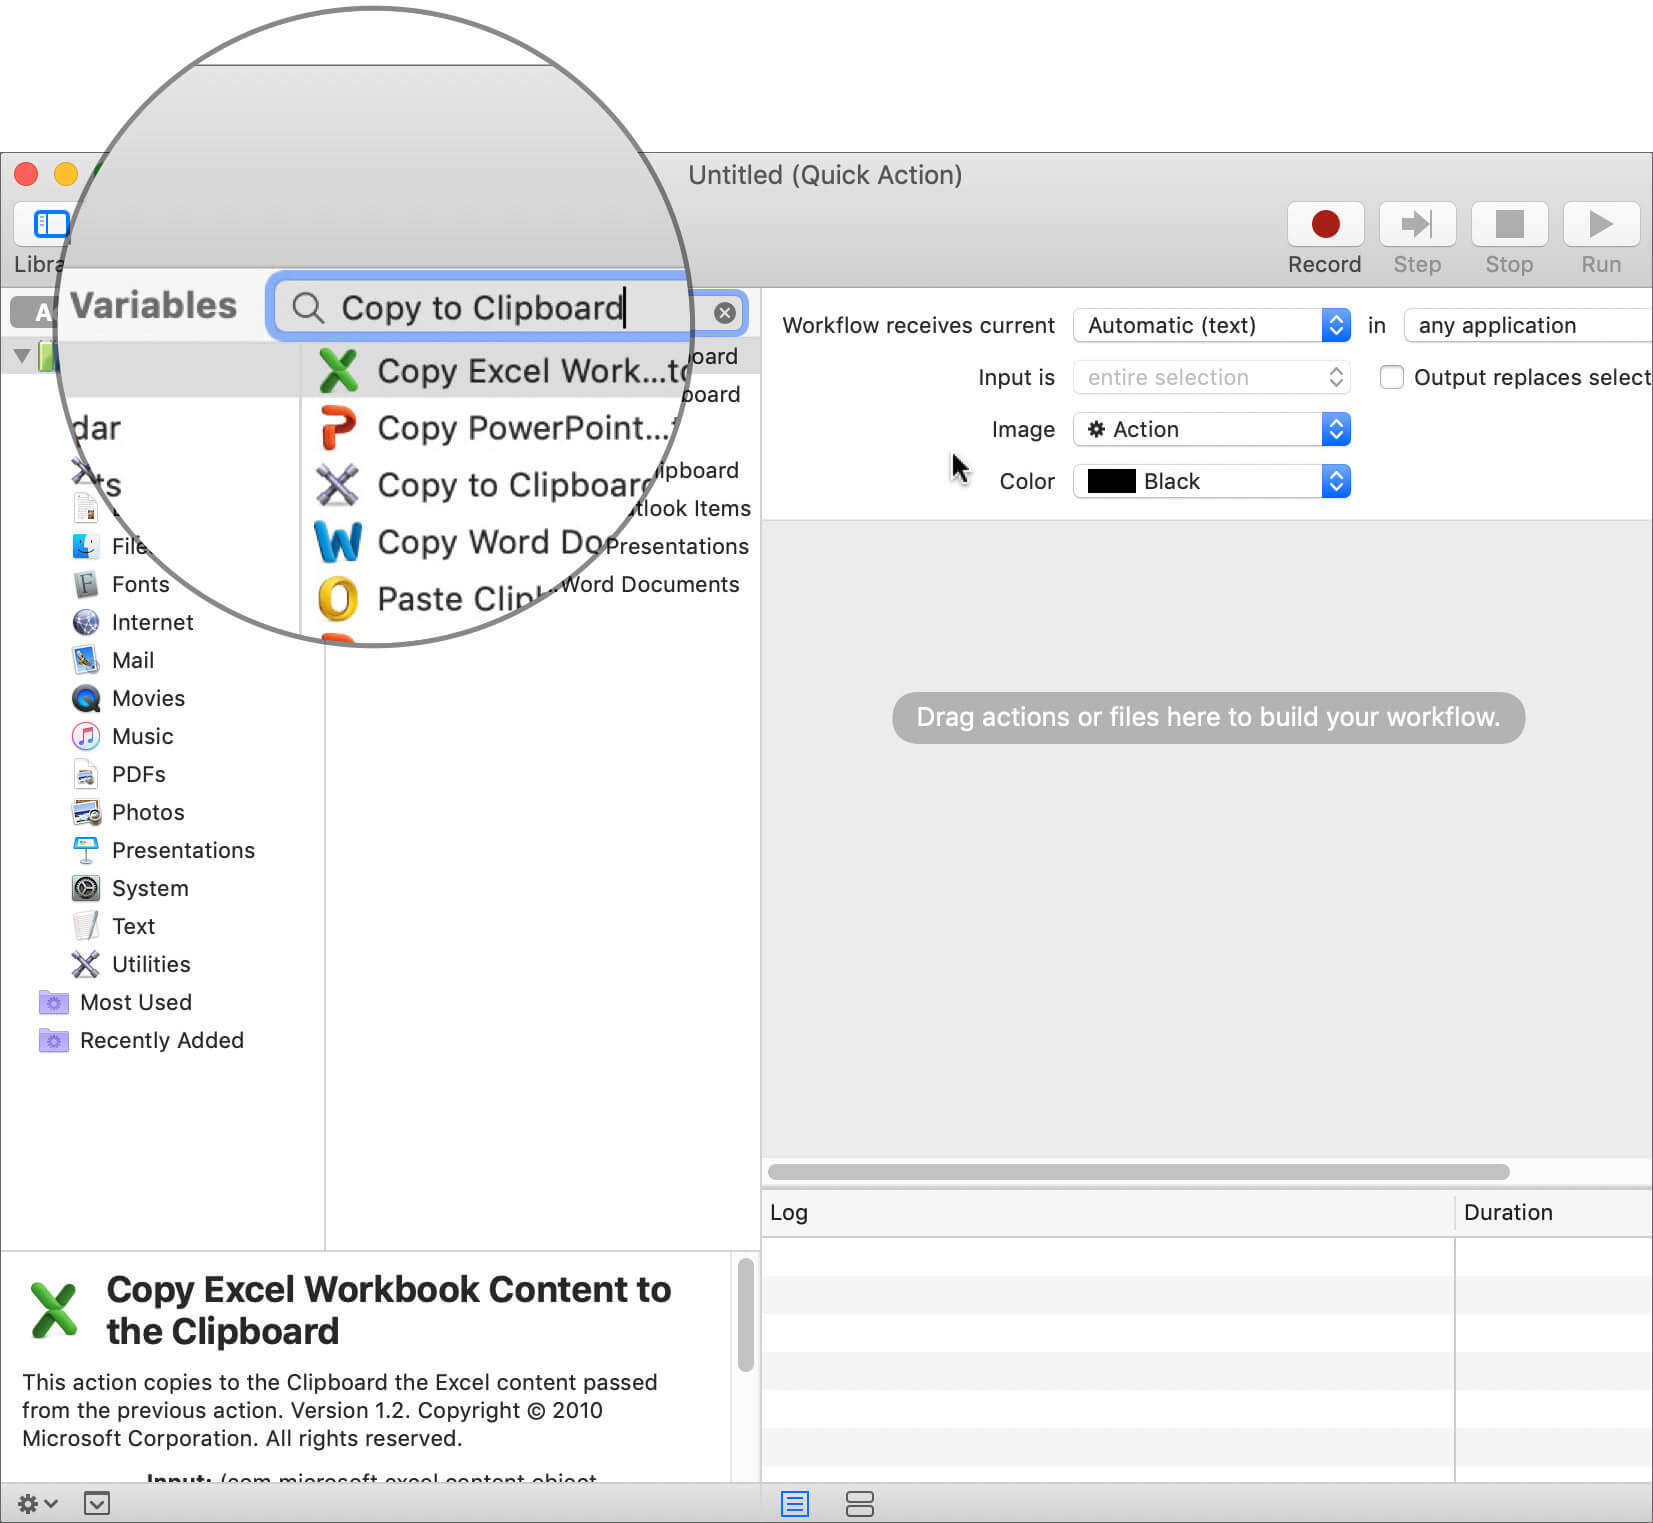
Step #4. Now drag the Copy to Clipboard option from the left sidebar to the right side.

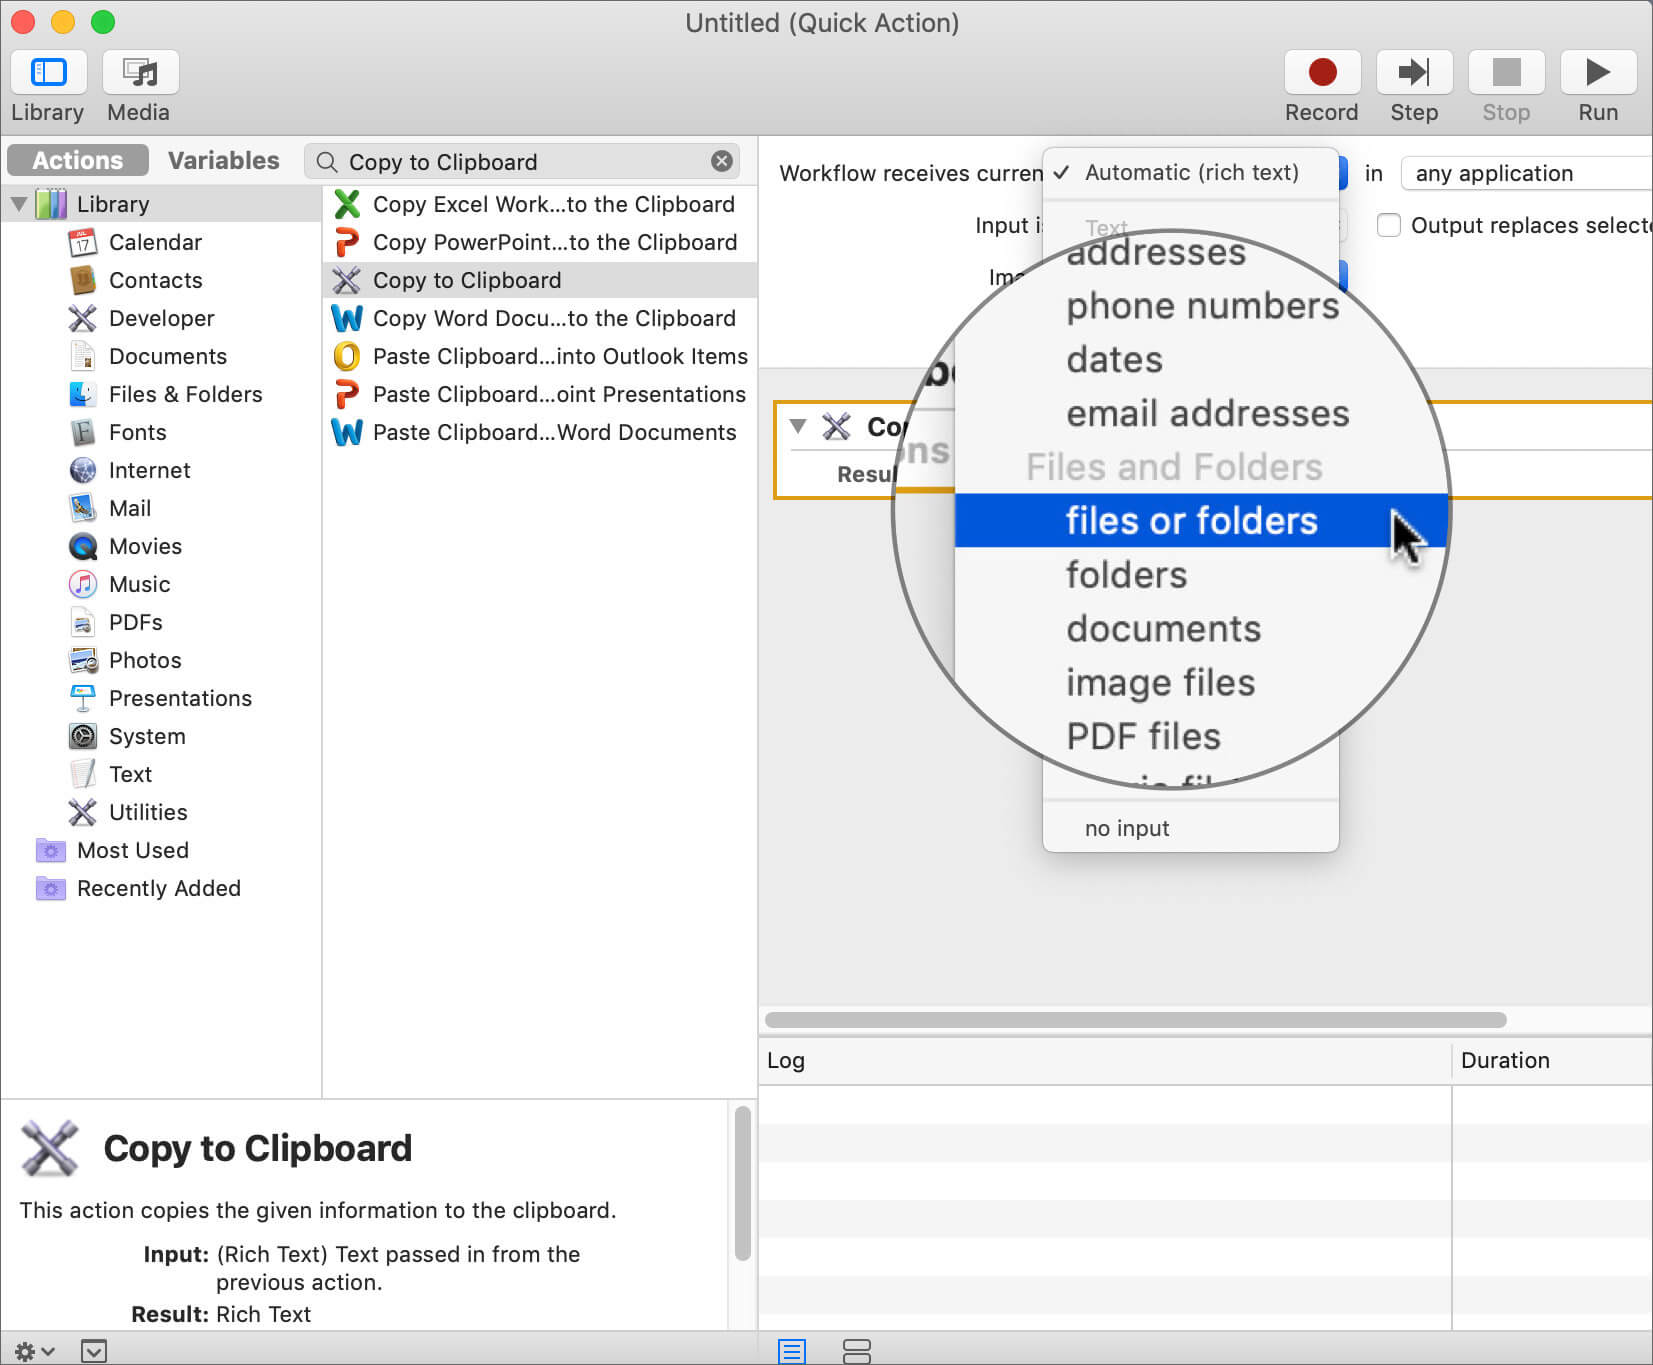
Step #5. On the right sidebar, select files or folder from the dropdown menu beside “Workflow receives current.”” And select “Finder” from the dropdown menu beside it.
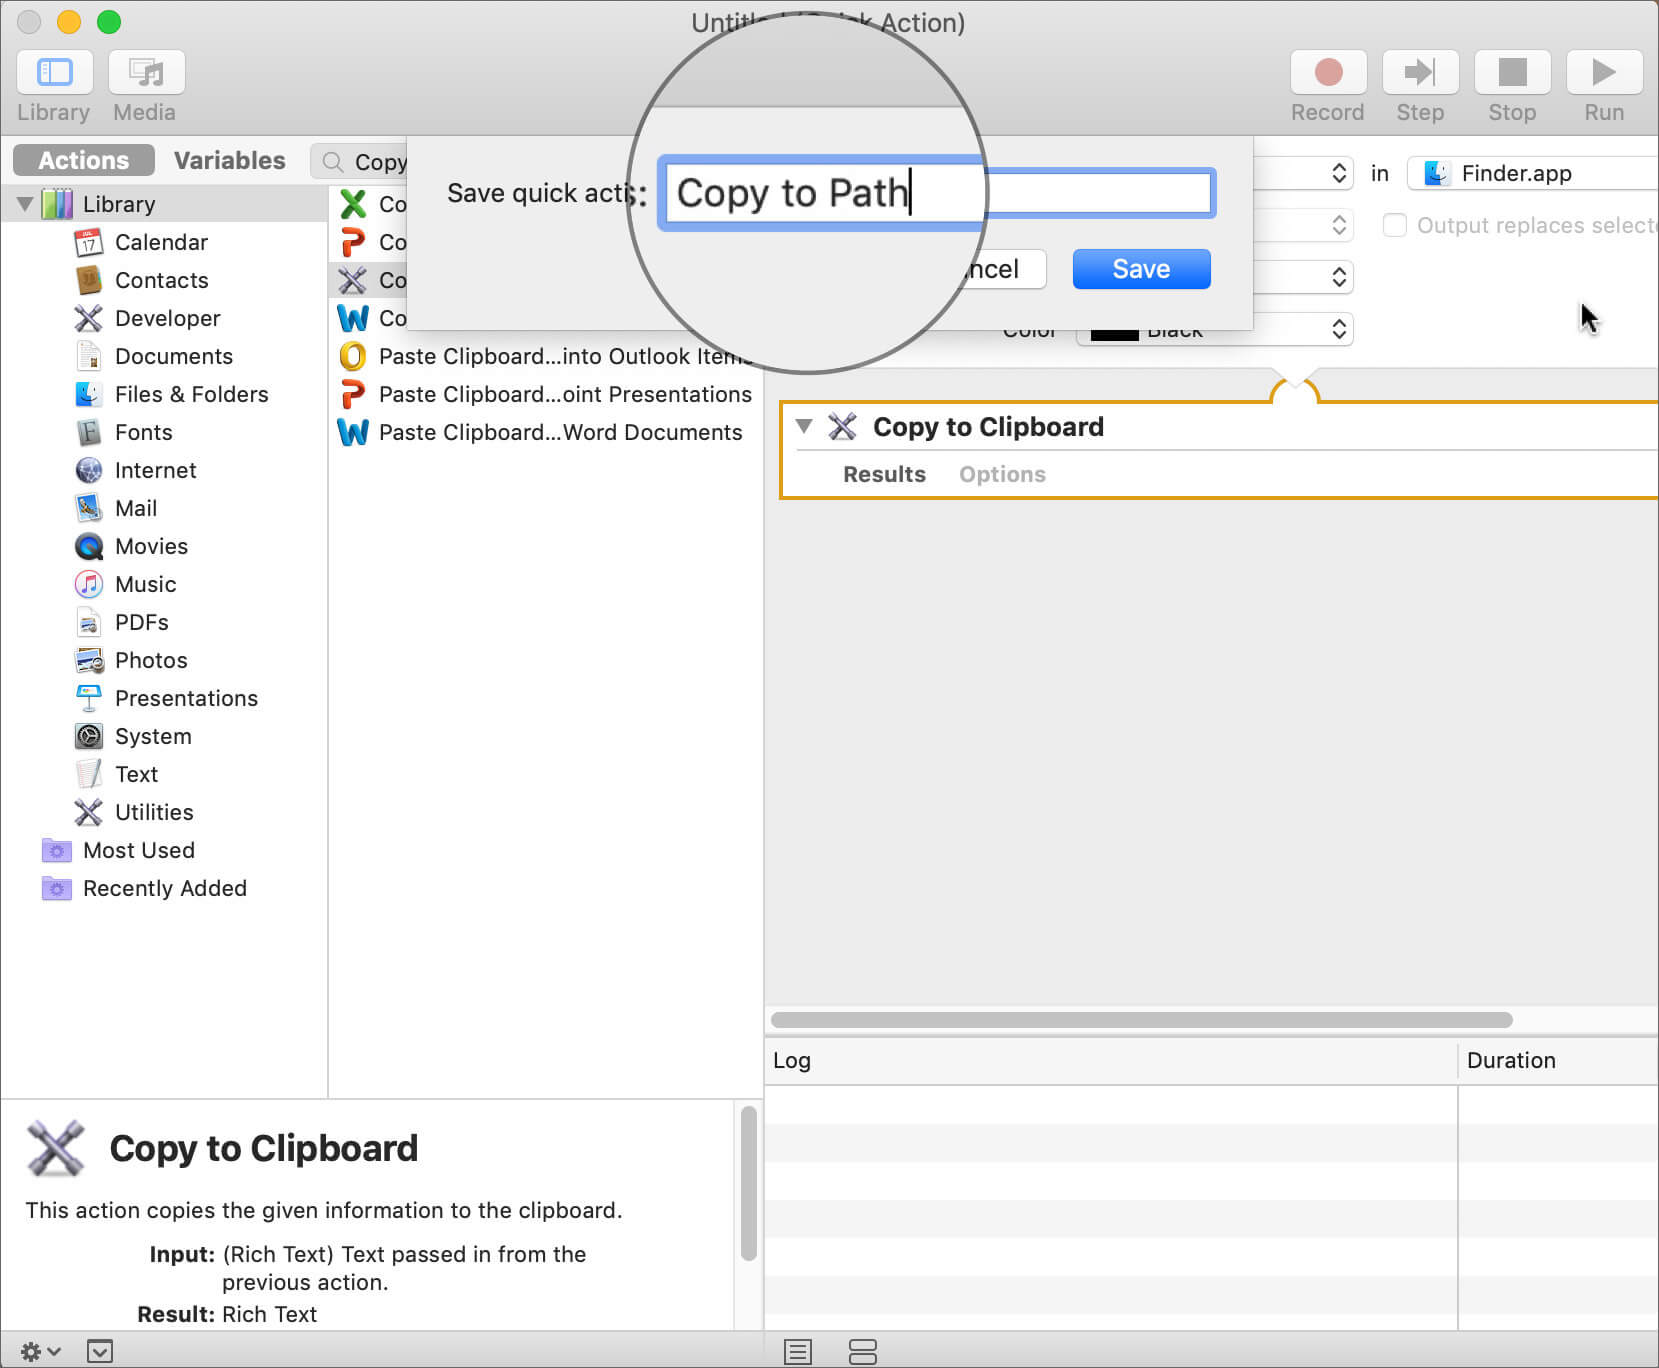
Step #6. Press Command (⌘)+S to save the service. Name it as Copy to Path to identify it quickly. You can name anything you like; there’s no rule for it.
Step #7. Now open the Finder app and right-click on any file or folder. You’ll notice a new option “Copy to Path.” It is the service we created.
The name of the option may differ if you have used something else in step #6. Click the option to copy the path.

Easy, isn’t it? Out of all the three processes, the last one is permanent and also easy to operate. It does require one-time setup, but later on, things are easy.
Signing Off…
Finding a path helps us navigate and manage the file structures efficiently. Especially, if you work on multiple apps simultaneously, efficient file management system helps in getting things done a lot quicker. Whatever may be the reason, these three ways to copy the file and folder path will indeed be helpful.
You may also like to explore:
- How to Show a File Path in Spotlight Search on Mac
- How to bookmark a folder in Finder on Mac
- How to Find iPhone Backup Location on Mac & Windows
- 3 Ways to Check Folder Size on Mac
Do you know of any other way to quickly copy file and folder path on Mac? Do share it with us in the comments. And yes, don’t forget to stay connected on Facebook, Twitter, and Telegram.
