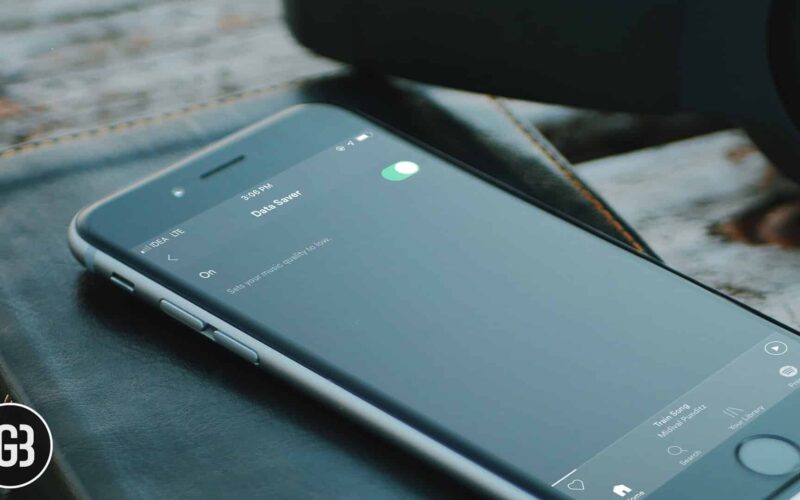
Your Spotify music streaming is taking a heavy toll on your limited bandwidth. As a result, your cellular data plan runs out of steam well before the deadline. Finding the total data consumption a bit too high, you are looking for some ways to cut down the mobile data consumption without putting a break on music streaming.
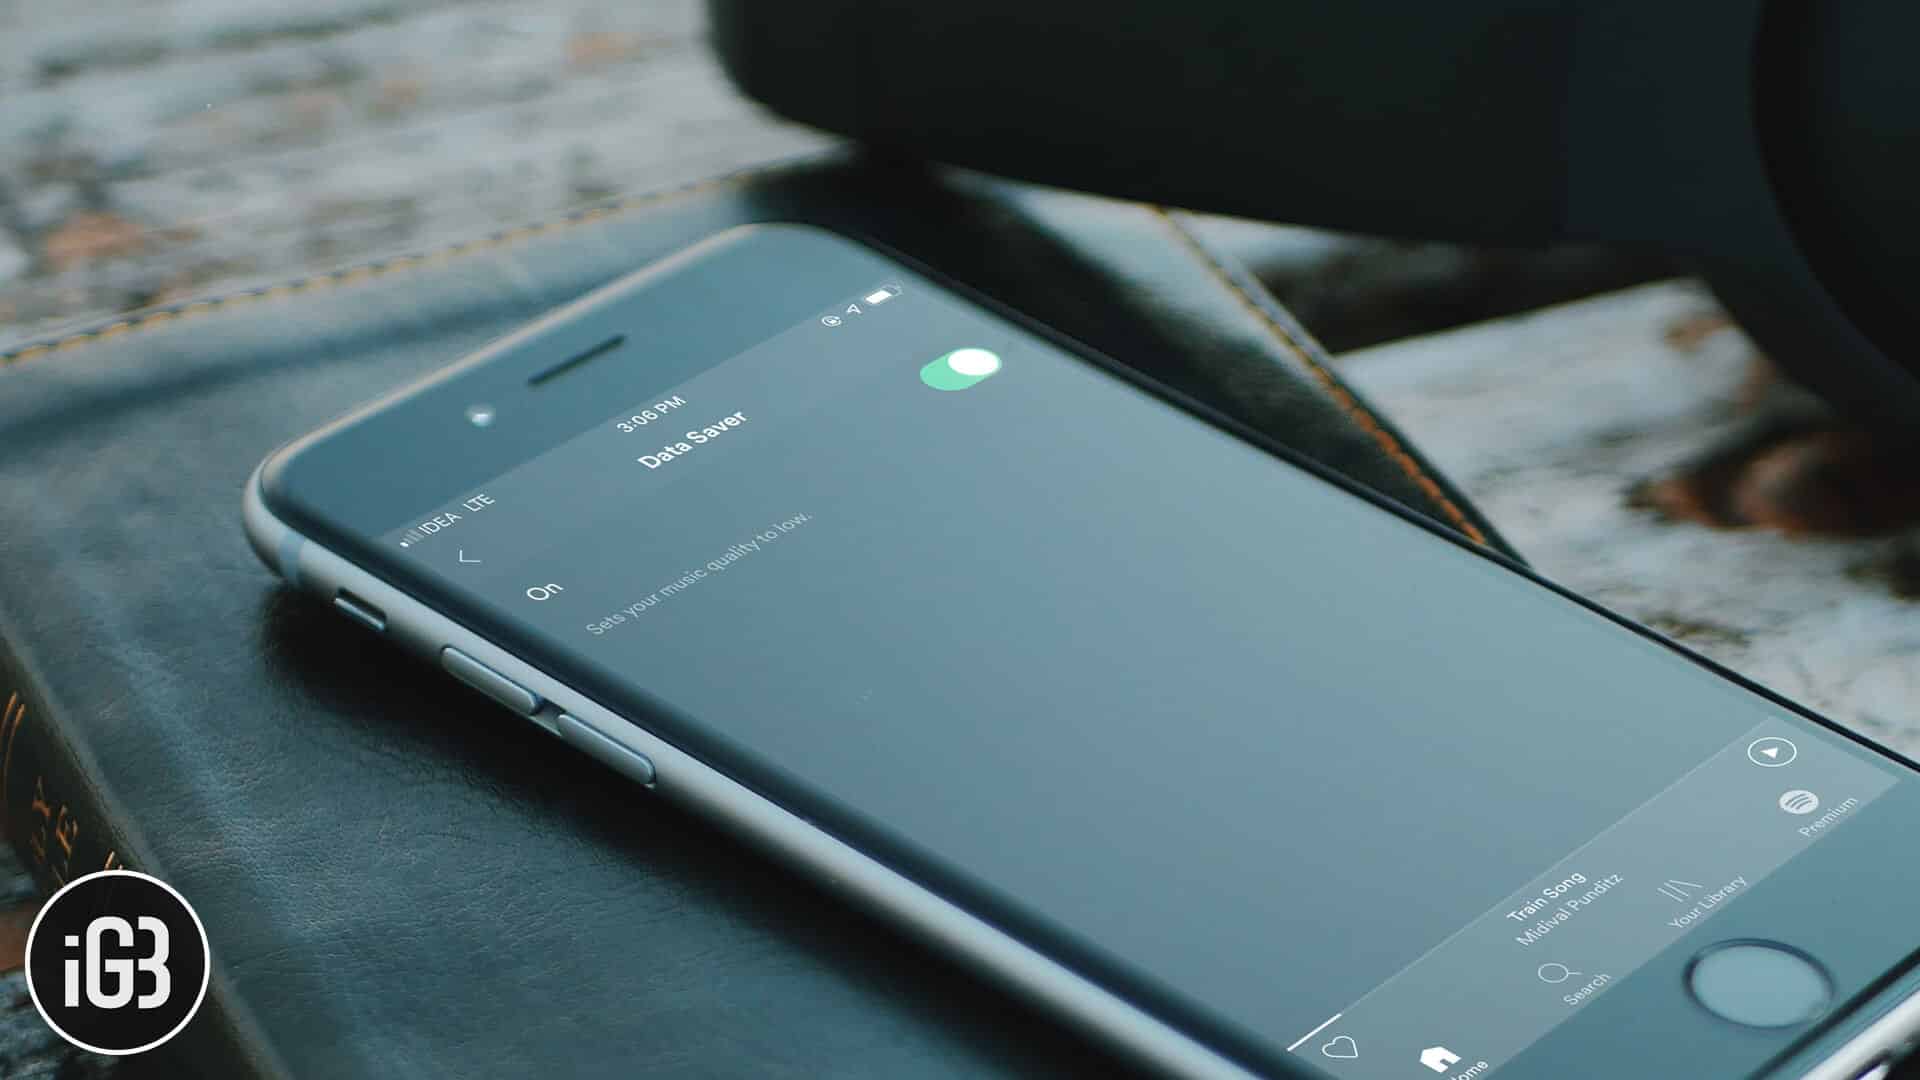
Relax! The music app offers you the desired freedom to tweak the music quality to suit your different needs. For instance, you can turn on Spotify data saver on your iPhone to stream low-quality music (equivalent to 24 kbit/s).
What’s more, the app also allows you to go for normal quality, which would be a preferred option–just in case you wish to play safely. Let’s jump right in along with me to enable the data saving feature in Spotify for iOS!
How to Turn ON/OFF Spotify Data Saver on iPhone
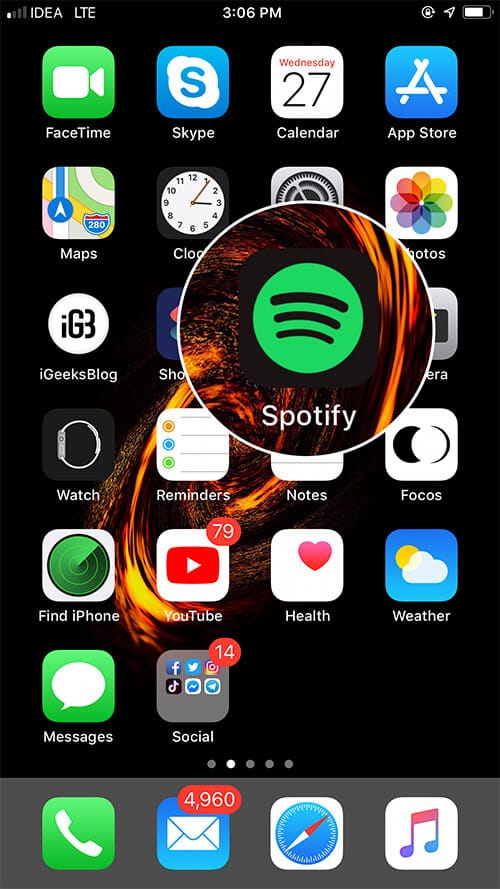
Step #1. Launch Spotify on your iOS device.
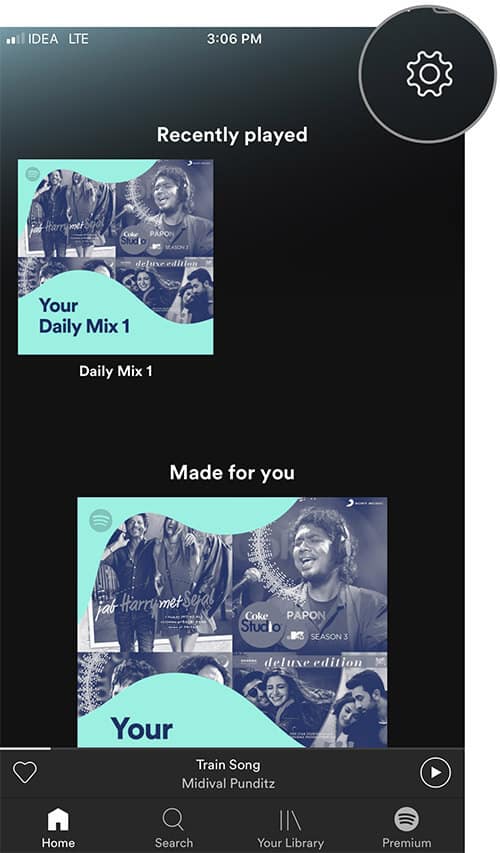
Step #2. Now, tap on the Settings icon at the top right corner.
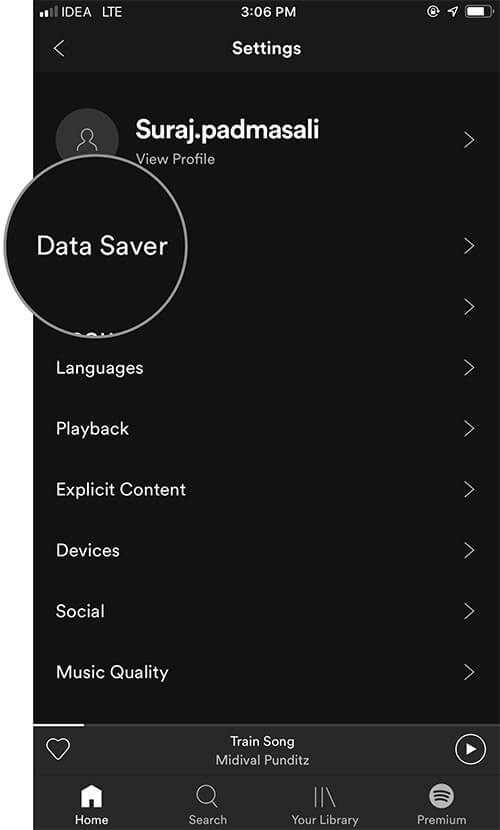
Step #3. Next, tap on Data Saver.
Step #4. Finally, turn on the switch.
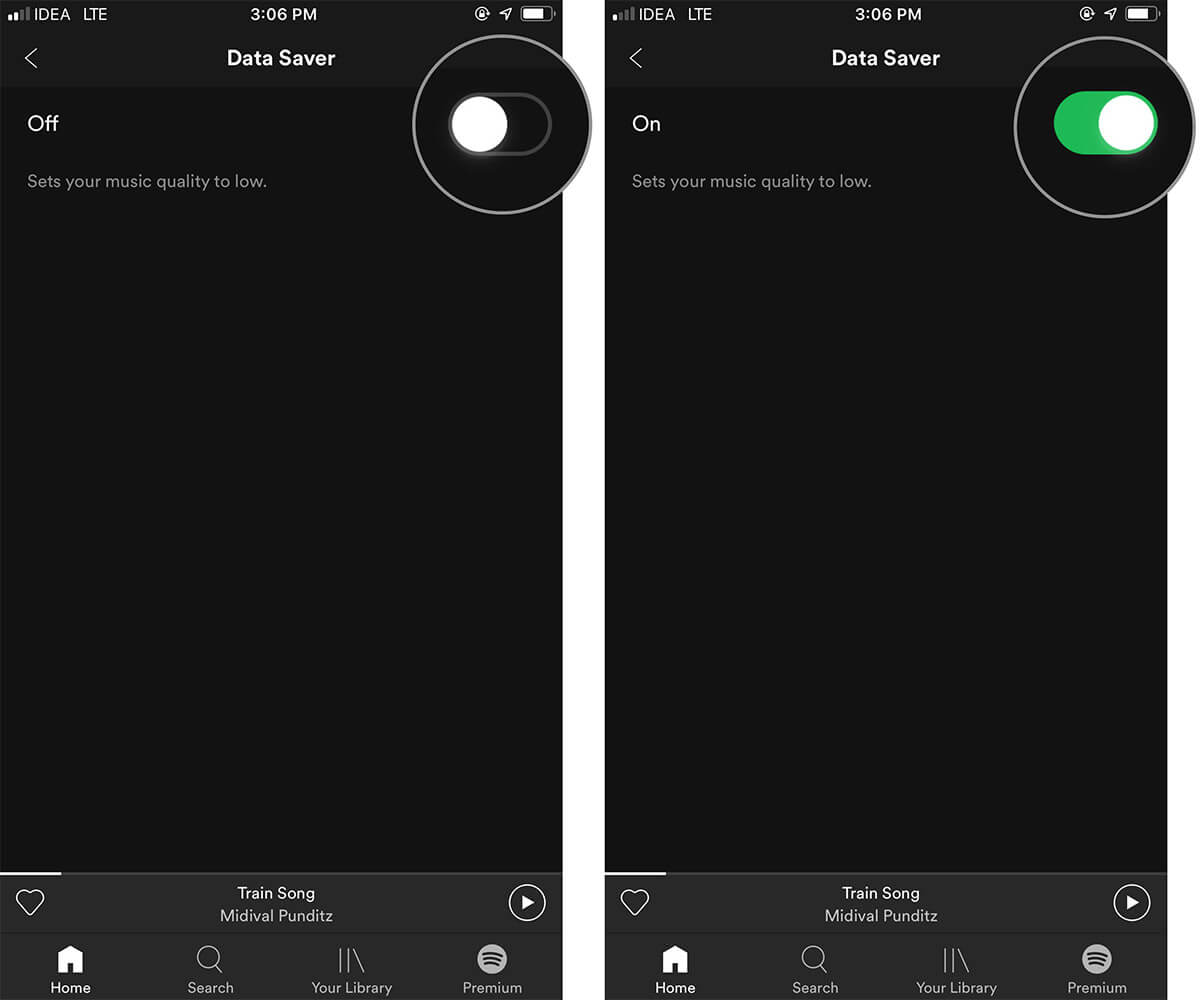
Now, it will set your music quality to low to ensure streaming won’t eat up plenty of cellular data on your device.
Later, if you think that you have enough data to enjoy high-quality music, follow the same steps mentioned above and then turn off the Data Saver switch in the end.
Become an iGeeksBlog Premium member and access our content ad-free with additional perks.
Choose From Different Music Quality in Spotify on iOS
Spotify lets you choose from multiple music qualities like Low, Normal, High, and Very High. While normal quality is equivalent to approximately 96 kbit/s, the very high is equal to 320 kbit/s.
So, based on your specific taste, you can switch between the available options to not only cut down data usage but also relish music.
Step #1. Open Spotify on your iOS device → tap on Settings icon at the top right.
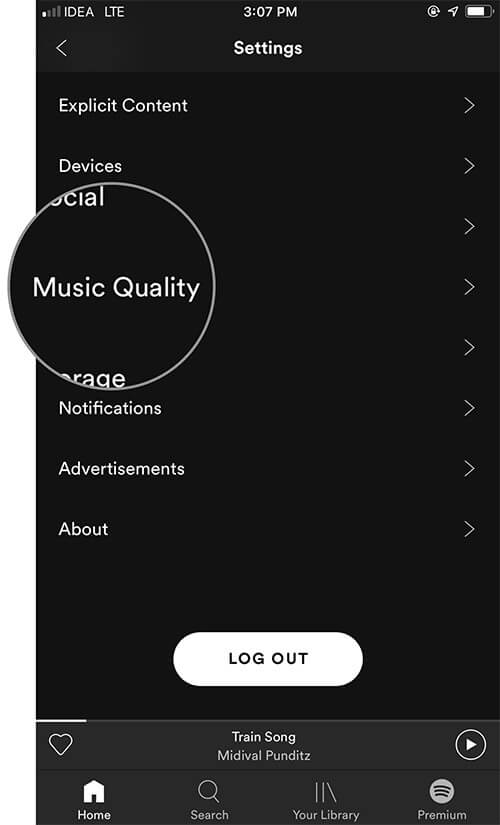
Step #2. Now, tap on Music Quality.
Step #3. Next, the Automatic (recommended) quality is chosen by default.
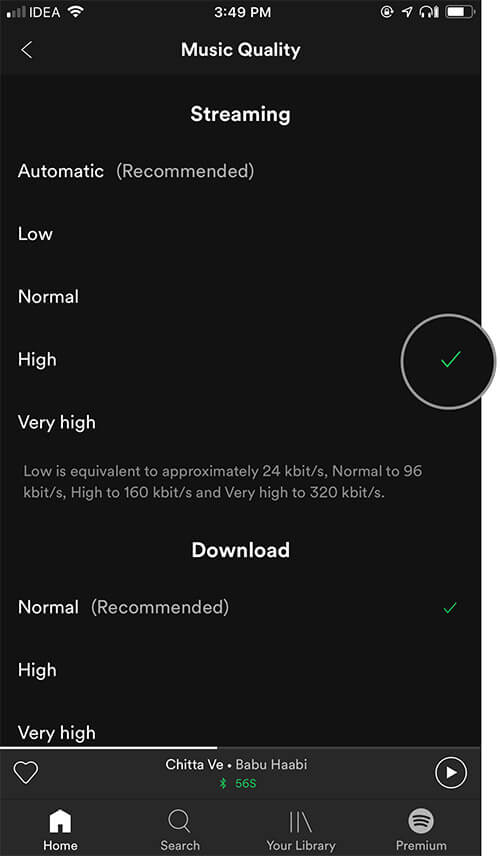
Now you have four options:
- Low
- Normal
- High
- Very High
You can select any of the available options.
Note: Only the premium version of the app will let you stream music in the very high quality.
That’s pretty much it!
Wrapping Up…
So, that’s how you can prevent music streaming from gobbling up a lot of data on your device. As the app offers multiple options to customize the music quality, take advantage of them to help cellular data survive until the deadline.
If you want to go even further, try out the best data tracking apps to never let any app drain out your limited bandwidth.
You’d like to have a look at these posts as well:

