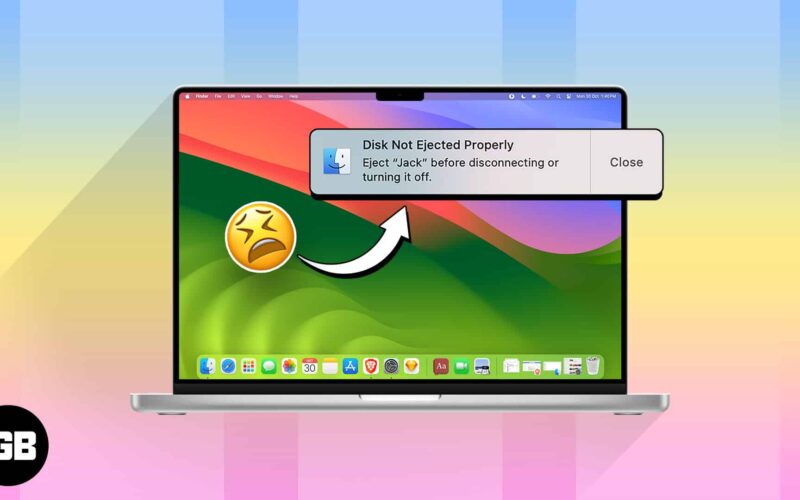
Removing a drive from Mac “correctly” is necessary to avoid damage to your Mac and the drive. If you have been receiving messages like “Disk Not Ejected Properly” on your Mac, then probably you have not been ejecting the drive correctly.
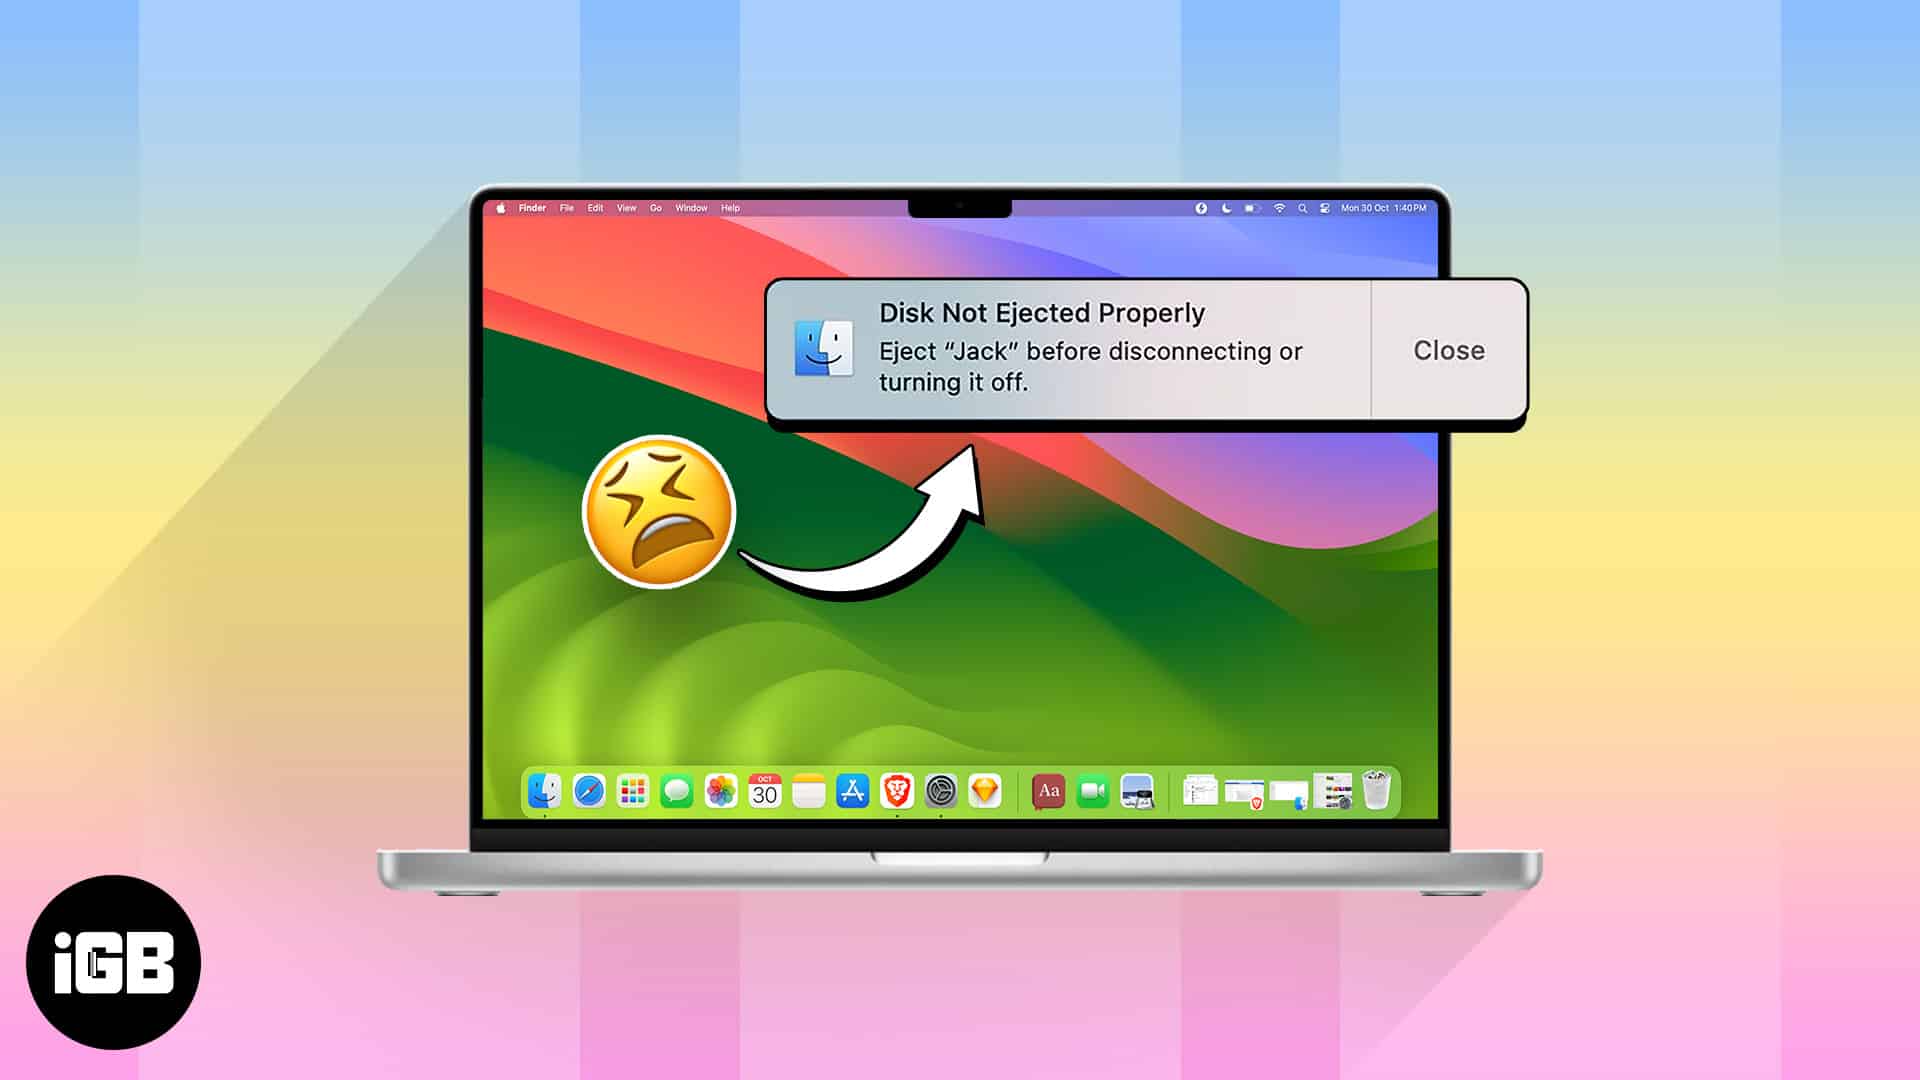
Not ejecting the drive or any other USB can also result in data loss and can tamper with your Mac or drive. In order to avoid the message popping up the next time you insert the drive, here’s what you should do.
10 Ways to fix the ‘Disk Not Ejected Properly’ error on Mac
Have you also encountered the ‘Disk Not Ejected Properly’ error on your Mac when disconnecting an external drive quickly? It becomes more frustrating as this error keeps popping up, even when a drive is connected correctly to the Mac. Don’t worry! I have come up with solutions to fix the issue.
1. Eject the disk drive before disconnecting it from Mac
If you detach a USB drive without ejecting it, the ‘Disk Not Ejected Properly’ notification may keep popping up on your MacBook. It’s essential to properly eject the USB drive from your Mac before physically removing it to eliminate this error and avoid potential data loss.
- Open Finder on your Mac.
- Click the triangle icon ⏏ next to the external disk on the sidebar.
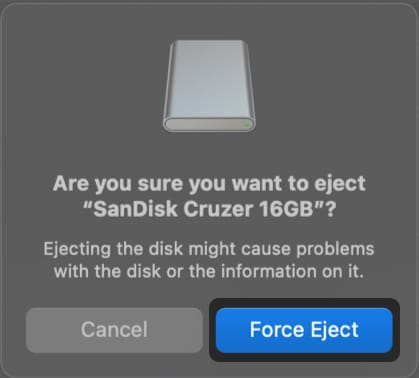
The disk will eject in a few seconds. If it doesn’t, you’ll get a prompt.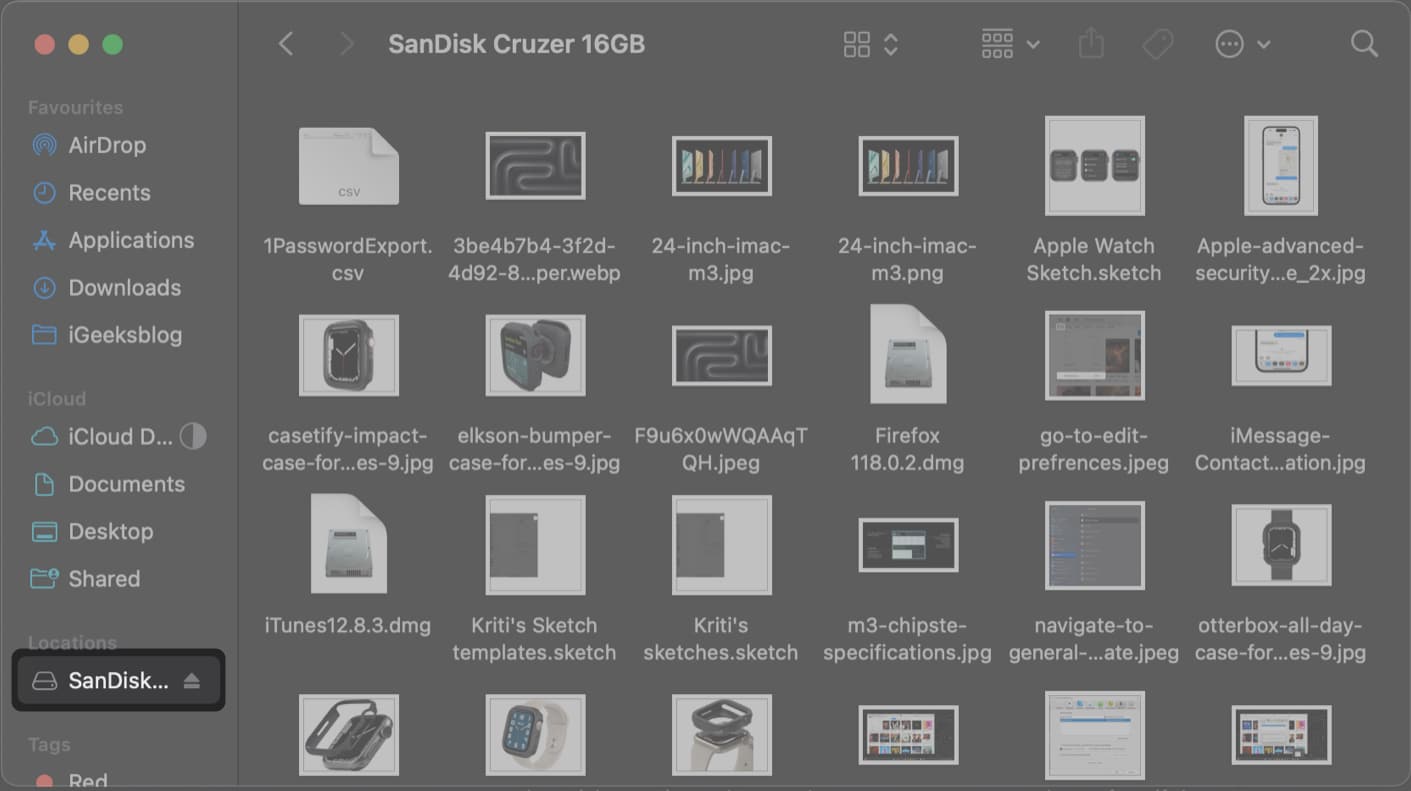
- Click Force Eject from the prompt.
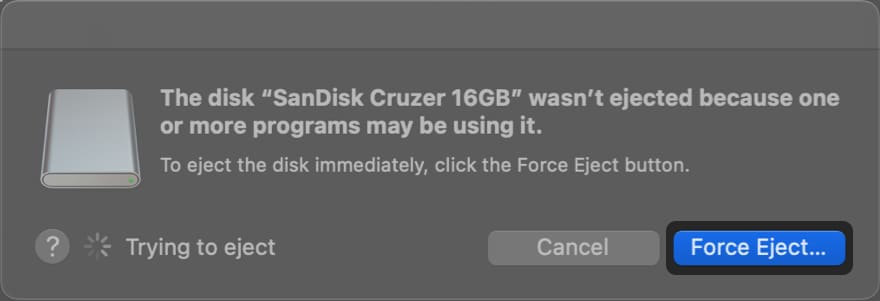
- Click Force Eject again to confirm your decision.
2. Check the USB cable or the port you’re using
Your Mac would keep saying ‘Disk Not Ejected Properly’ more than often if the USB port or the USB cable you’re using to connect the USB disk drive is damaged, causing it to disconnect from the Mac intermittently. To confirm this hardware issue, try using another USB port or switching the cable.
3. Close drive running in the background
You must close the apps accessing the hard drive before ejecting or detaching it. To force quit your hard drive operating in the background:
- Click the Apple logo in the menu bar → Select Force Quit.
- Choose the app using the hard drive → Hit Force Quit.
- Select Finder → Click Relaunch.
Now, try ejecting your hard drive and check if you get the error.
4. Change the sleep settings on your Mac
When your Mac goes to sleep due to inactivity, all USB devices will lose power and disconnect. As a result, when your Mac wakes up, you may see the ‘Disk Not Ejected Properly’ error. To fix this, you’ll have to either prevent your Mac from going to sleep or adjust the sleep settings.
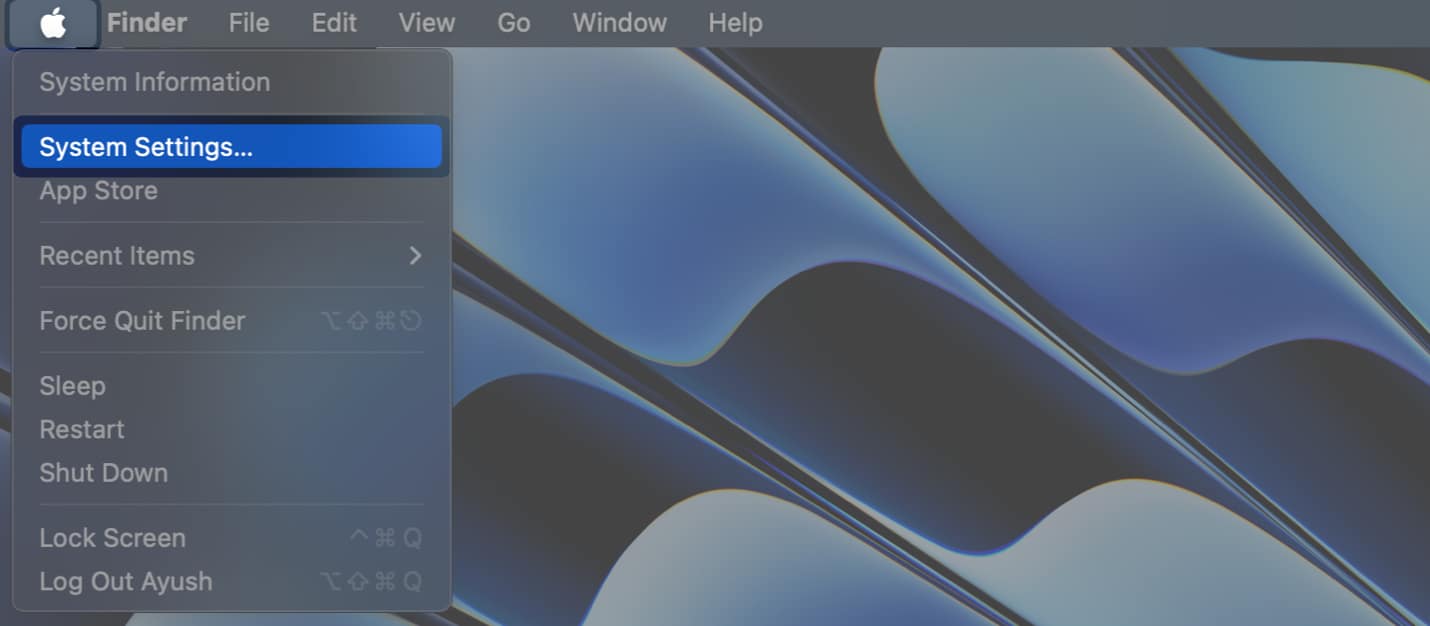
- Click the Apple logo on the menu bar → Select System Settings.
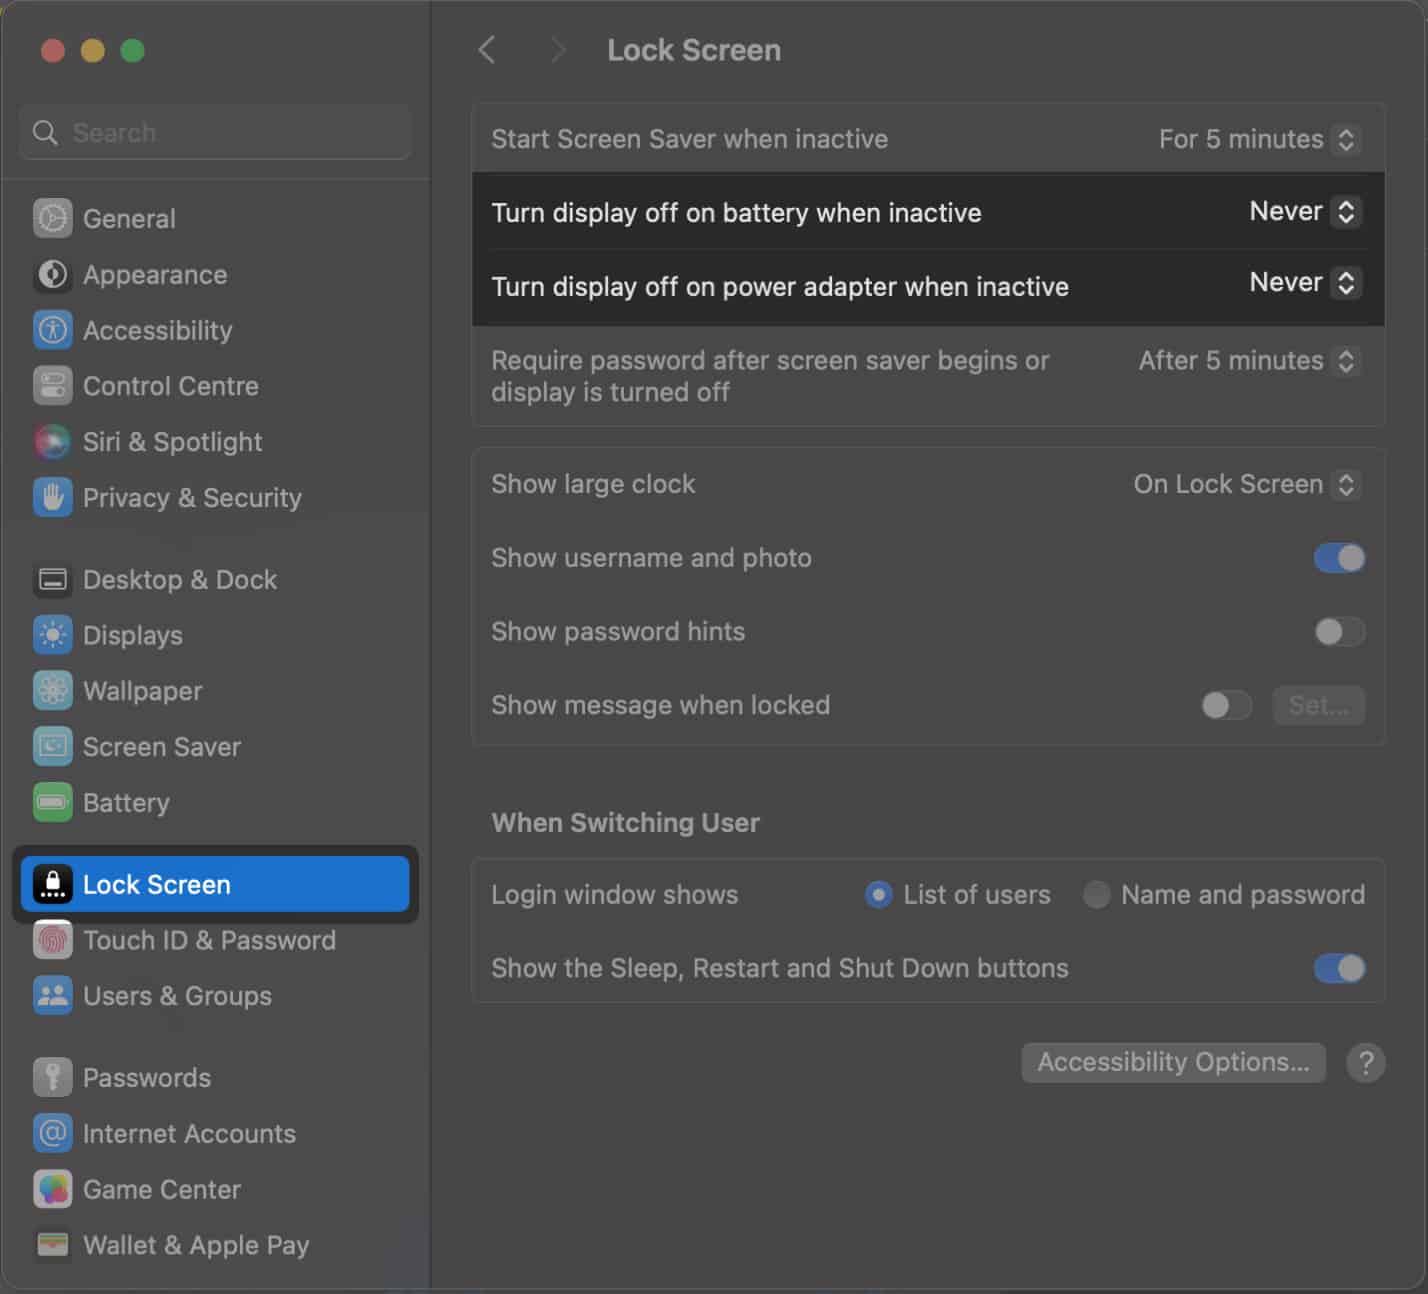
- Select Lock Screen from the sidebar.
- Click the drop-down next to Turn display off on battery when inactive → Select Never.
- Click the drop-down next to Turn display off on power adapter when inactive → Select Never.
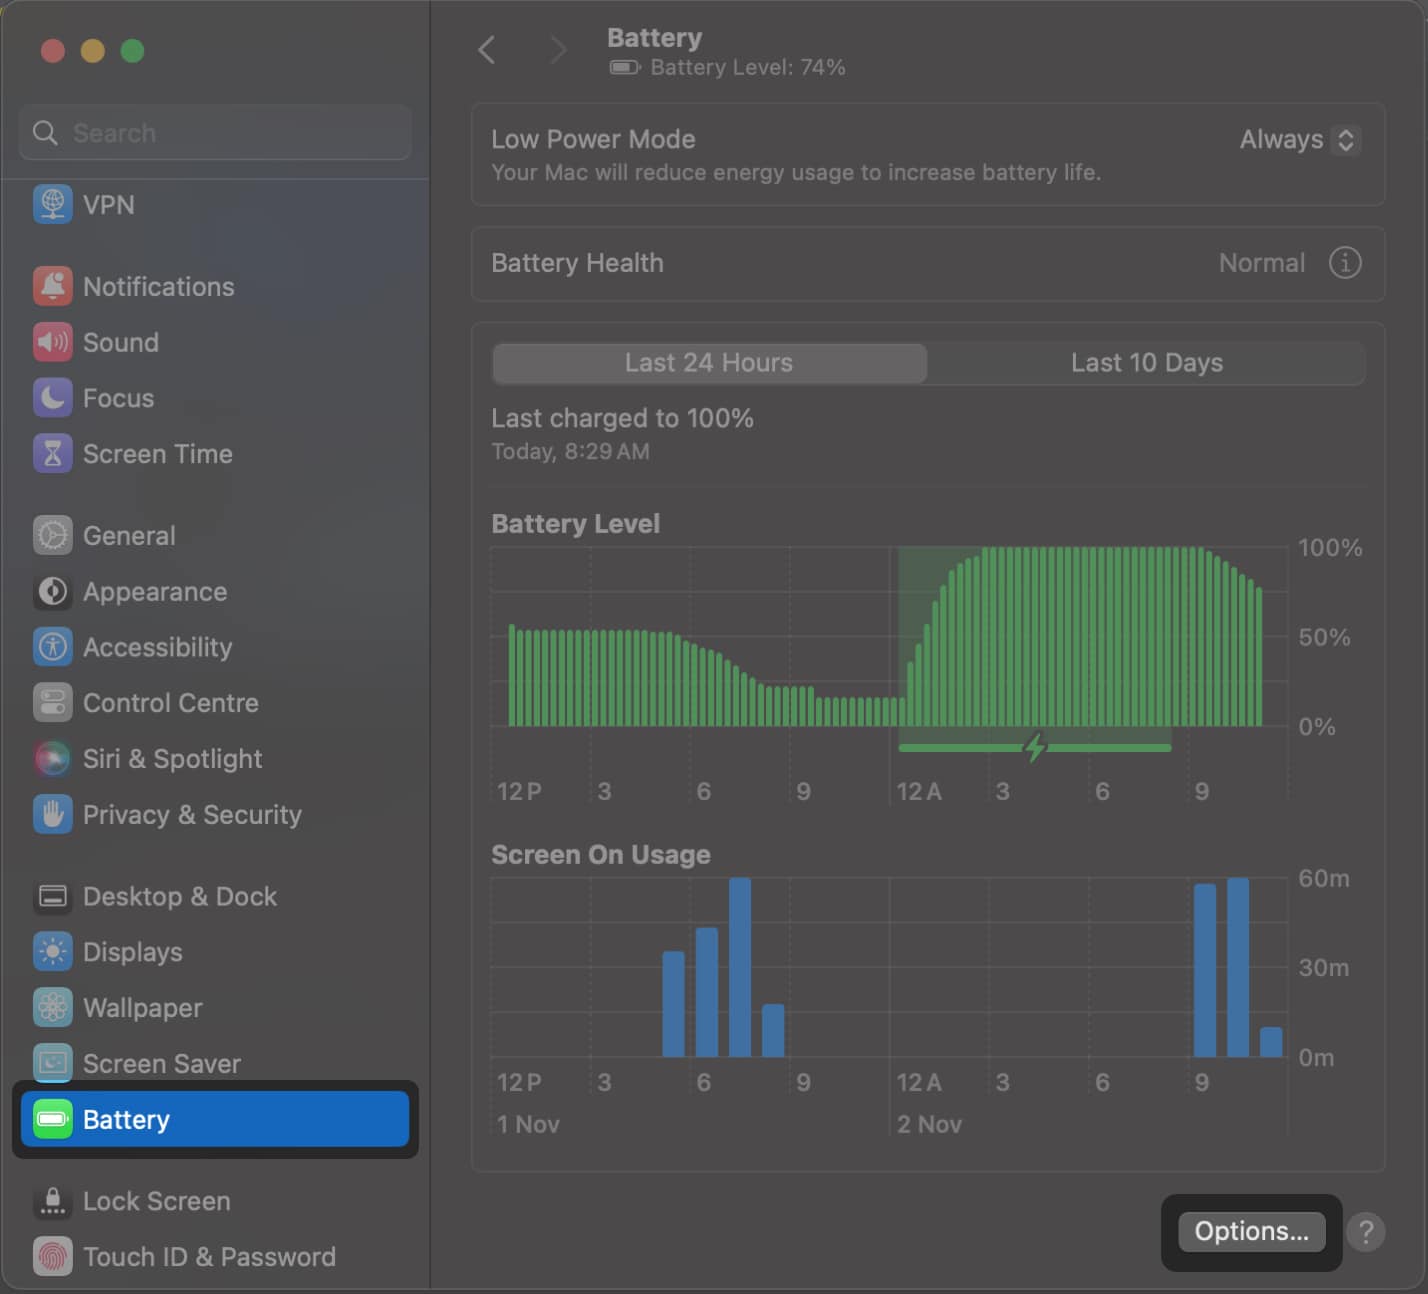
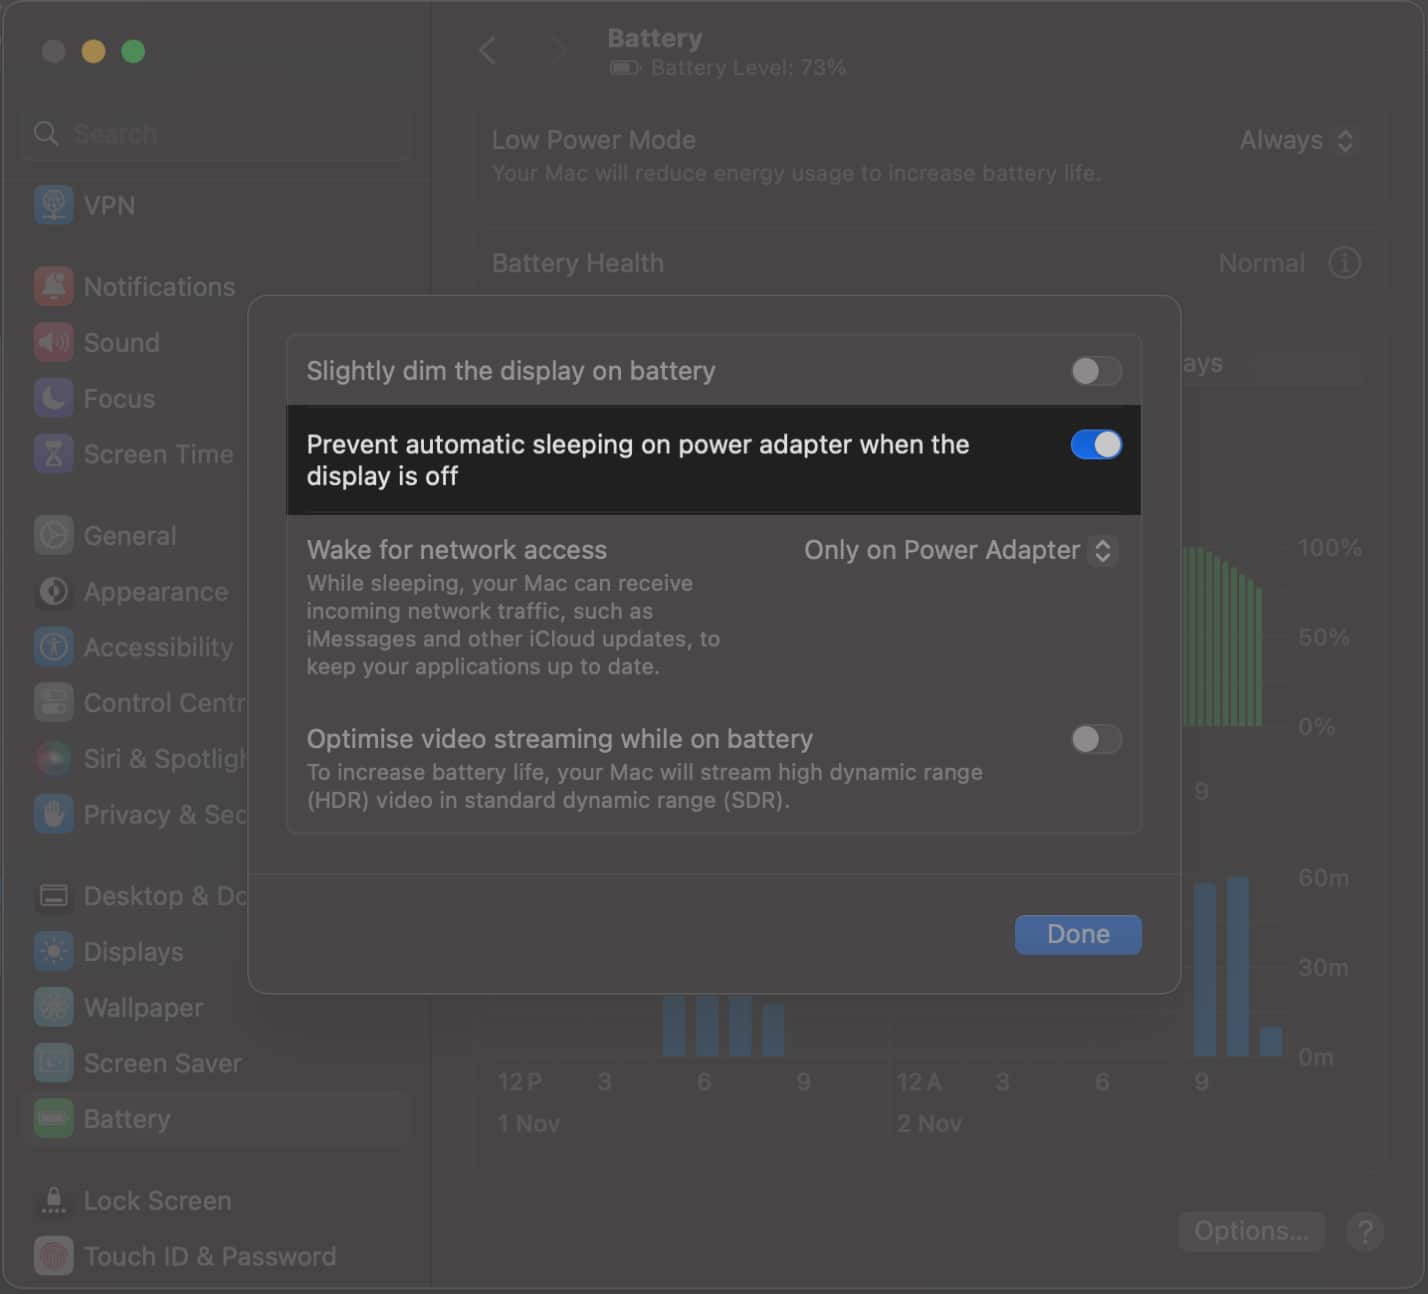
- Now, select Battery from the sidebar → Click Options.
- Toggle on Prevent automatic sleeping on power adapter when the display is off → Then, click Done.
5. Connect the disk directly to your Mac
Due to a decreased number of ports on new Macs, USB-C adapters have become the norm. However, such adapters may not play nice with some USB drives and lead to the ‘Disk Not Ejected Properly’ error on Mac.
To ensure this isn’t the case with you, try connecting the USB disk drive directly to your Mac. If you need to connect multiple peripherals simultaneously, buy a high-quality USB-C hub that is compatible with your external drives.
Become an iGeeksBlog Premium member and access our content ad-free with additional perks.
6. Reset the SMC on your Mac
If you are using an older MacBook or a Mac system with a T2 chip, you may reset the SMC to fix the ‘Disk Not Ejected Properly’ error on your Mac. The SMC (System Management Controller) chip on the Mac is responsible for managing various activities relating to the fan, battery, ports, and other hardware components. Thus, internal conflicts with the chip’s function can lead to various issues.
7. Reset the NVRAM/PRAM on your Mac
If resetting the SMC didn’t help resolve the ‘Disk Not Ejected Properly’ error on your Mac, you may reset the NVRAM (Non-volatile Random Access Memory) or PRAM (Parameter Random Access Memory) on your Mac.
Resetting these can potentially help you resolve disk-related errors on your Mac by addressing underlying system configuration issues that could affect the overall performance and behavior of external devices.
8. Check the disk for errors using Disk Utility
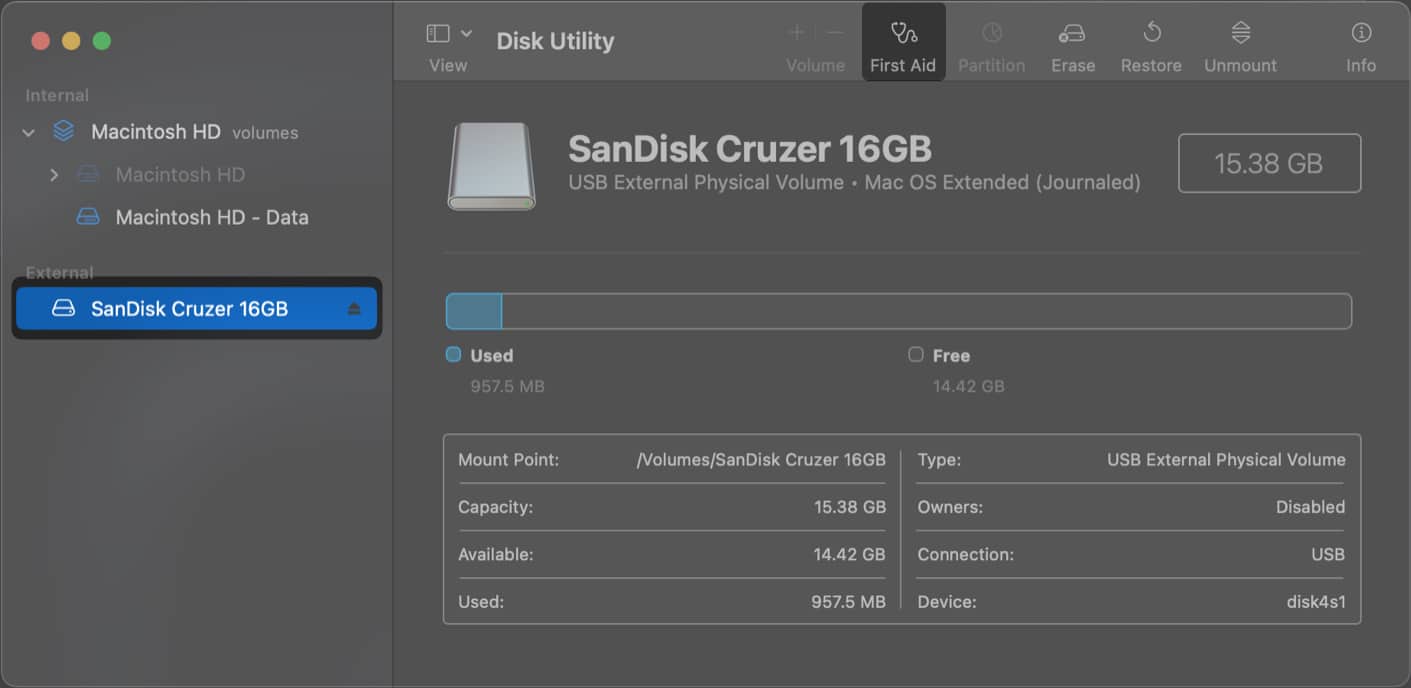
If you repeatedly encounter the ‘Disk Not Ejected Properly’ error message on your Mac, it could imply a problem with the USB disk drive or its file system. In such cases, scan the USB disk drive using Disk Utility to identify the exact cause of the error and prevent it from recurring.
- Open the Disk Utility using the Launchpad or Spotlight.
You can also find the Disk Utility in Finder → Applications → Utilities. - Select an external disk drive from the Sidebar → Then, click First Aid.
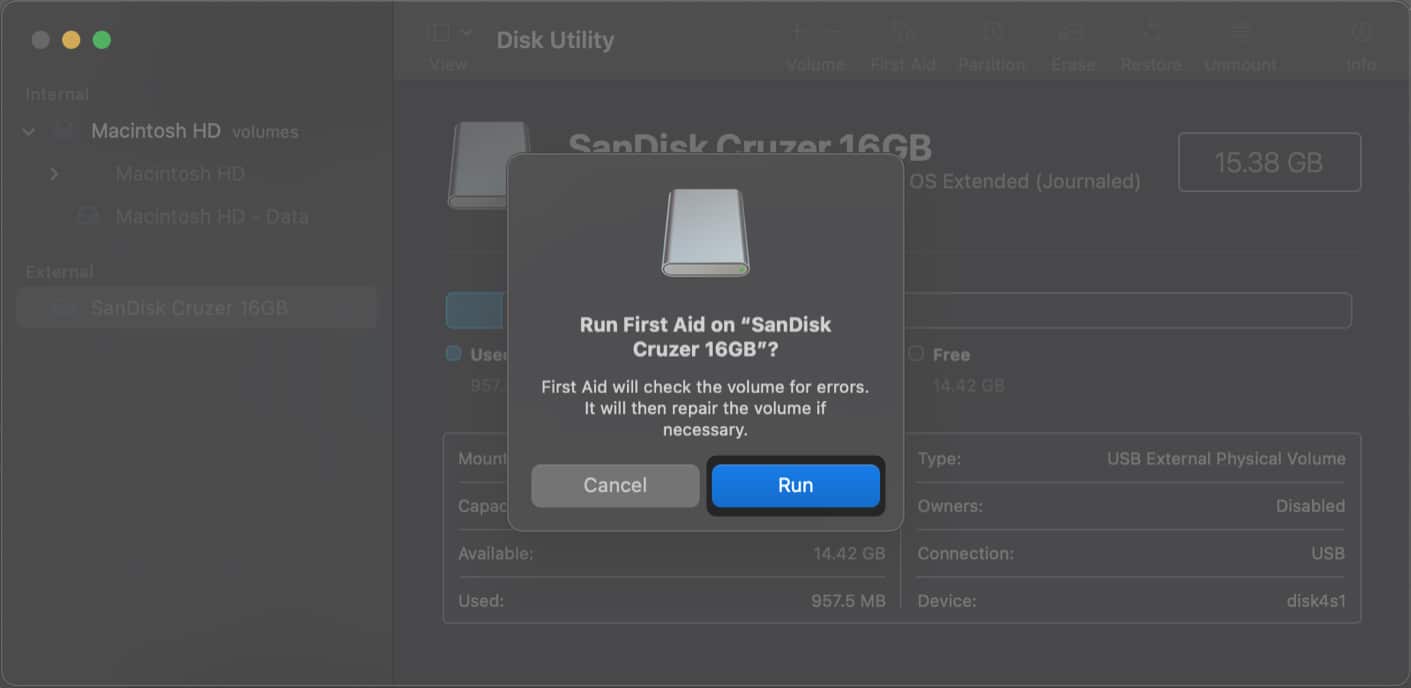
- Click Run when prompted to start the scan.
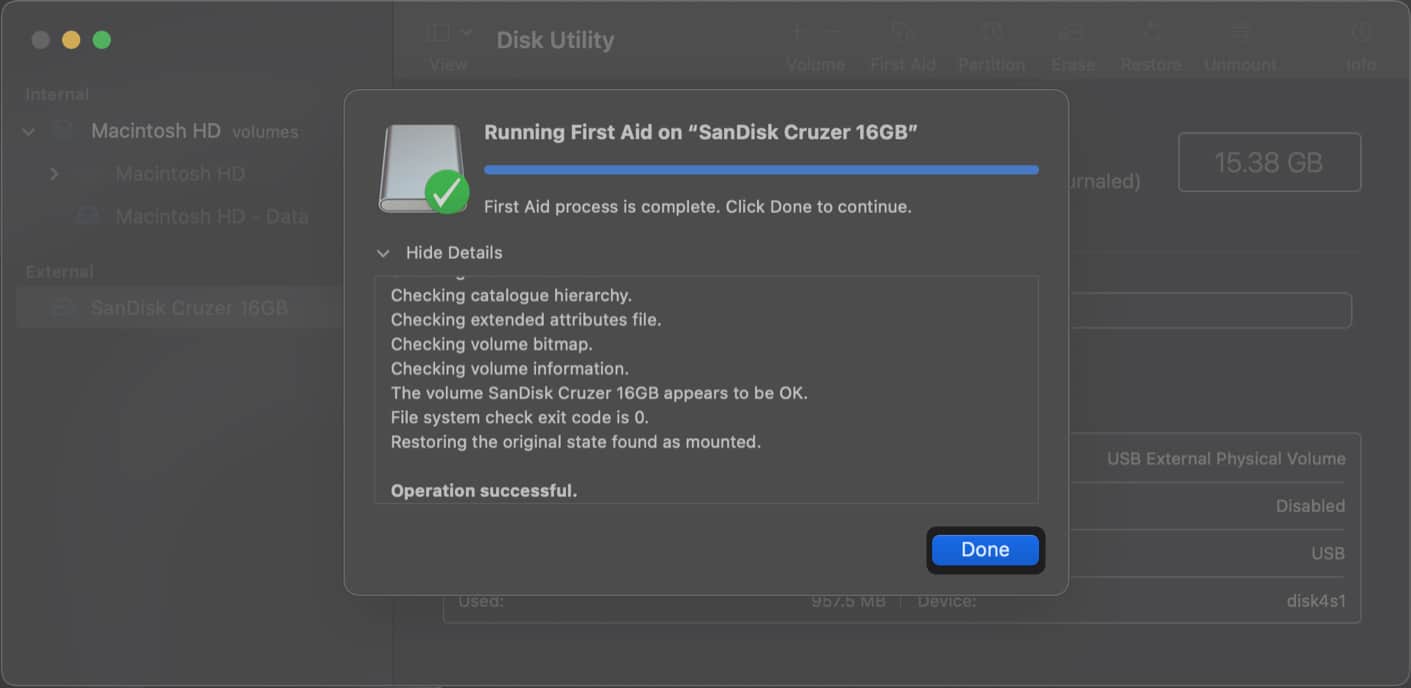
- Once the scan is completed, click Done.
9. Check for Software updates
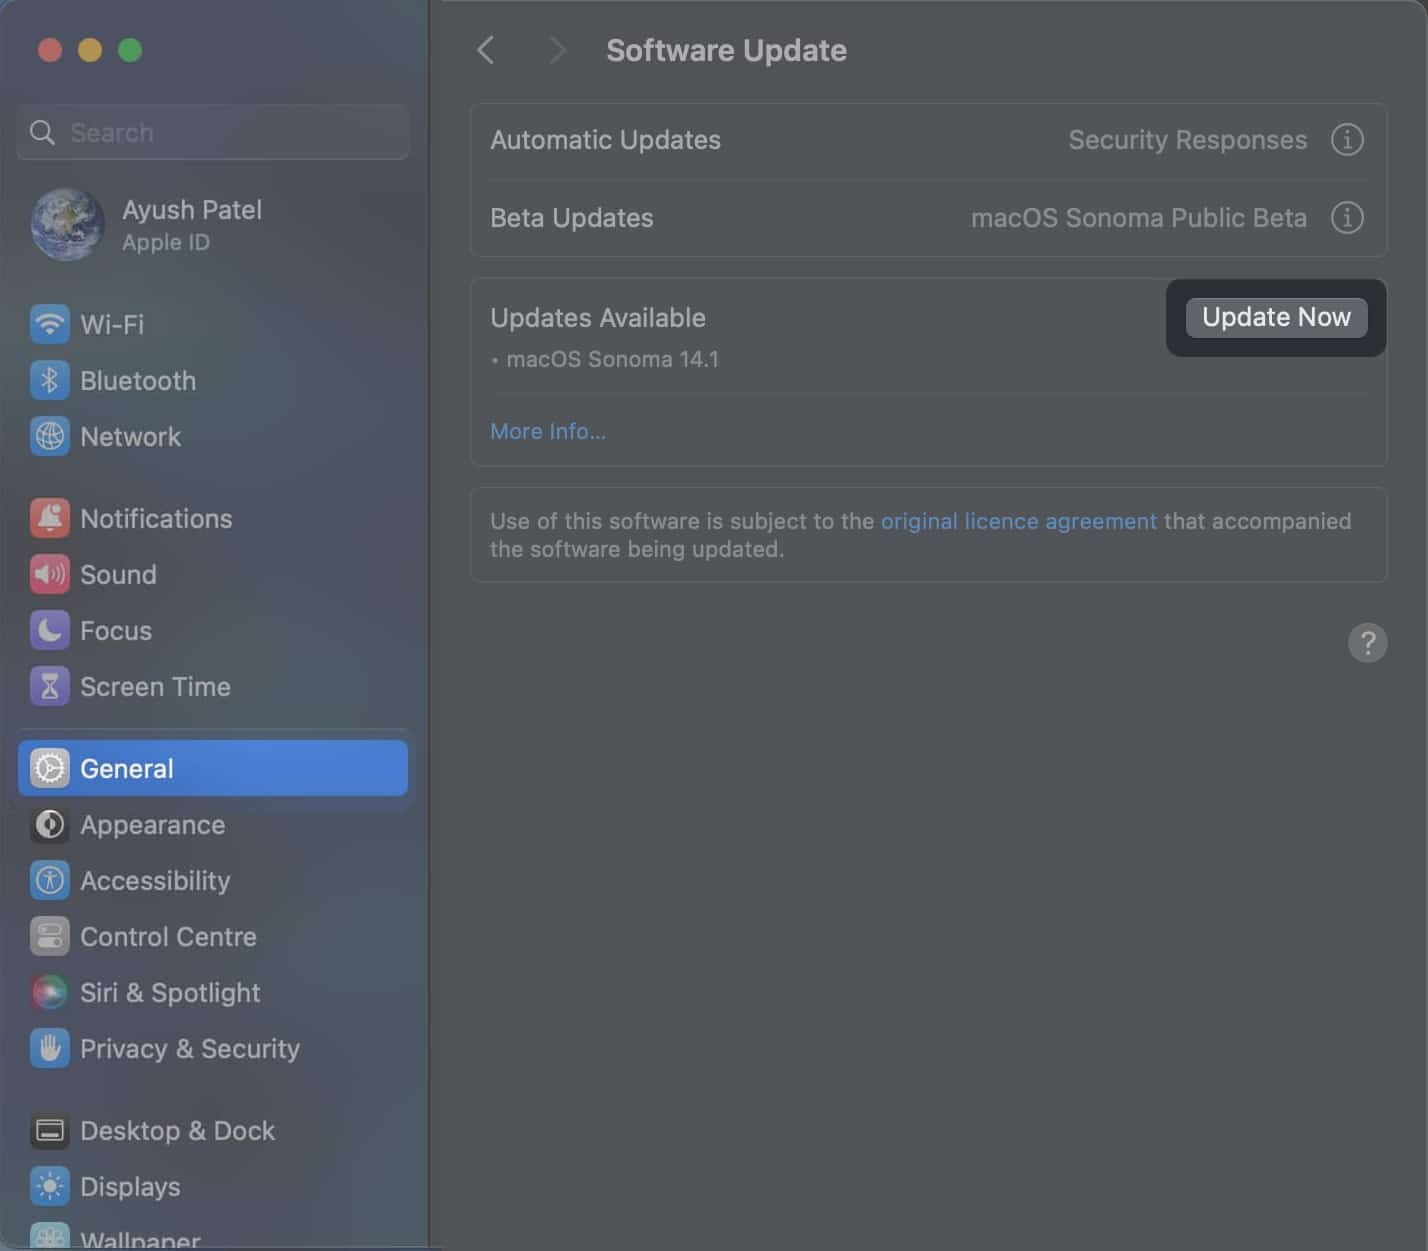
Outdated macOS versions can cause the ‘Disk Not Ejected Properly’ error due to incompatibility. Therefore, download the latest version of macOS issued by Apple to patch such annoying bugs.
- Navigate to System Settings → General → Software update.

- Click Update Now if a new macOS update is available.
10. Format the external disk in question
Suppose none of the solutions could help you prevent the ‘Disk Not Ejected Properly’ error from popping up on your Mac. In that case, it’s possible that the external drive is corrupted or you’ve configured it to use an unsupported file system. To resolve such disk-related issues, you must erase the disk.
- Open the Disk Utility using Launchpad or Spotlight.
- Select an external disk drive from the Sidebar → Then, click Erase.
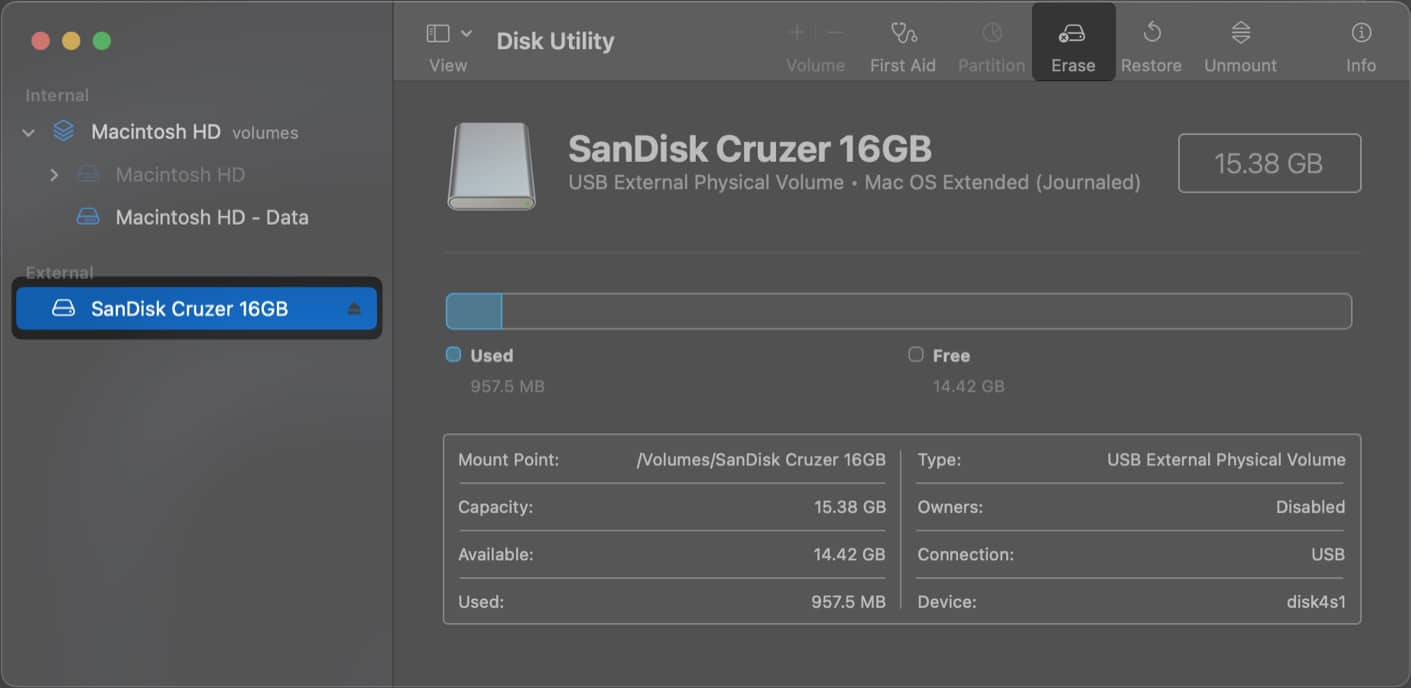
- Type a name for the USB drive → Select a Format → Click Erase.
Select exFAT if you want to use the drive on both macOS and Windows.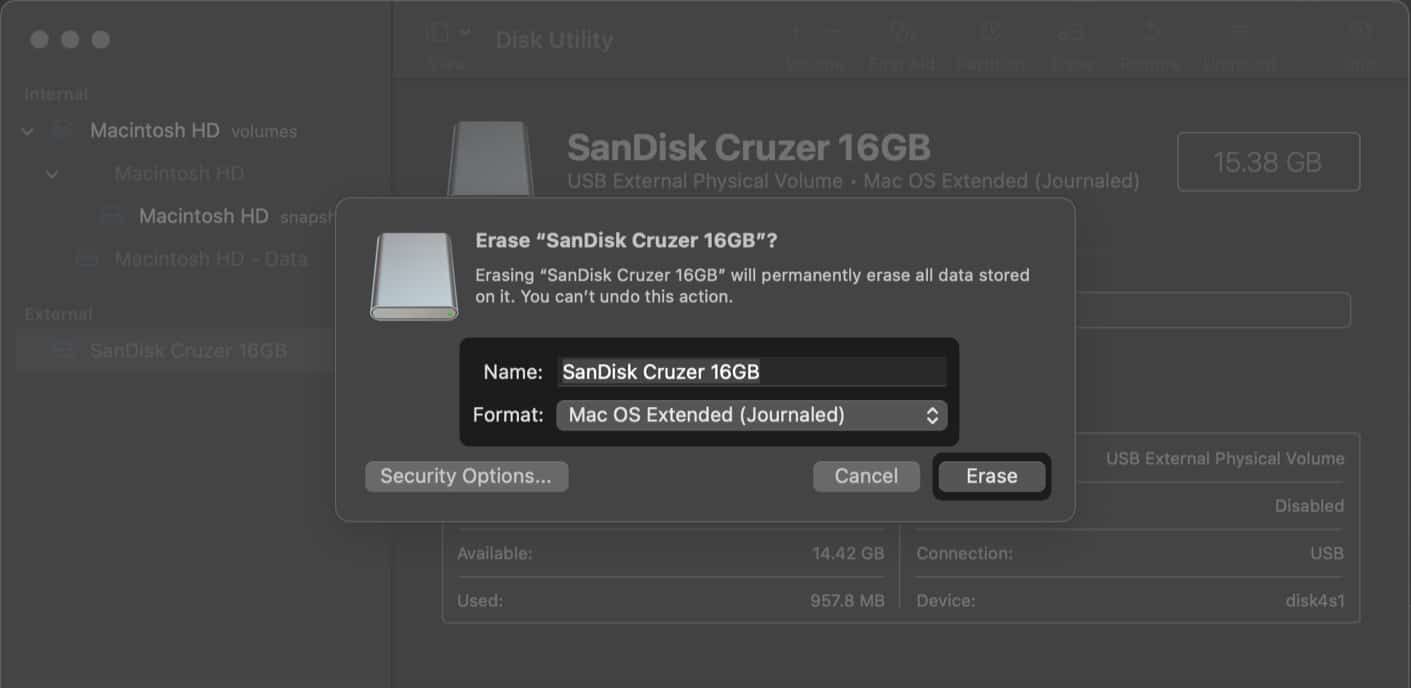
Wrapping up…
It can be very frustrating to face the ‘Disk Not Ejected Properly’ error repeatedly on your Mac when transferring files or creating a Time Machine backup. However, with the solutions listed in this guide, you can resolve this error quickly. Note that older hard drives can become dysfunctional, so you must buy a new hard drive for your Mac.
If you found this helpful guide, let me know which solution helped you in the comments section below.
Also read:

