Things you need to know:
- To create a hard disk partition on Mac, open Disk Utility → select the Volume → click Partition → + → Add Partition → name the partition → Apply → Done.
- If you want to switch between partitions: press and hold the Option button while your Mac starts up → select the partition you want to switch to.
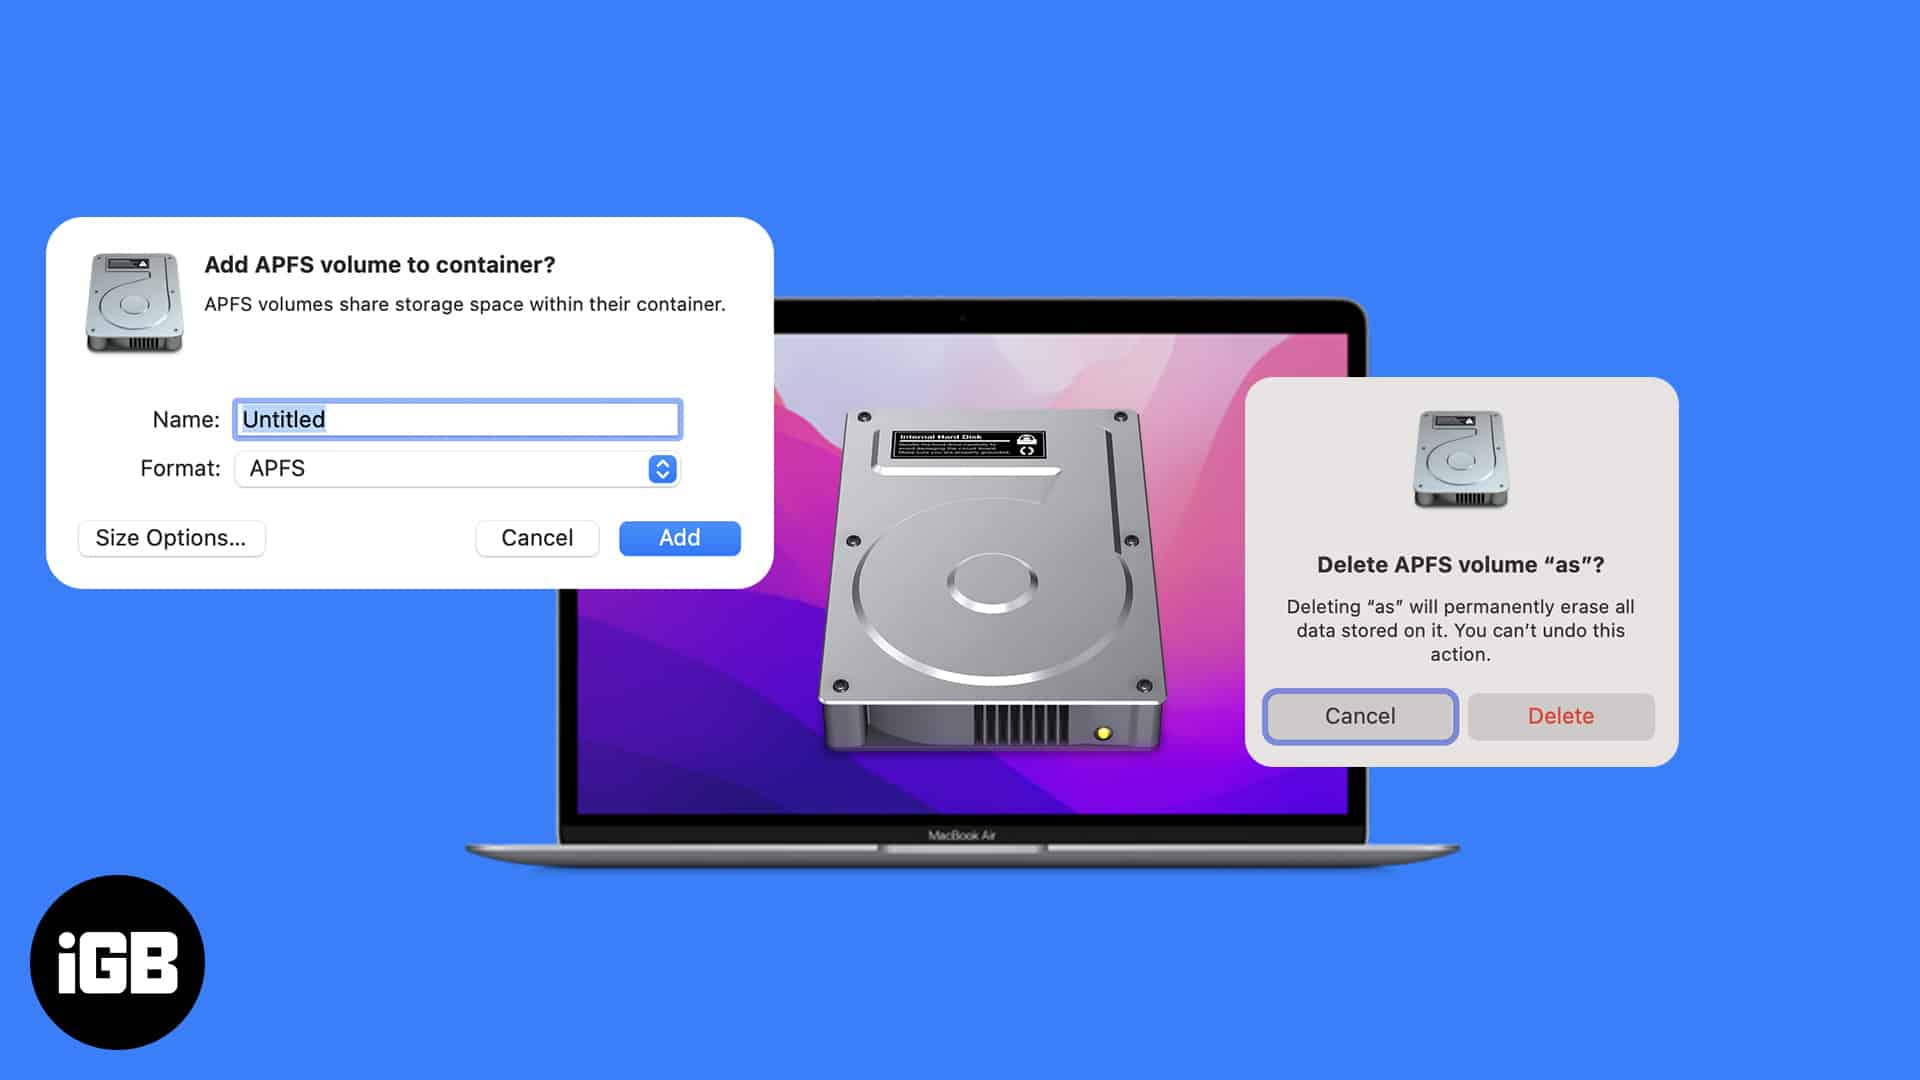
If you are a person who prefers creating partitions in your storage for various needs, then check out APFS volume on a MacBook. And If you don’t know how to add, delete or erase APFS volumes, then I have mentioned the steps with which you can do it.
But before that, let’s look at what is APFS volume in Mac and understand how it is better when compared to partitioning your hard drive.
What is APFS Volume in Mac
Apple File System (APFS) is Apple’s answer to the issues caused by the traditional hard drive partition. In this, you can allocate disk space according to your need. Each of these partitions are called APFS containers (partition). If one container doesn’t have enough space, then it will share it with other individual volumes.
These volumes are clubbed into a set of volumes known as a volume group, each containing one volume for system files and another for data. In simpler terms, each volume as a separate partition.
APFS Volume vs Partition
A hard drive partition cannot share data or storage with other partitions when needed. Whereas APFS Volume can dynamically allocate storage depending on the needs. With this, macOS will handle it accordingly even if you made a mistake by allocating more or less volume.
Add an APFS Volume
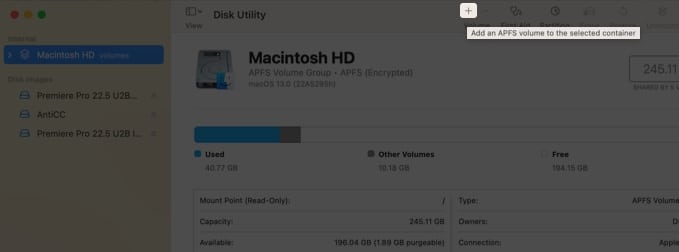
- Open Disk Utility.
(You can search on Spotlight or find it in Launchpad) - Select a volume from the sidebar.
- Click Plus button (+) from the toolbar.
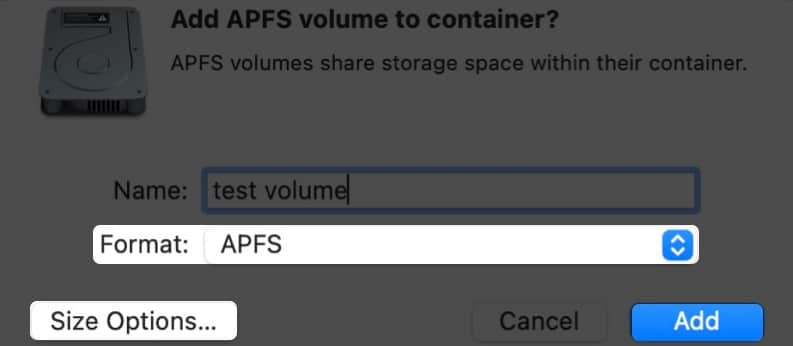
- Next, select the type of APFS format.
For every volume you add to the APFS container, you can assign different APFS formats if needed. - To change the APFS volume allocation, click Size Options. Enter the values:
(This is optional as macOS will automatically enter values)- Reserve Size: It can ensure how much storage will be reserved for the volume.
- Quota Size: Here, you can control the amount of storage allocated to a volume.
- Click Add.
- Wait for the process to finish and after that, click Done.

Delete an APFS Volume
If you have accidentally created multiple volumes and want to remove them, or if you are removing them for any other reasons, then here’s how you can do it:
Become an iGeeksBlog Premium member and access our content ad-free with additional perks.
- Open Disk Utility.
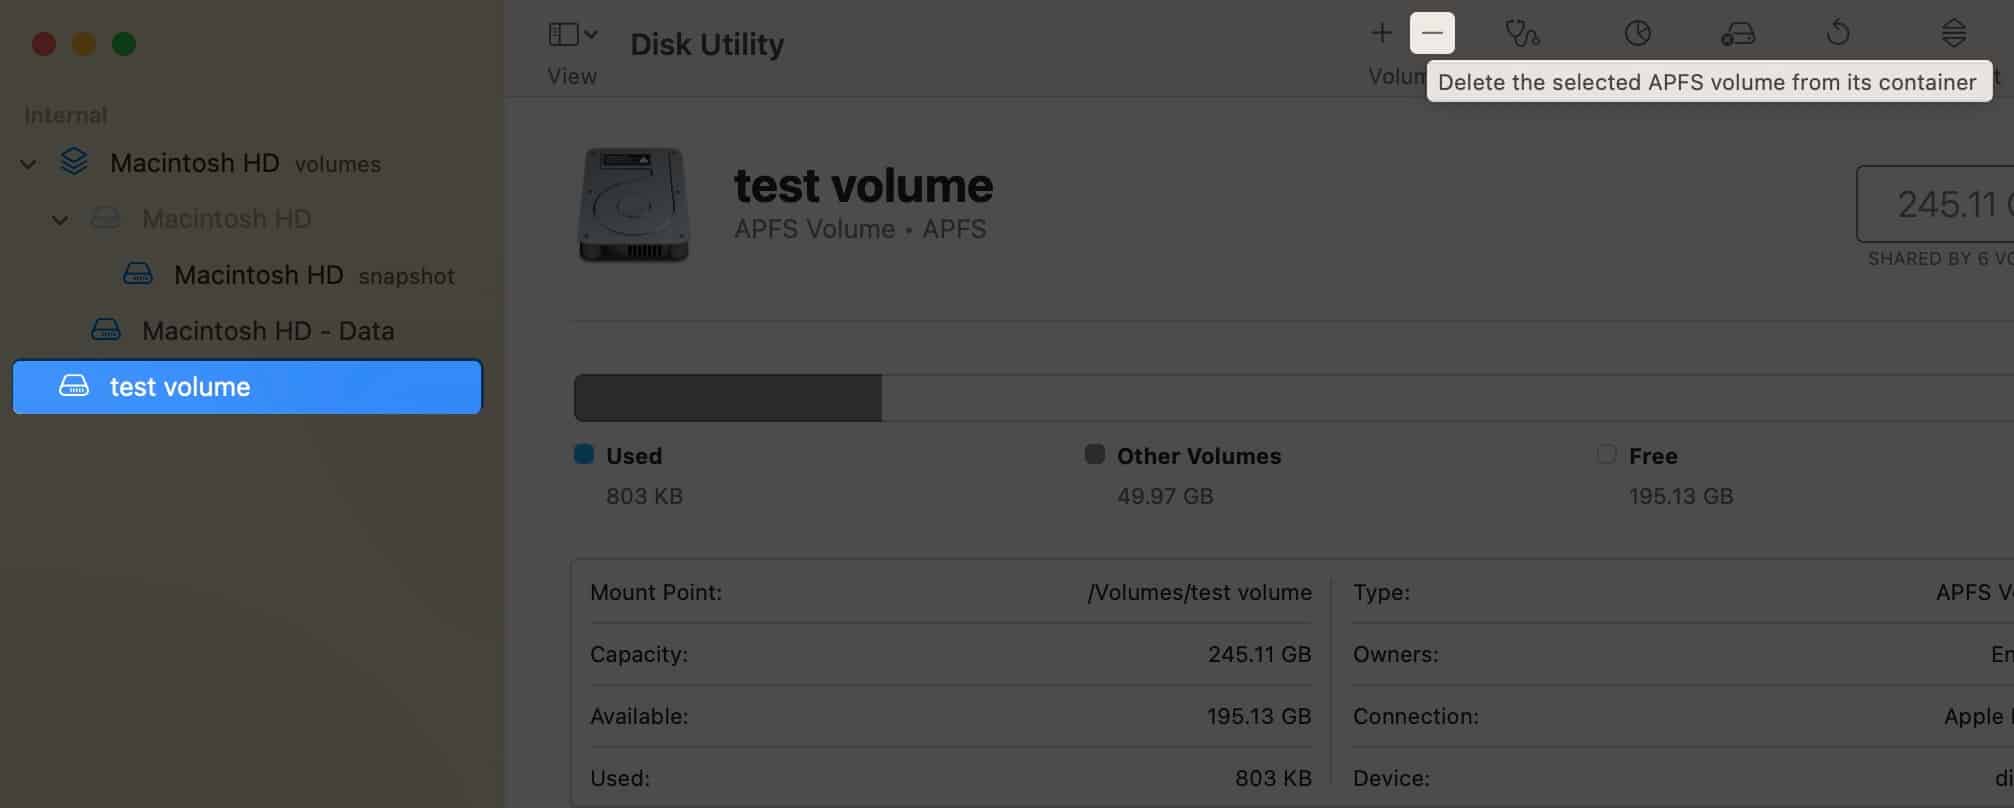
- Select the volume you want to delete.
- Click the minus button (-) from the toolbar on the top.
- Wait until the process is finished, and then click Done.
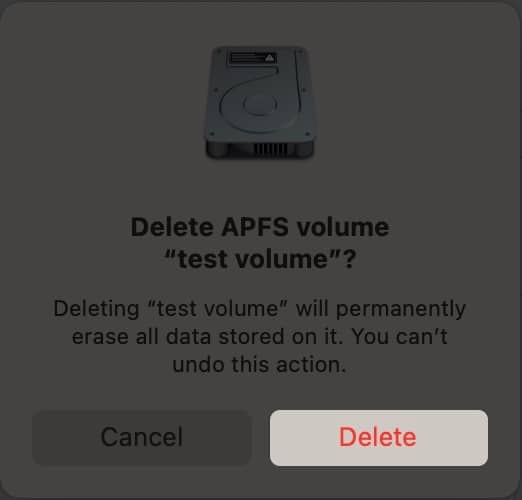
Note:
- If the volume you want to delete appears dim, you won’t be able to delete it.
- When you delete the volume, the data stored on it is also deleted.
Erase an APFS Volume
If you don’t want to delete an APFS volume and want to erase the data from it, then here are the steps:
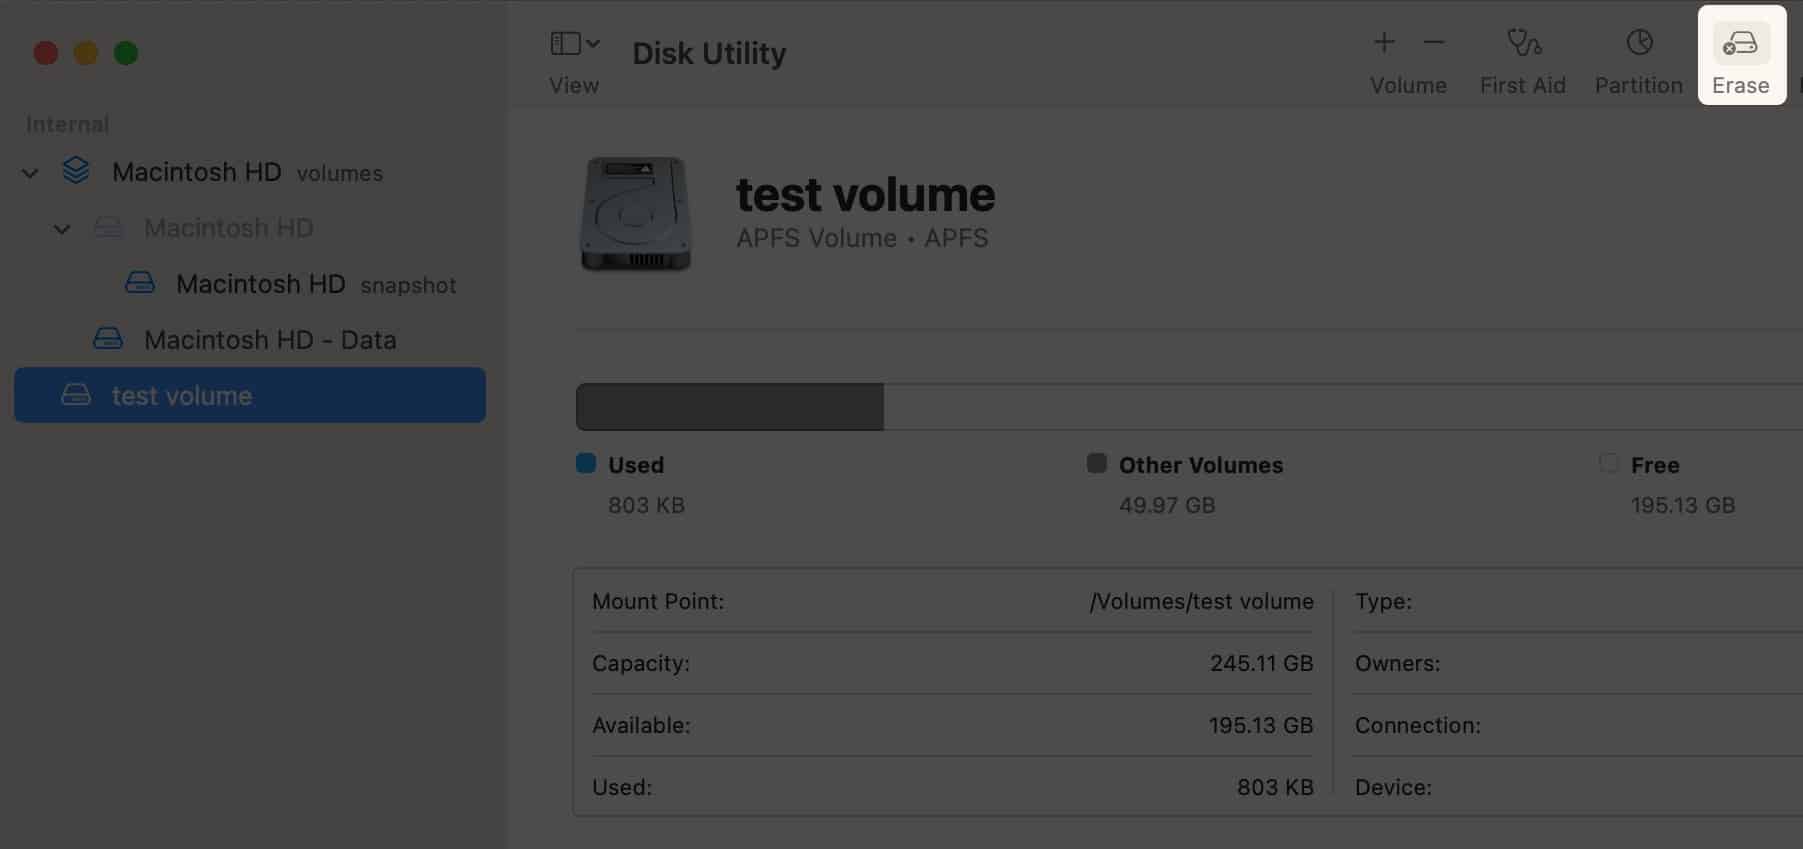
- Open Disk Utility and select the Volume you want to erase.
- Click Erase button from the toolbar on the top.
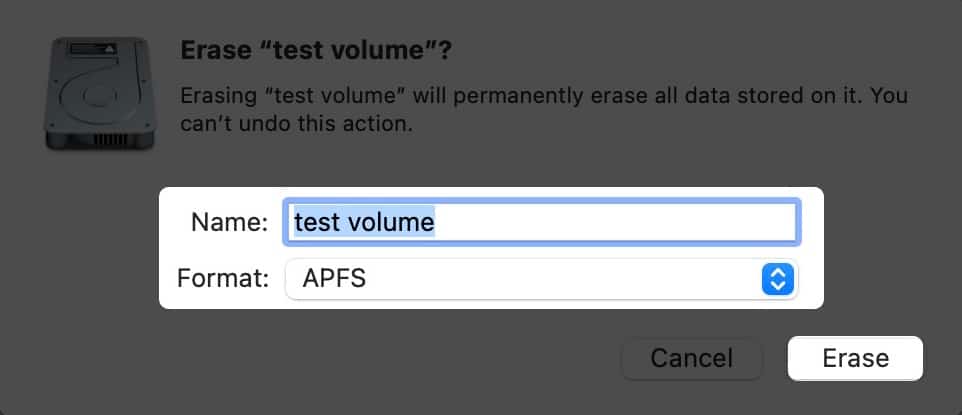
- If you want, you can change the name and format of the Volume.
- Next, click Erase.
- Wait until the process is finished. Click Done.
That’s it!
APFS Volumes in Disk Utility are better alternatives when compared to partitioning Mac hard drive. Which do you prefer? APFS Volumes or Mac hard drive partitioning? Let me know in the comments.
FAQs
It depends upon your needs. If you want a completely clean volume, then erasing is the best solution. But if you only want to remove a particular item from the volume, then it is better to delete that item.
If you delete the data from the Macintosh HD, you will have to reinstall macOS on the hard drive.
Here are some more Mac tips and tricks for you:
