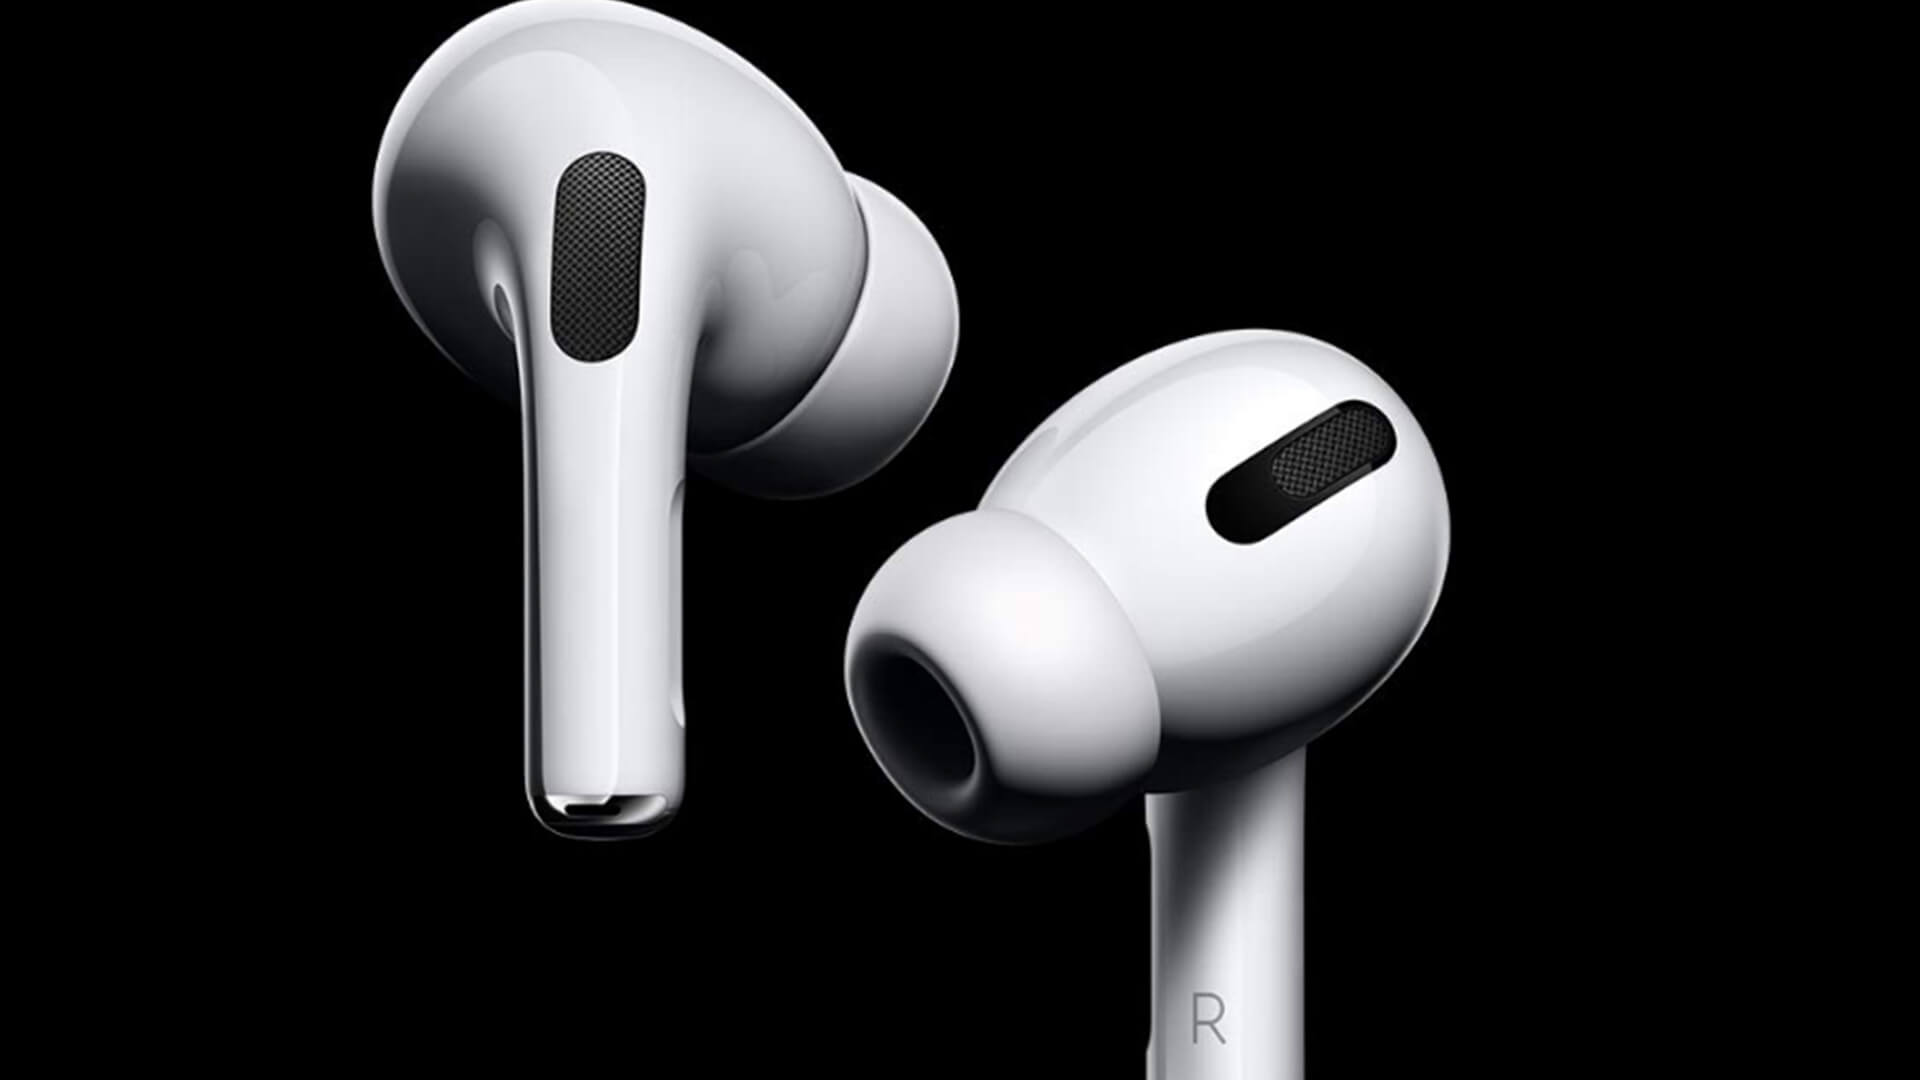
AirPods Pro is the next generation wireless earphones from Apple, and it comes with some amazing features like Active Noise Cancelling and transparent mode as well. Thanks to the ‘Force Sensor’ that makes it possible to customize your AirPods Pro as per your adjustments.

Be it changing the press speed, press and hold duration, microphone changes etc, you can adjust everything right from your iPhone itself once you connect it with AirPods Pro. So let’s see a quick guide on how to customize your AirPods Pro with Force Sensor Controls.
How to Customize AirPods Pro with Force Sensor Controls
Let me break down into few sections so that it will be easy to find the controls which you’re looking for. Make sure that your AirPods Pro is connected to your iPhone before you get started with these customizations.
Quick Access:
- How to Customize Left and Right AirPods Pro Force Sensors
- How to Customize the Microphones Working in AirPods Pro
- How to Customize AirPods Pro Control Press Speed and Duration
How to Customize Left and Right AirPods Pro Force Sensors
It solely depends on the user whether he/she is comfortable using the left or right AirPod Pro for most of the controls. So here’s how you can customize right from your iPhone.
Step #1. Launch the Settings App and tap on the Bluetooth option.
Step #2. Now tap on![]() which is next to your AirPods Pro name.
which is next to your AirPods Pro name.
Step #3. Right under the Press and Hold AirPods section, either choose Left or Right as per your needs.
Step #4. You can now tap on either Noise Control or Siri depending on the customization you want to make on your AirPods Pro. This will enable noise cancellation, transparency, or simply turn off these options under Noise Control options.
So that’s how simple it is to customize your right or left AirPod Pro as per your requirements. Let’s now see on which AirPod you want to activate the Microphone, which is an essential feature.
Become an iGeeksBlog Premium member and access our content ad-free with additional perks.
How to Customize the Microphones Working in AirPods Pro
Step #1. Launch the Settings and tap on the Bluetooth option.
Step #2. Now tap on ![]() next to your AirPods Pro name.
next to your AirPods Pro name.
Step #3. Scroll down and tap on the Microphone option.
Step #4. You can select either Always Left AirPod or Always Right AirPod or simply tap on Automatically Switch AirPods if you aren’t sure which AirPod you’re going to use regularly.
It’s recommended to use automatically switch option because if you use a single AirPod Pro, it can easily switch to the left or right AirPod, whichever you’re using it.
How to Customize AirPods Pro Control Press Speed and Duration
Holding and pressing the AirPods for smarter controls is always confusing if you’re using it for the first time. So here’s how you can customize the press speed and press & hold duration options for your AirPods Pro.
Step #1. Launch Settings App and scroll down to tap on Accessibility.
Step #2. Scroll down and tap on the AirPods option from the accessibility settings.
Step #3. Under the Press Speed section, either select Default, Slow or Slowest as per your comfort.
Step #4. Now, under the Press and Hold Duration, tap on Default, Short or Shorter, any of the 3 options.
That’s how simple it is to customize press speed and hold the duration of your AirPods Pro right from your iPhone settings.
Summing Up…
I hope these tweaks will help you to customize the force sensor controls on AirPods Pro in an easy way! Let us know in the comment section if you have any doubts or queries regarding AirPods Pro settings or customization.
Recommended Posts on AirPods Pro You Might Like!

