
Beware… you could fall prey to enticing offers on cheap goods…! Spammers are always in the look out of the opportunity to either steal personal information or hack your entire device. Taking the advantage of the ongoing holiday season, they are out to turn your festivity into an inexplicable nightmare.
During this holiday season, a number of iCloud users have reported that they have received spam calendar event invitations. Lucrative offers for cheap goods have been found in personal iCloud calendars. Users are asked to respond to the invites three ways-Accept, Maybe, Decline. When you select any of the options, the spammer will get to know that the account is active and can be exploited.
Don’t want to play in the hands of the spammers? Go through the guide to delete the spam invites easily; even without letting them know your action.
How to Block iCloud Calendar Spam Invites Without Alerting Spammers
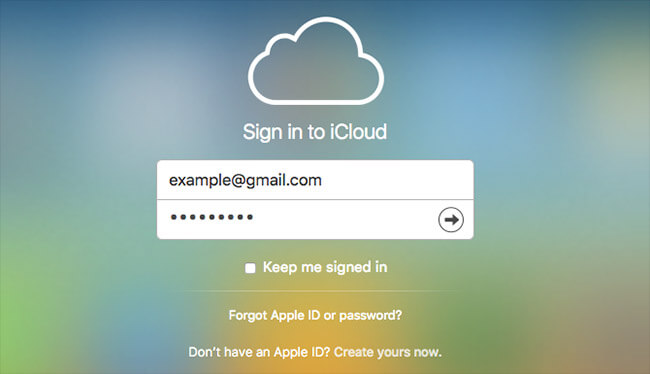
Step #1. Go to icloud.com. Then, log in using your Apple ID and passwords.
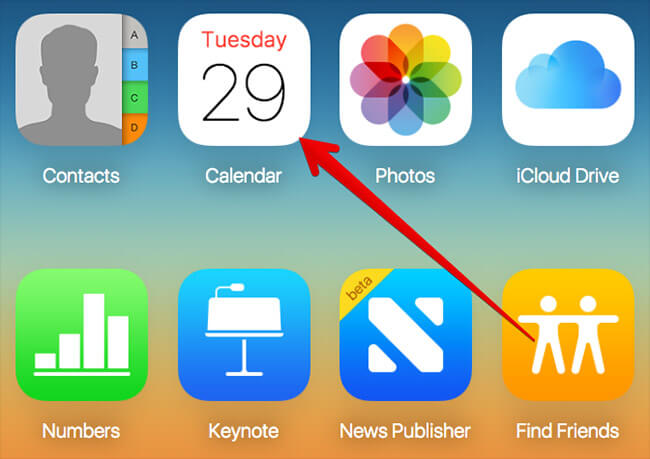
Step #2. Click on Calendar.
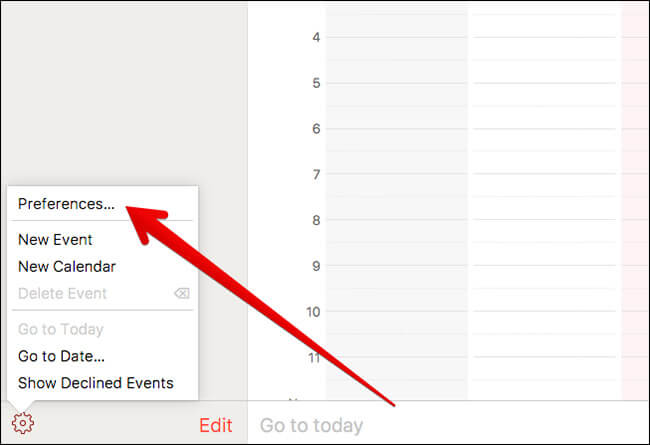
Step #3. Next, you have to click on gear icon at the bottom left corner and select “Preferences” from the menu.
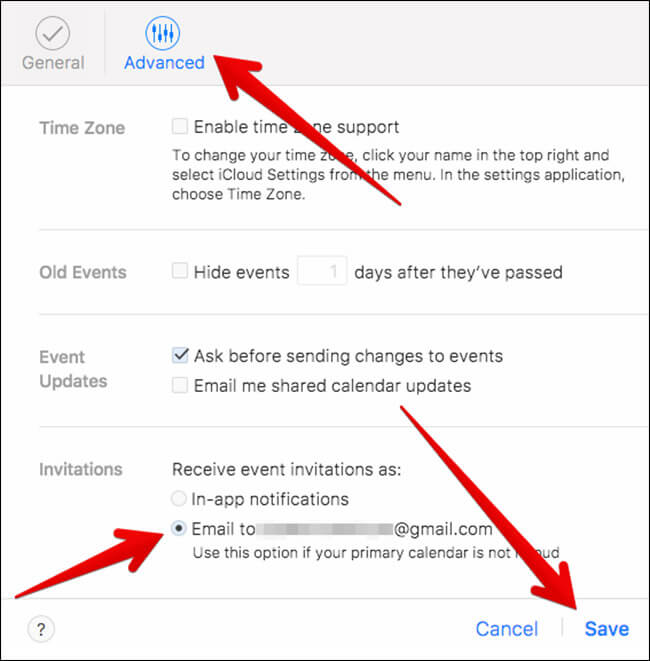
Step #4. Now, click on “Advanced” section.Then, you need to select the circle button next to “Email to [email protected]” under “Invitations.” Click on “Save” at the end.
How to Delete Spam Invites in Calendar on iPhone and iPad
There is another way you can delete the spam invites. You can get rid of them right from the Calendar app on your iPhone. The spammers won’t be able to find out that you have cleaned up the malicious invites. However, you will have to carry out this process to remove them whenever you receive new invites.
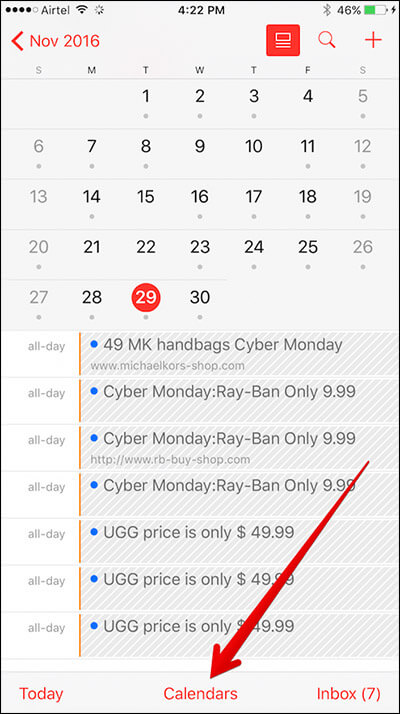
Step #1. Launch Calendar app on your device. Tap on “Calendars” button from the bottom of the screen.
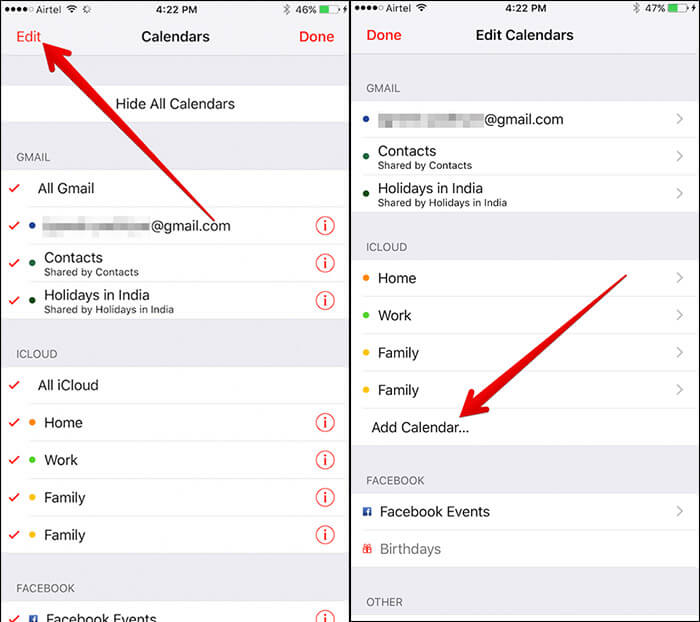
Step #2. Next, you need to tap on “Edit” at the top left corner and choose “Add Calendar.”
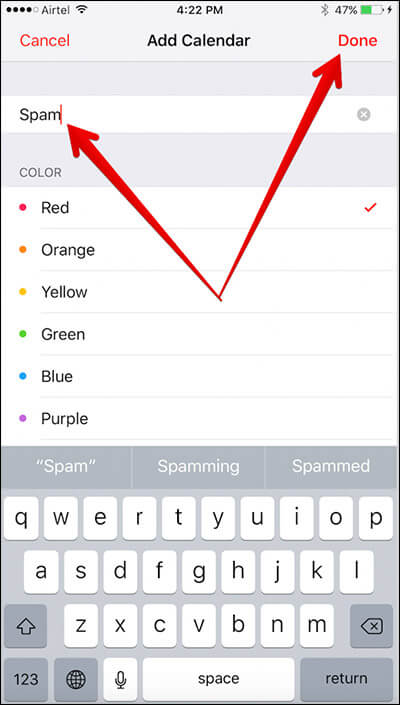
Step #3. Now, you have to name the calendar as “Spam.” Then, tap on “Done” at the top right corner.
Step #4. Next up, move the spam invitations into the “Spam” calendar you have just created.
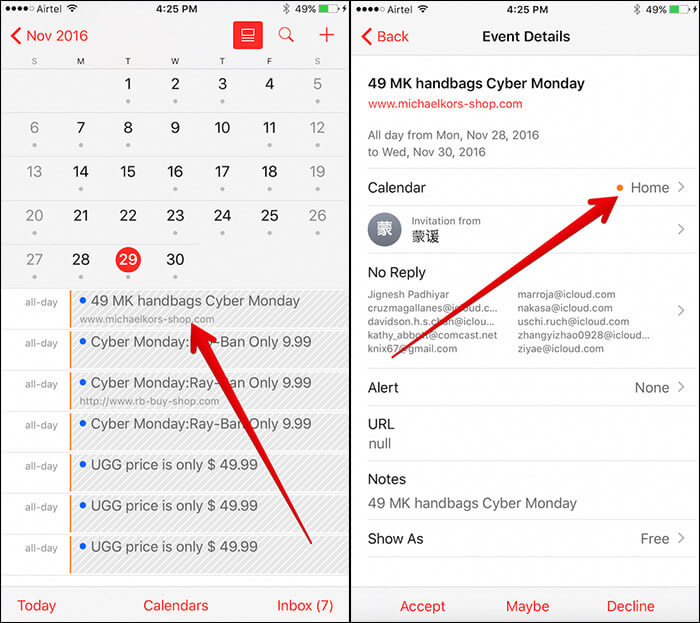
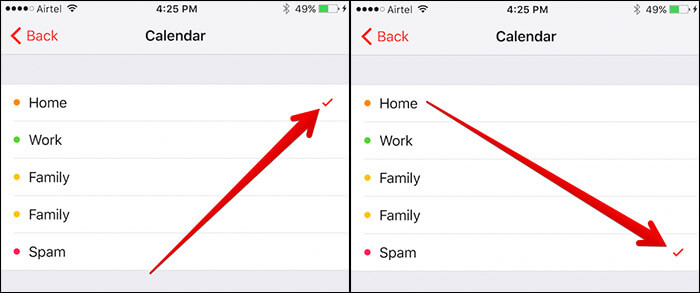
Now, from the detailed view, tap on “Calendar.” Select the calendar you just created.
Step #5. Next, you need to tap the “i” button next to the Spam calendar.
![]()
Step #6. Finally, tap on “Delete Calendar” at the bottom of the screen menu.
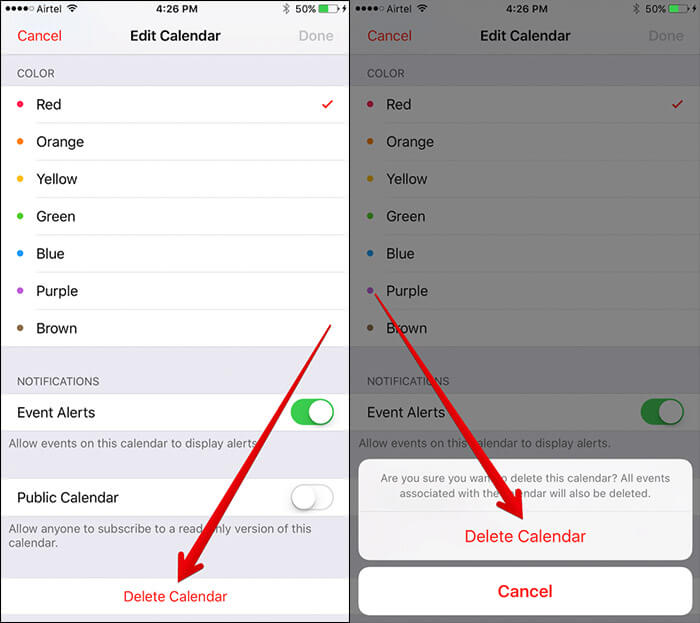
That’s it! The calendar and the spam invites have been deleted.
Like this article? Do share it with your friends to help them remove the spam invites as well.
🗣️ Our site is supported by our readers like you. When you purchase through our links, we earn a small commission. Read Disclaimer.