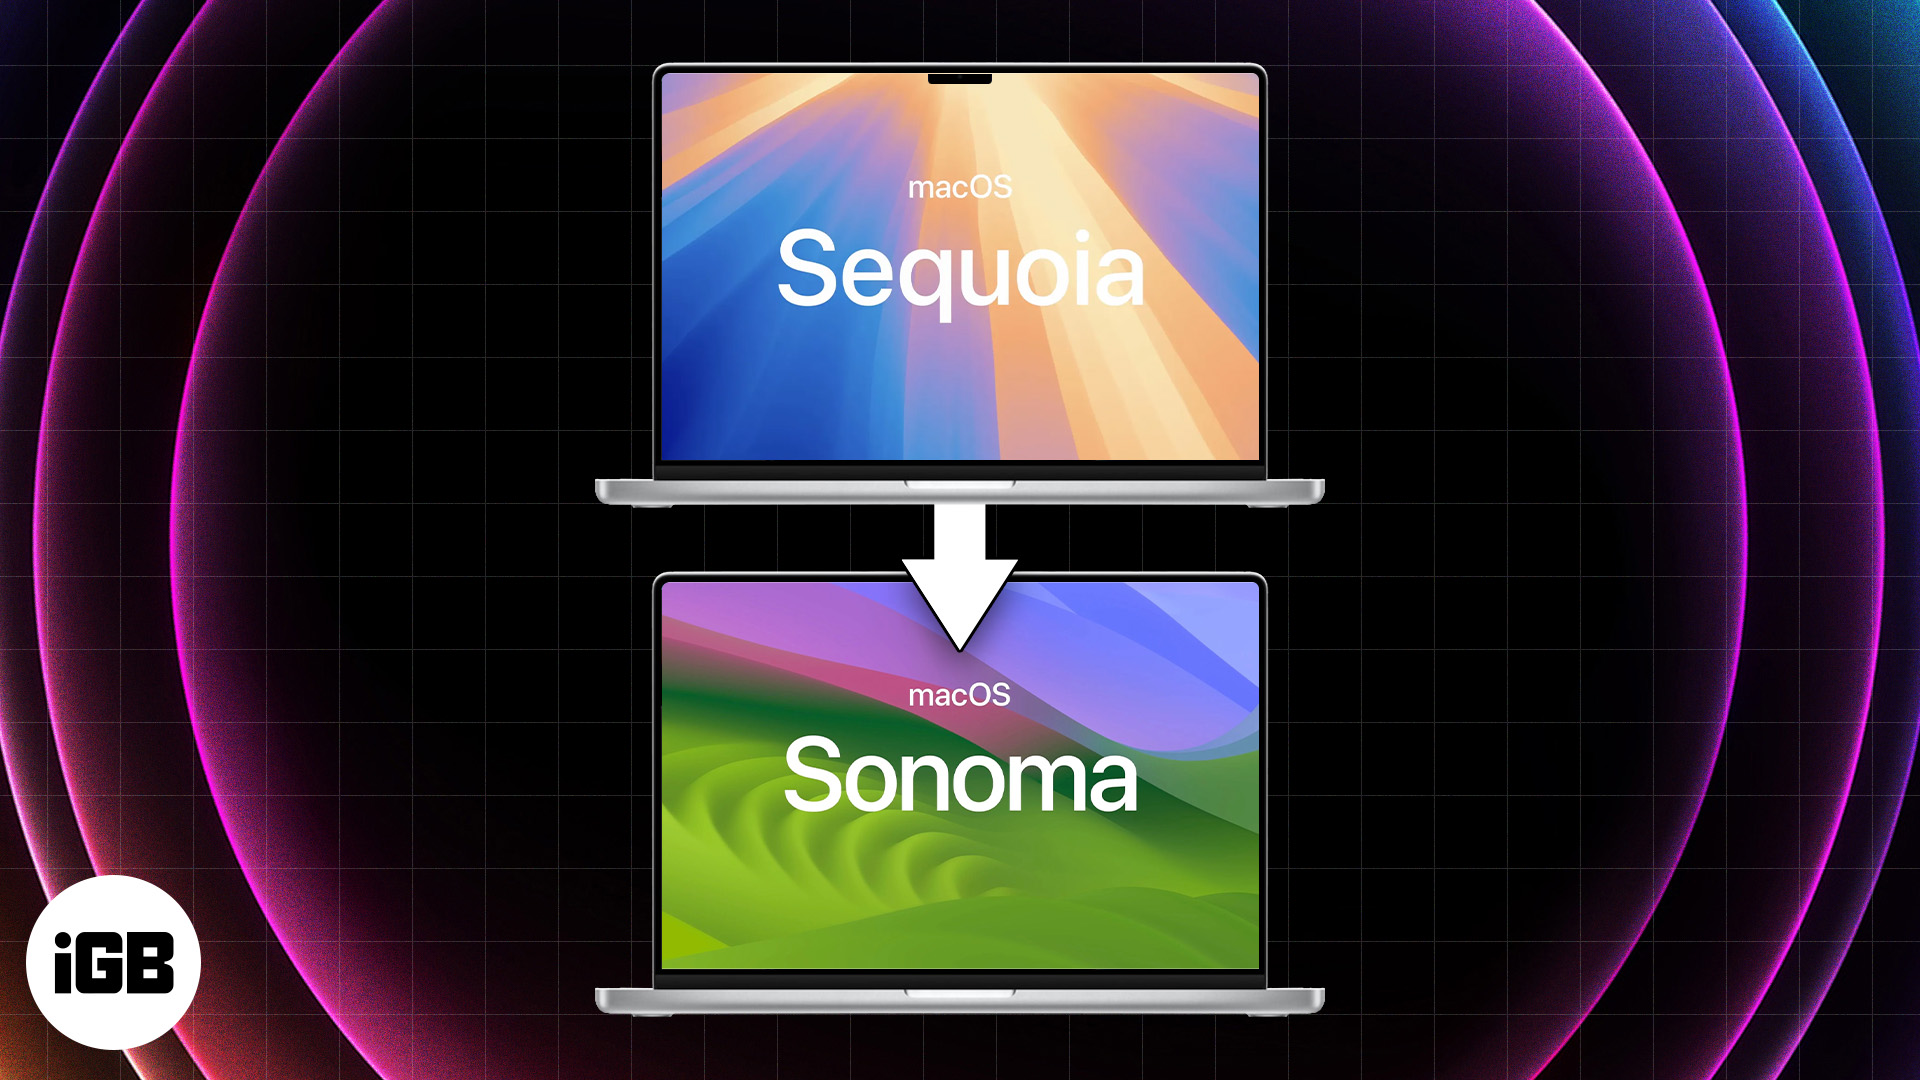
Is your Mac acting up or running slowly after installing the latest macOS 15 developer beta? Well, you can wait for Apple to fix the performance issues in the subsequent beta updates. Or, if you can’t afford to have an unusable Mac until then, downgrade your Mac from macOS Sequoia to macOS Sonoma.

That said, downgrading to an earlier version of macOS, just like any other software, is easier said than done. So, to help you out, here’s a guide demonstrating three ways to downgrade from macOS Sequoia Beta to macOS 14 Sonoma.
1. Downgrade from macOS 15 Beta to macOS Sonoma using Time Machine
If you followed our guide on how to install macOS Sequoia developer beta carefully and created a Time Machine backup before installing the update, you’re in luck. You can quickly revert your Mac to macOS Sonoma from the Time Machine backup without losing any data. Here’s what you need to do:
- Connect the Time Machine backup drive to your Mac.
- Click the Apple icon in the menu bar and select Restart.
- Press and hold the power button to access startup options.
- On the startup options screen, select Options and hit Continue.
- Select the administrative user account for your Mac and hit Next.
- Type the Mac’s password and hit Continue to open the Recovery Menu.
- Select Restore from Time Machine Backup and then click Continue.
- Go through all the disclaimers and click on Continue to initiate the process.
- Select your Time Machine drive as a backup source and click Continue.
- Finally, select the most recent macOS backup and click Continue. Then, hit Restore to begin restoring your Mac.
2. Downgrade to macOS Sonoma using macOS recovery
Don’t have a Time Machine backup? In that case, you can downgrade to macOS Sonoma using macOS recovery. This method basically involves downloading and installing the latest stable version of macOS compatible with your Mac. Here’s how you can do the same on your Mac:
- Click the Apple logo in the menu bar and select Restart.
- Press and hold the power button to access startup options.
- On the startup options screen, select Options and hit Continue.
- Select the administrative user account for your Mac and hit Next.
- Type the Mac’s password and hit Continue to open the Recovery Menu.
- Select Reinstall macOS and click Continue to install macOS Sonoma on your Mac.
3. Install macOS Sonoma from a USB installer
For those who have access to a second Mac, you can create and use a bootable USB installation of macOS to downgrade to macOS Sonoma. With this method macOS Sequoia will be erased from the drive and replaced by macOS Sonoma. Here’s the step-by-step process for the same:
Become an iGeeksBlog Premium member and access our content ad-free with additional perks.
- Create a bootable USB installer for macOS Sonoma using another Mac.
- Attach the bootable USB installer for macOS to a USB port on your Mac.
- Then, click the Apple logo in the menu bar and select System Settings.
- Navigate to General from the sidebar on the left and click Startup Disk.
- Select the bootable macOS installer as your startup disk and click Restart.
- Wait for your Mac to boot into Recovery Mode and select Reinstall macOS.
- Hit Continue and follow the on-screen instructions to install macOS Sonoma.
Video: How to downgrade macOS Sequoia to macOS Sonoma
Wrapping up…
There you have it, folks! You can easily downgrade your Mac from macOS Sequoia to macOS Sonoma using any of the methods above. If you have a Time Machine backup, you can easily revert back to macOS Sonoma without any complexities. However, if you don’t have a backup, you can only downgrade your Mac using macOS Recovery or a bootable USB.
If you have any questions regarding the steps, let us know in the comments below.
Also read:

When I reboot, my choices don’t include Sonoma but just show Sequoia, so unfortunately, those instructions aren’t working. Having issues with an app crashing upon opening. MacBook Pro-2020 model
You’ll need to download the macOS Sonoma utility from the App Store and load it on the bootable USB drive. Once done, install macOS Sonoma from the USB installer.