What to know:
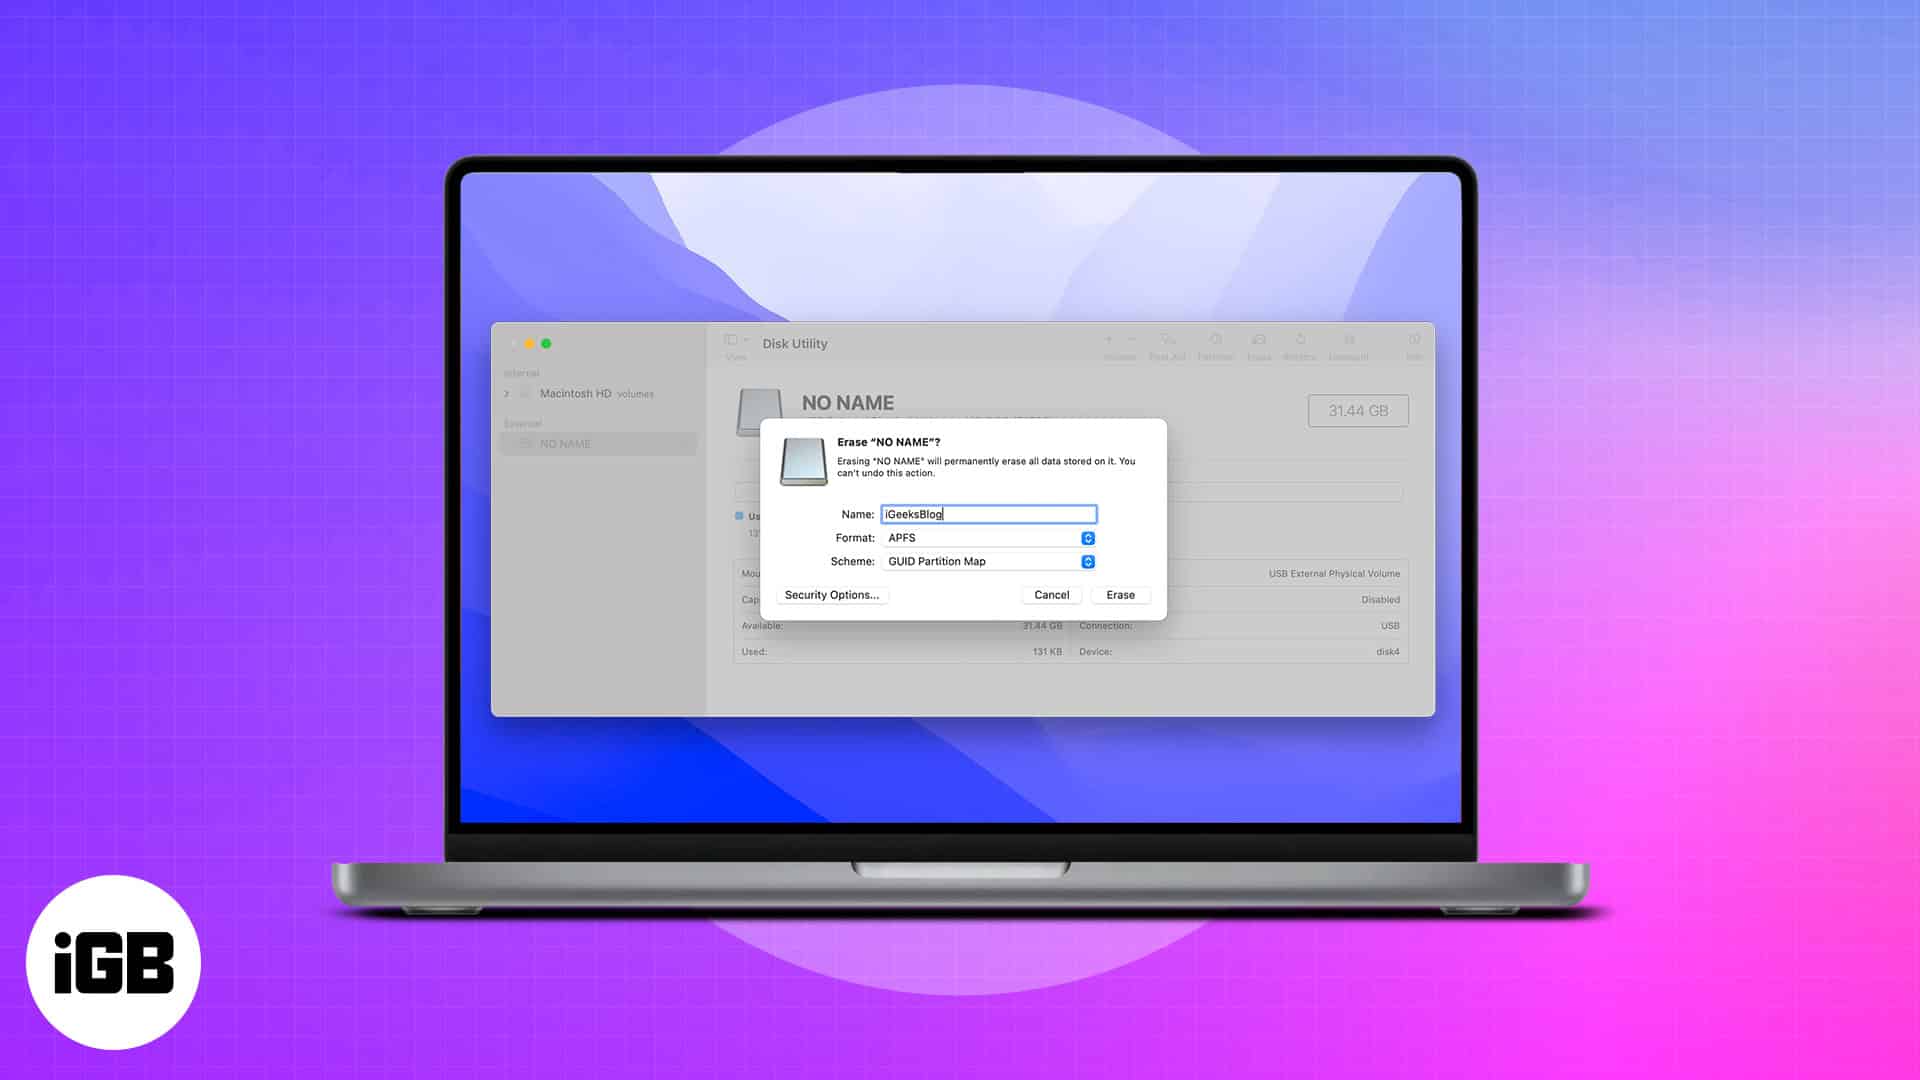
- Make sure to back up files before formatting the USB drive.
- You can format a USB flash drive with a disk utility and Terminal command line.
- Formatting completely erases the drive.
There are a substantial number of Mac users worldwide. Despite this fact, not all accessories or peripherals are Mac-compatible. A USB flash drive is one of the goods that work flawlessly with macOS Ventura or earlier; however, it must be made compatible and have enough storage space. So, read on to learn how you can format a USB drive on a Mac.
How to format a USB flash drive with disk utility
Note: Take a backup of your data before beginning the process of erasing the USB flash drive on your Mac.
- Connect USB flash drive to Mac.
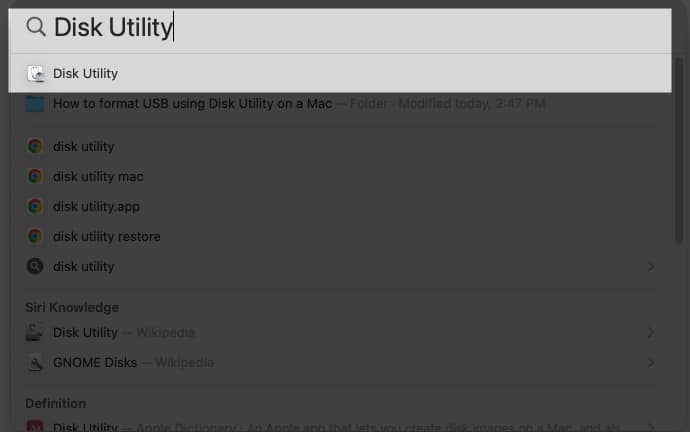
- Launch Spotlight Search (Command+Spacebar).
- Type disk into the search box and open Disk Utility.
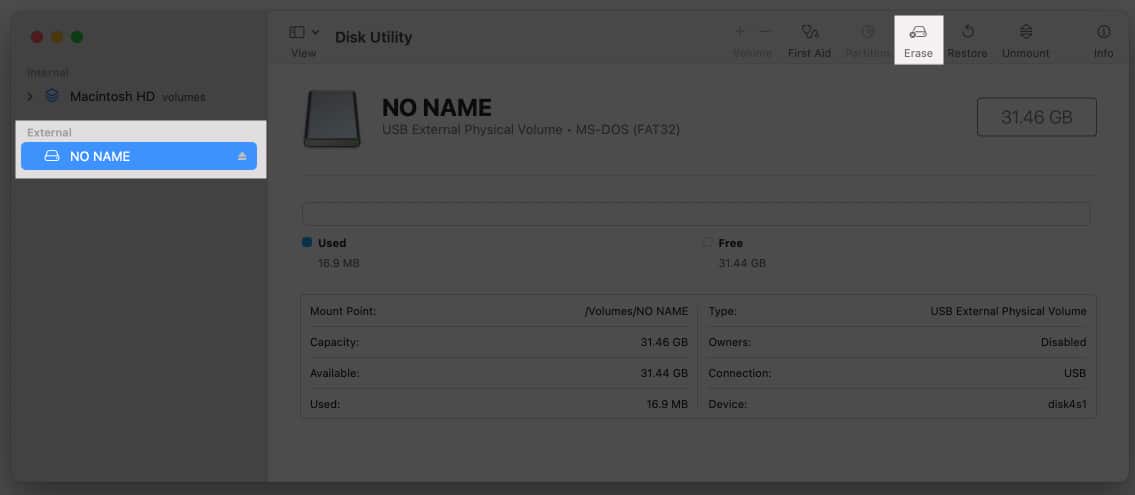
- Select your USB drive → Click Erase.
- Write your USB name next to the Name section.
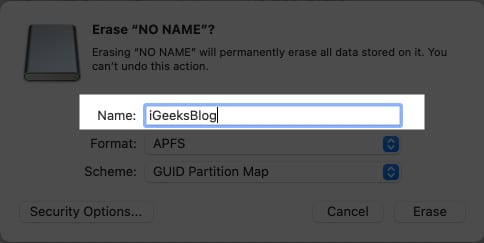
- Then select the desired format from the dropdown menu next to Format. The options are as below:
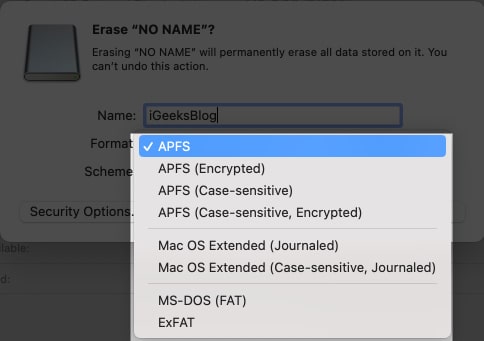
- APFS: APFS is a standard Mac file system with features such as robust encryption and others. macOS 10.13 and later are supported.
- APFS (Encrypted): A protected format that is supported with macOS 10.13 and later.
- APFS (Case-sensitive): It is an APFS format that treats folder names like “iGeeksBlog” and “IGEEKSBLOG” as two independent entities.
- APFS (Case-sensitive, Encrypted): This format has both case-sensitive and secured format attributes.
- Mac OS Extended (Journaled): An encrypted or case-sensitive format that safeguards the hierarchical file system’s integrity. Advised for macOS 10.12 or earlier.
- Mac OS Extended (Case-sensitive, Journaled): A case-sensitive format that treats “igeeksmedia” and “IGEEKSMEDIA” as different entities. Recommended for macOS 10.12 or earlier.
- MS-DOS(FAT32) and ExFAT: Though FAT32 and ExFAT work for Mac, these formats are commonly used for Windows. FAT32 is suggested for disk sizes less than 32GB, and ExFAT is suggested for disk sizes more than 32GB.
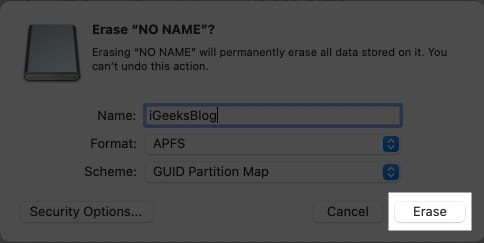
- Click Erase.
To understand more about the APFS format, check our post on how to add, delete, or wipe APFS Volumes on Mac.
Become an iGeeksBlog Premium member and access our content ad-free with additional perks.
Format a USB drive on Mac with multiple partitions
- Launch Disk Utility on Mac.
- Choose a Partition from the sidebar menu.
- Click Partitions from the top menu.
- Select the (–) sign under the pie chart.
- Click Apply → Partition on top → Done.
- Pick the latest partition and click Erase.
- Choose Erase → Done.
How to format USB on Mac using Terminal command line
- Open Spotlight → Terminal.
- Copy and paste the commands below one after the other, then hit the return key after each one.
- diskutil list
- diskutil eraseDisk FILE_SYSTEM DISK_NAME DISK_IDENTIFIER
- As per your desired format, choose a command; copy-paste, and hit return.
- Mac OS Extended (Journaled): diskutil eraseDisk JHFS+ DiskName /dev/DiskNodeID
- Mac OS Extended (Case-sensitive, Journaled): diskutil eraseDisk HFS+ DiskName /dev/DiskNodeID
- MS-DOS(FAT32): diskutil eraseDisk FAT32 DiskNameGoesHere /dev/DiskNodeIDHere
- ExFAT: diskutil eraseDisk ExFAT DiskName /dev/DiskNodeID
Note: Change the file system’s disk name in the terminal commands.
Is formatting USB safe?
Yes, formatting your USB is perfectly safe. You need this because when you purchase a new flash drive, it is either unformatted or formatted for out-of-box use on Windows machines. So, in order to prepare it for your Mac, you must format the stick to a Mac-specific file system. Furthermore, if you forget or fail to back up your data before beginning the procedure.
FAQs
A USB should have the APFS format, which is the default format for Mac. If you can’t locate the APFS format, you may alternatively try the Mac OS Extended version.
Change your read-only USB on Mac without formatting by right-clicking the USB in Finder → selecting Get Info → Sharing & Permissions → choosing Read & Write.
Read more:
