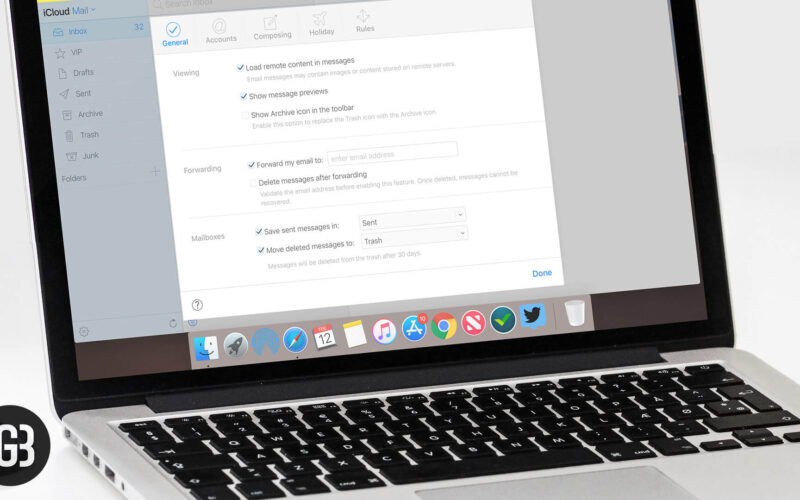
Your professional life requires you to use multiple email IDs. Apart from your official email, you may like to use iCloud Mail, which is an excellent choice. But checking different email IDs frequently can eat up your time. A better way is to get all those emails delivered on a single address. If you are using your iCloud Mail for serious communication (like bank statements, shopping bills, travel plans or personal business), you can set up iCloud email forwarding to another address.
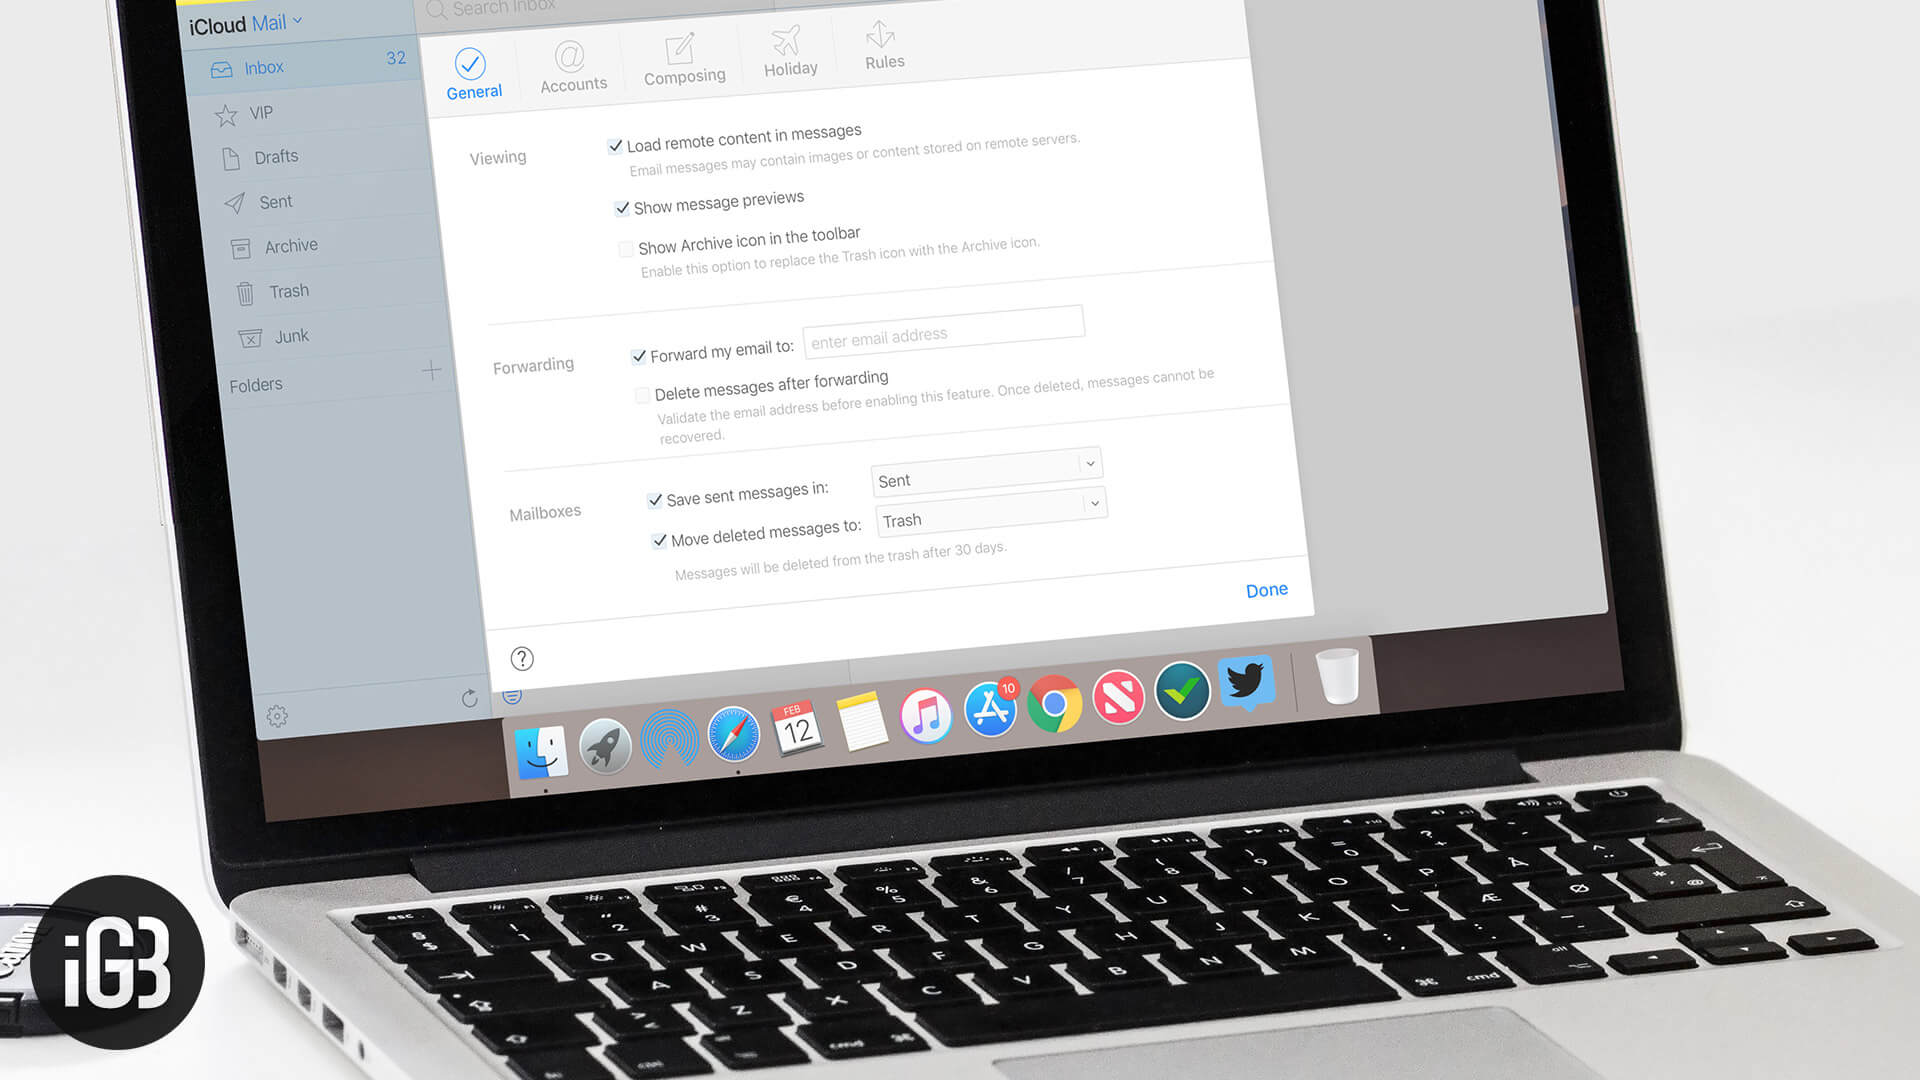
By employing a simple method, you can automatically forward emails in iCloud. A single account can be a window of multiple email communications.
How to Set up iCloud Email Forwarding to Another Account
Step #1. Open www.icloud.com on your computer.
Step #2. Sign in with your Apple ID and password. If you have set up two-factor authentication, you need to insert a six-digit code sent on your iPhone.
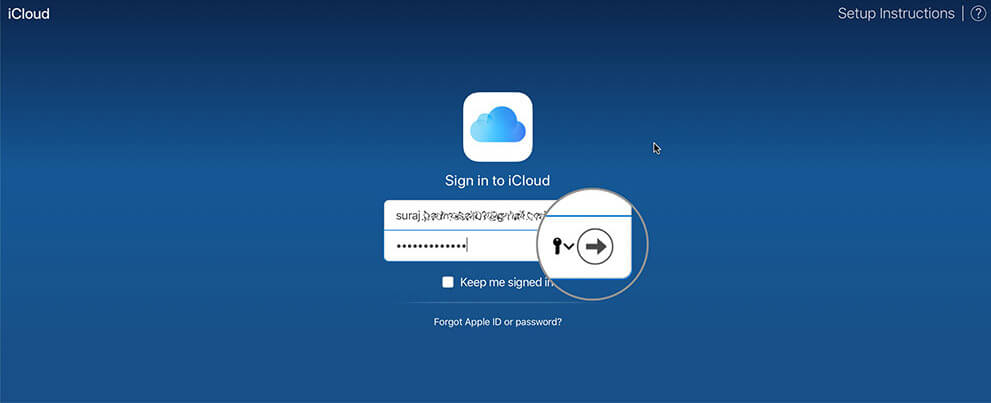
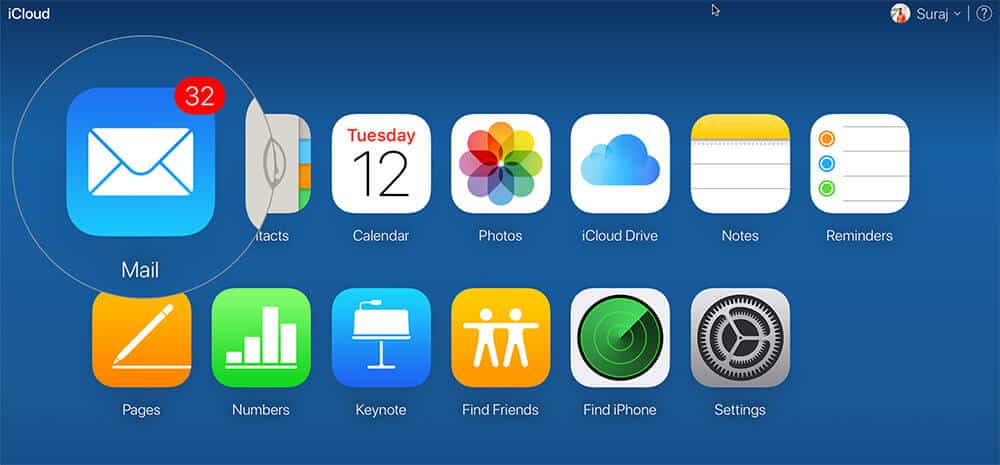
Step #3. From the Launchpad of your iCloud, click on Mail square box, which is the very first in the upper row.
Step #4. Next, click on the Gear icon from the bottom left corner. Actions menu with some options will appear; click on Preferences.
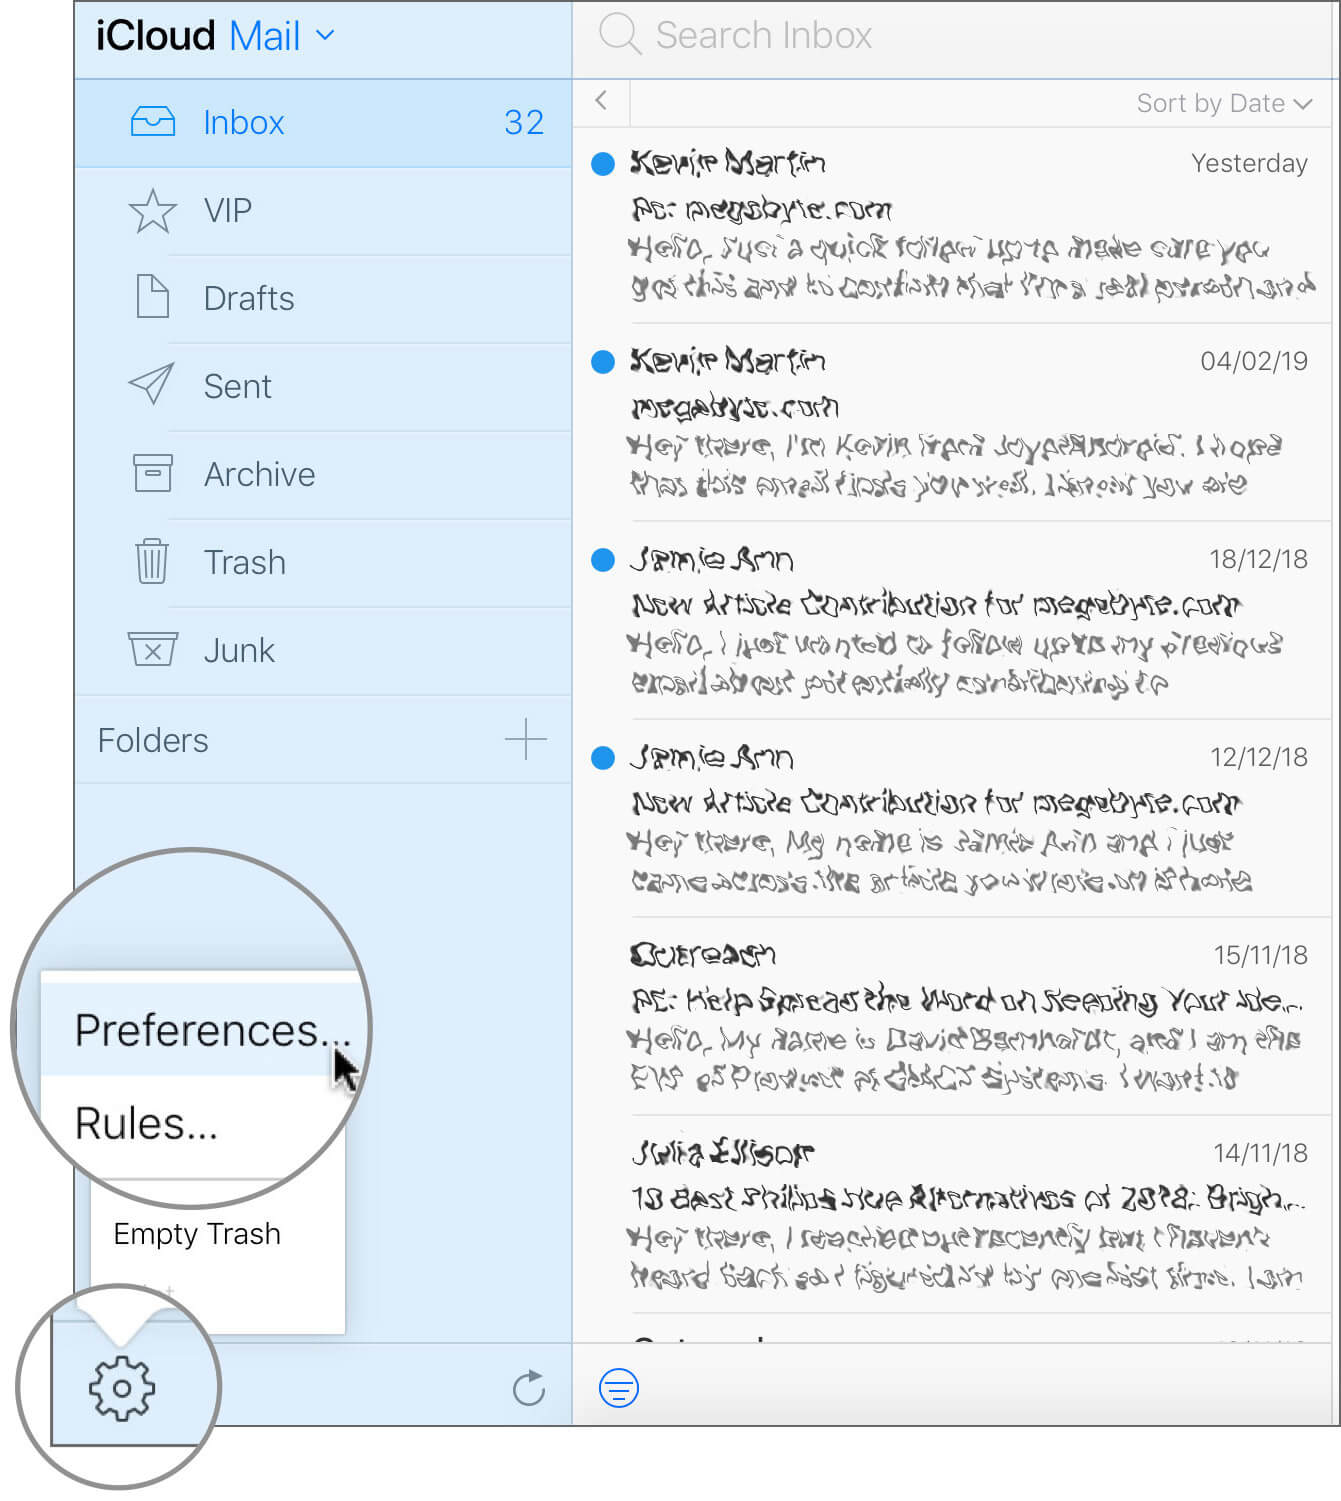
Here, you should be on General preference.
Step #5. Click on the checkbox that reads: “Forward my email to.”
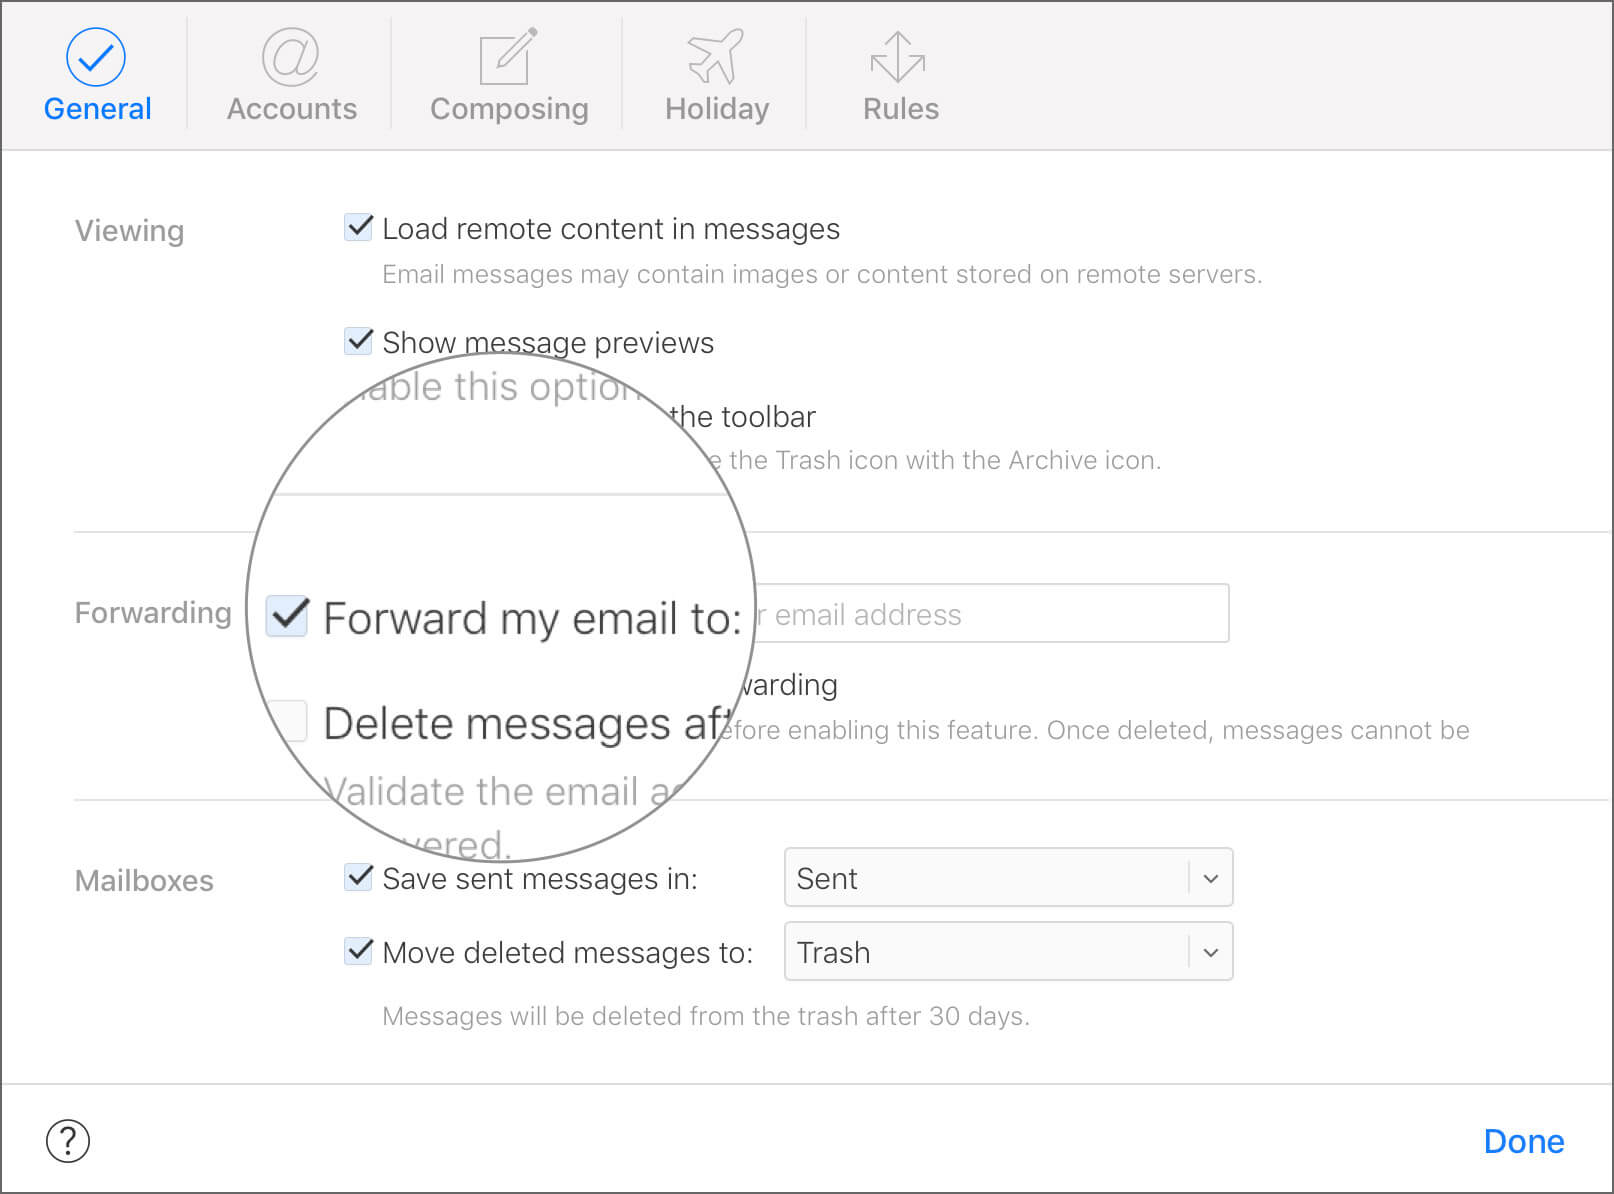
Step #6. In the text field, type in your forwarding email address.
If you don’t want to keep emails in your iCloud Mail, click on “Delete messages after forwarding.” Finally, click the Done button.
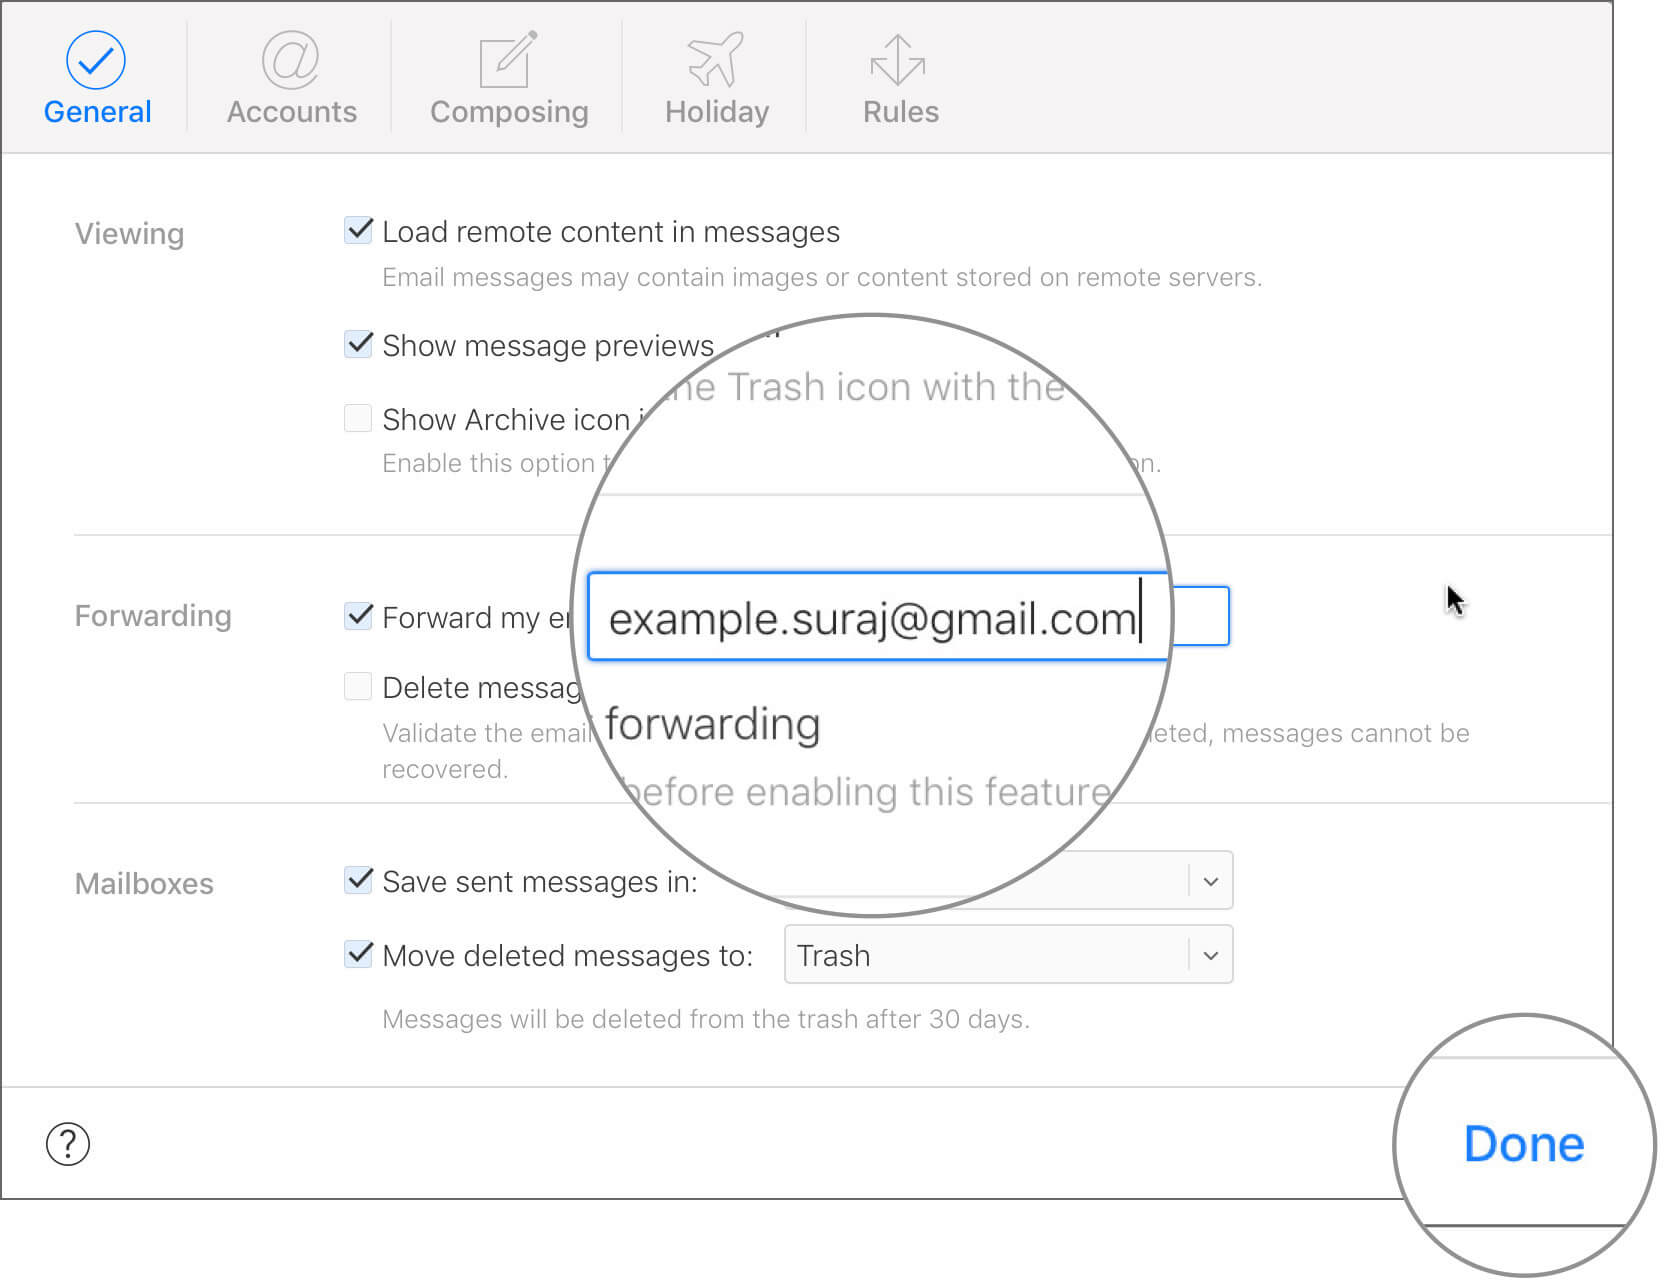
Note that once the message is deleted from iCloud Mail, you won’t be able to recover it.
You have done it!
I have a suspicious mind; hence I always test such features. You can also run a test by sending an email to your iCloud Mail from another account. Alternatively, you can ask your friends or colleagues to shoot an email to your iCloud Mail and then check that email is delivered to your forwarding account.
How to Forward Specific iCloud Emails to Another Account
The method above will send all your iCloud Mails to another account, and over a period that another account will be cluttered with countless messages. Why don’t you set rules on your iCloud Mail? By this way, you can filter specific emails, and only a few selected iCloud emails will be forwarded to your another account.
Become an iGeeksBlog Premium member and access our content ad-free with additional perks.
You can ask iCloud to filter specific senders or emails with a particular word in the subject lines.
Follow the first four steps as mentioned above.
Step #1. When the Actions menu appears, click on Rules.
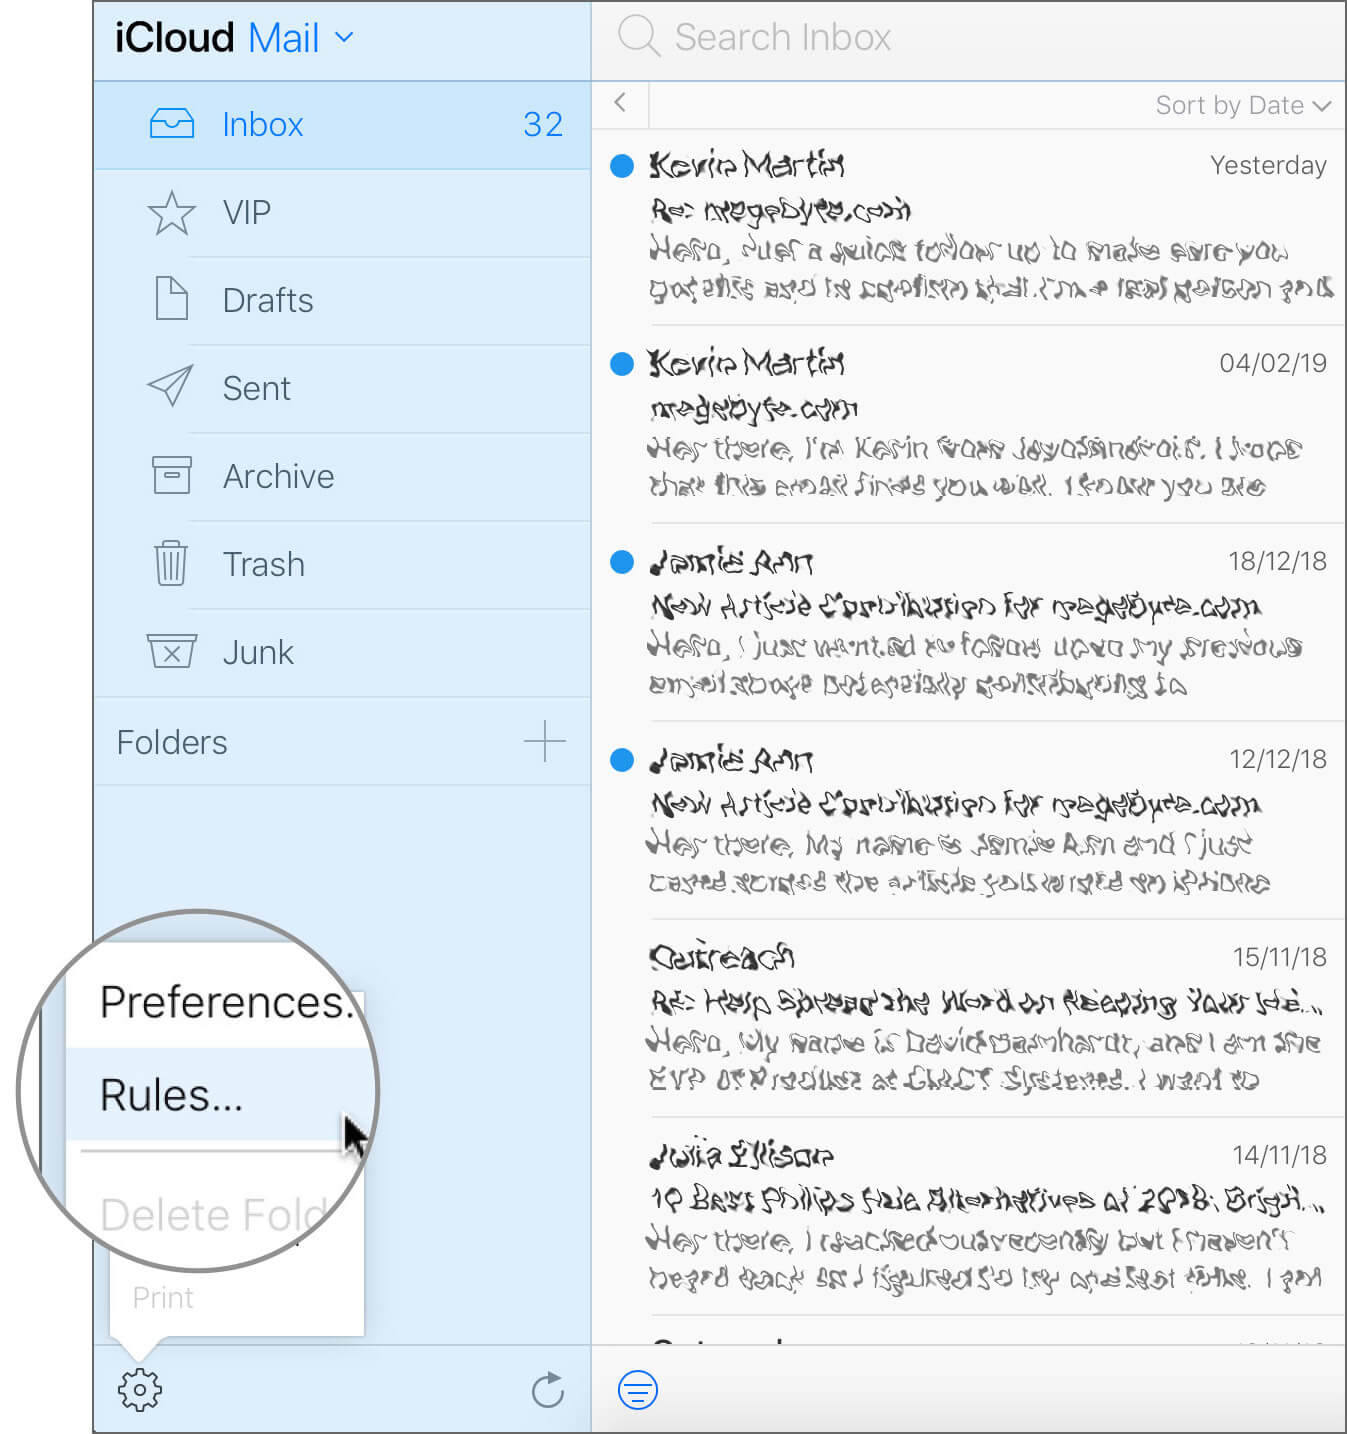
Alternatively, you can click on the Rules tab if the Preferences dialog box is there on the screen.
Step #2. Next, click on Add a Rule.
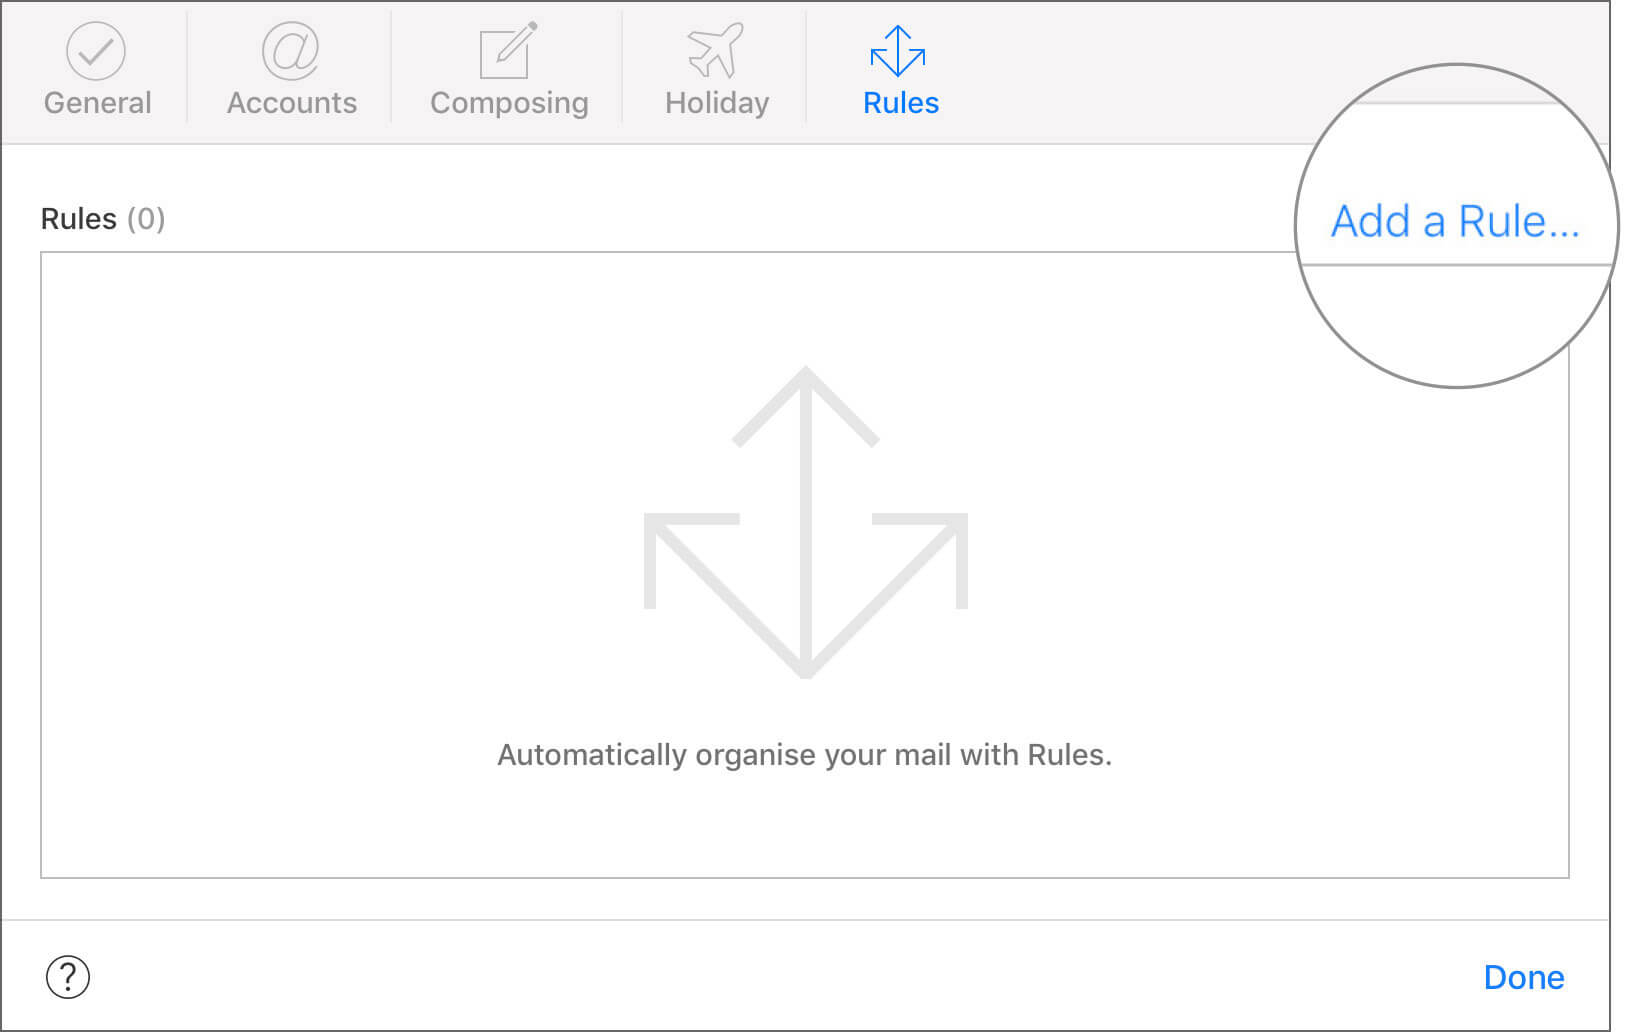
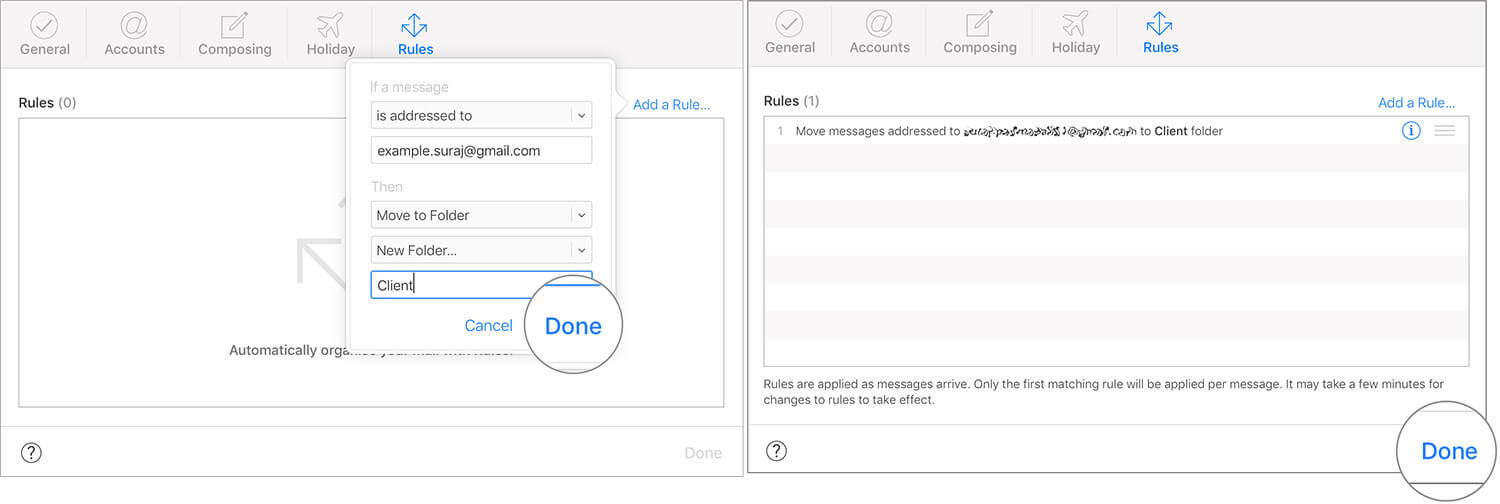
Step #3. A small box appears with “If a message” title.
In this box, you need to fill up a condition: If a message is (from email ID, is addressed to, is Cc’d to, is addressed or Cc’d to, has subject containing, and has list-id containing), then (conditions).

For example, if you receive a message from your client, you can move it to your choice of folders.
Don’t forget to enter the forwarding email address.
Step #4. Click on Done button; again, click on the Done button to finish the process.
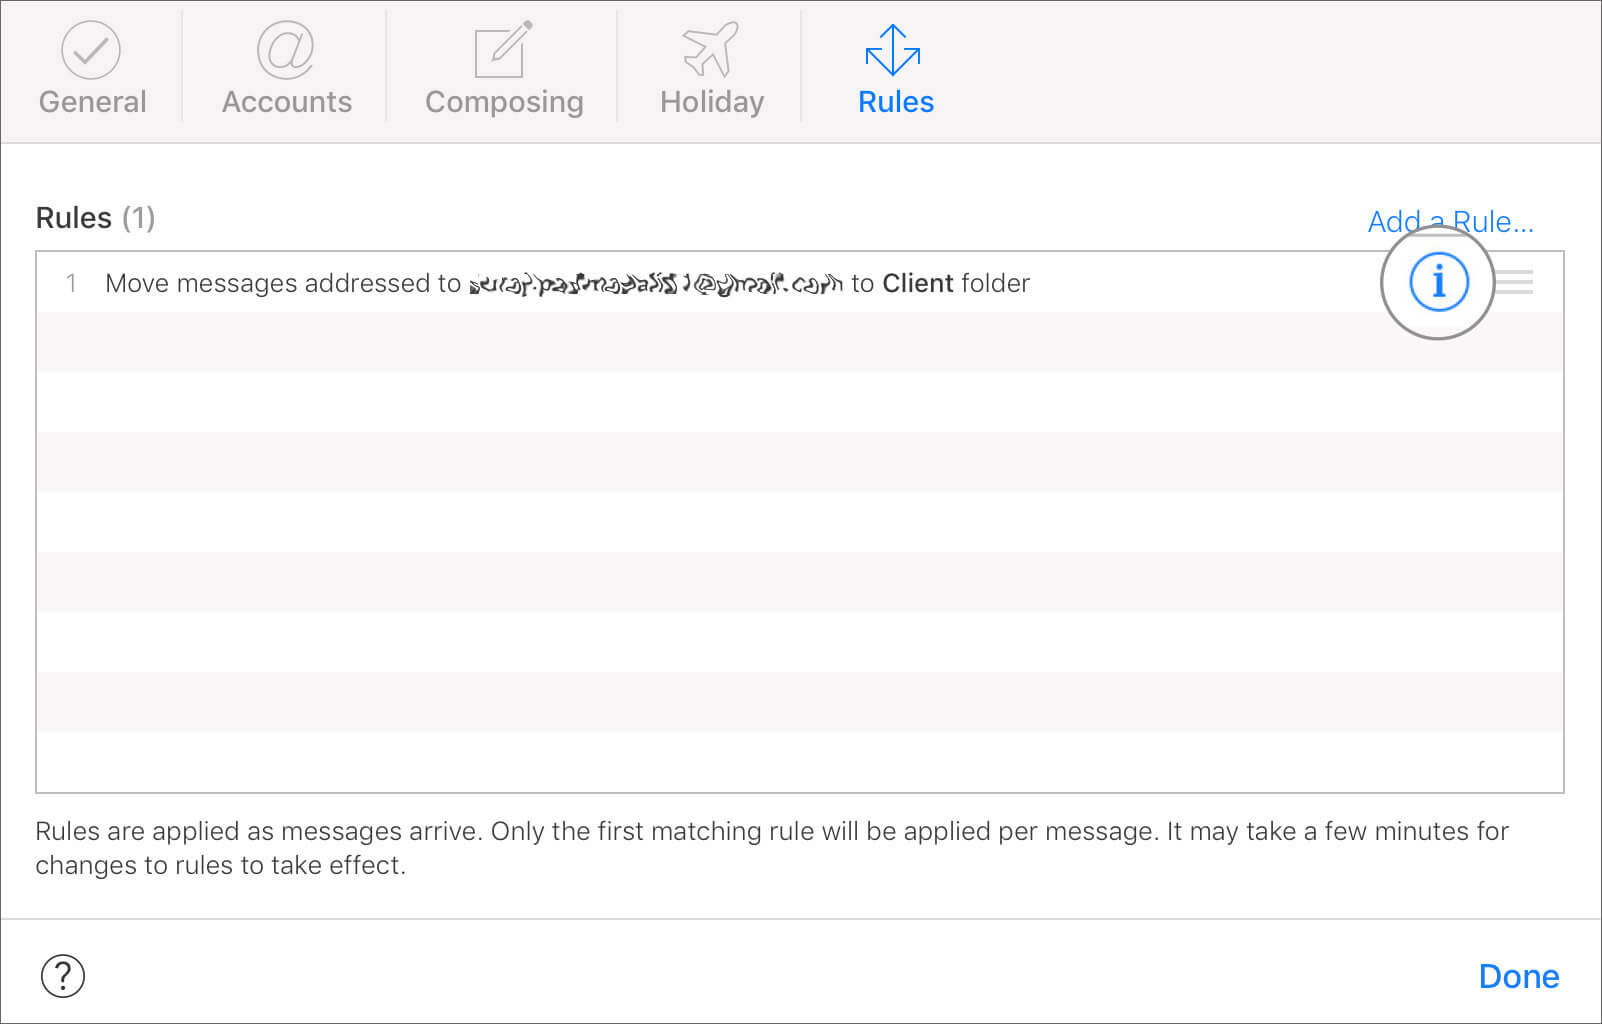
Later, you can remove this rule by clicking on the Rules tab. Next, click on information (i) icon and select the Delete button. A dialog box will ask your confirmation; click on Delete button again to get rid of that rule.

That’s it!
Signing off…
Forwarding an iCloud email is one of the useful hacks in your professional life. I particularly like its ability to set rules, which permit me to make essential changes in my iCloud Mail.
Have a quick look at the below posts as well:
- Remove Activation Lock on iPhone and iPad
- How to Find Your Mac UDID for Beta Testing of The Mac Apps
Would you like to forward iCloud emails to another account? Do you think Rules have any practical use in your personal or professional life? Share your feedback with us in comment below.

