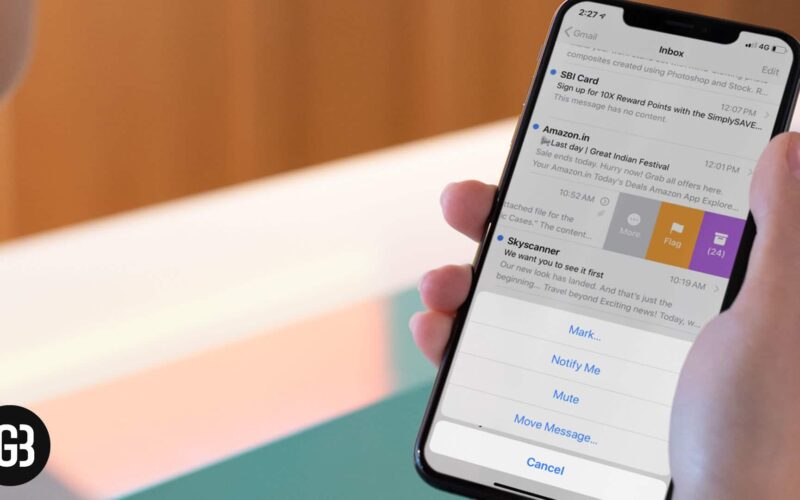
Emails are often like live conversations; you say something, and the receiver replies, starting message threads. Sometimes this game of two and fro becomes a super big thread of emails. The default email threading feature of the Mail app is quite helpful in such scenarios, as it stacks all these emails in one thread.
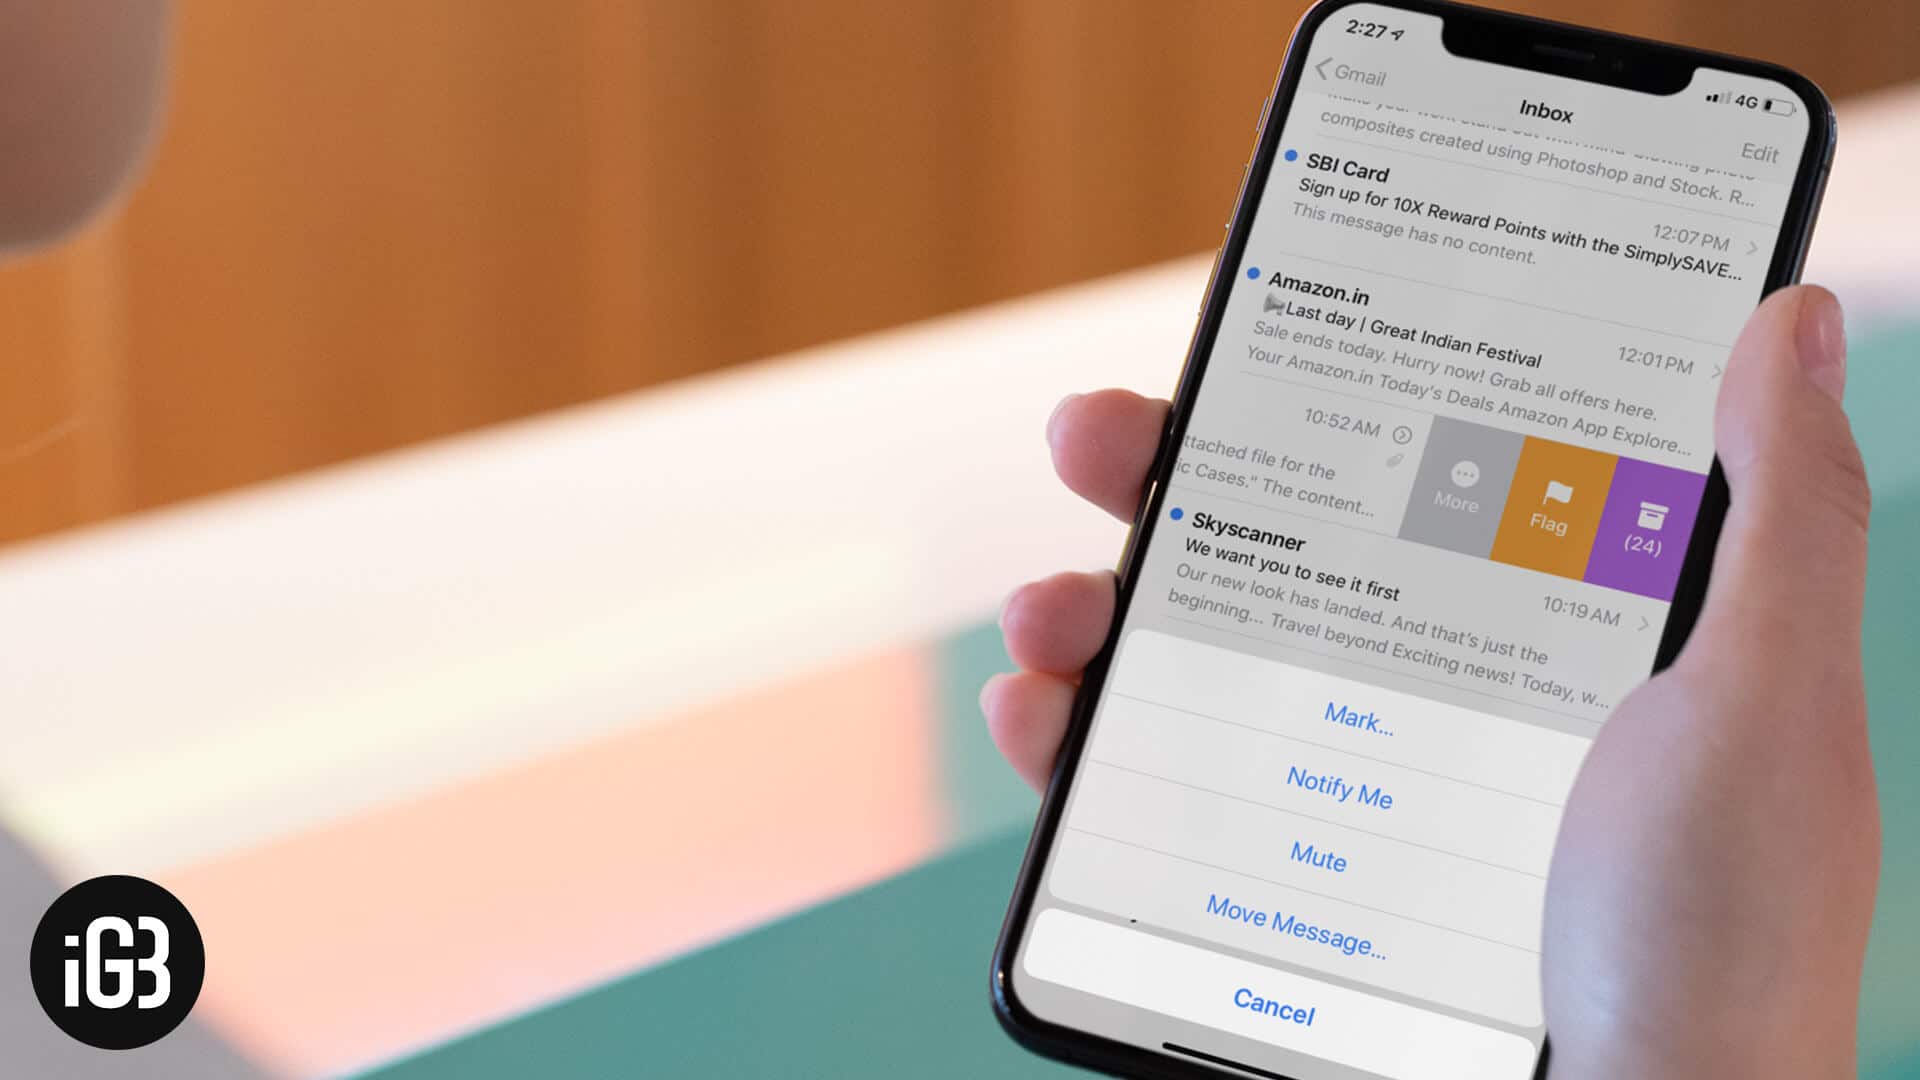
Instead of scrolling up or down for each conversation, you have one single window where all mails are lined up in a conversational thread. Though a helpful feature, some might not like it as is; they may want to disable the thread or organize message threads differently. Gratefully, the Mail app on your iOS and iPadOS devices incorporates such options.
Whether you want to completely turn off email threads, customize their viewing option, or mute them, you can do this more easily. Easy!! As in most cases, you must turn off/on the toggle tab to change or access a setting. So, let us not delay further and explore all the options related to Threading.
How to Disable Message Thread in Apple Mail
The Mail app on your iOS and iPadOS devices has an email threading feature by default. Though not everyone enjoys this functionality and the clutter it may cause. As emails are received and replied to, the conversations stack up, and it becomes challenging to look for something specific.
This is especially the case when multiple people are part of a single conversation. Instead of sifting through all the mails, one can simply look for the specific one. All in all, it is better to understand how to disable threads in Mail on iOS and iPadOS.
Step #1. Open the Settings app on your iPhone and iPad.
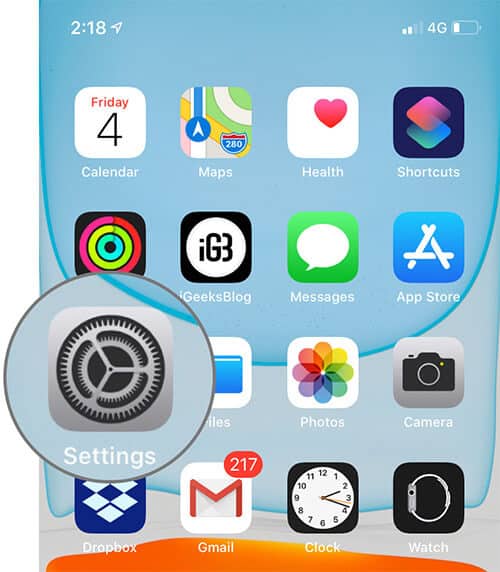
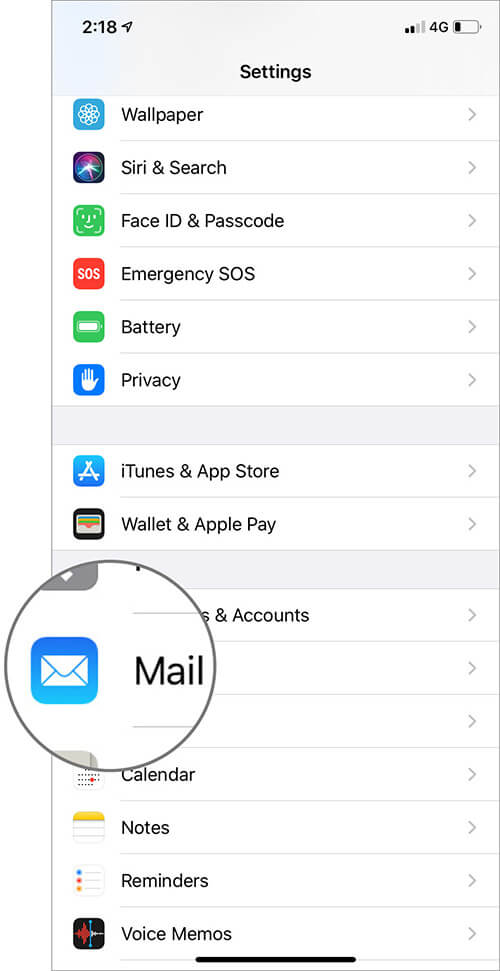
Step #2. Scroll down and select the Mail option.
Step #3. Go to Threading options and toggle off the tab next to Organise by Thread.
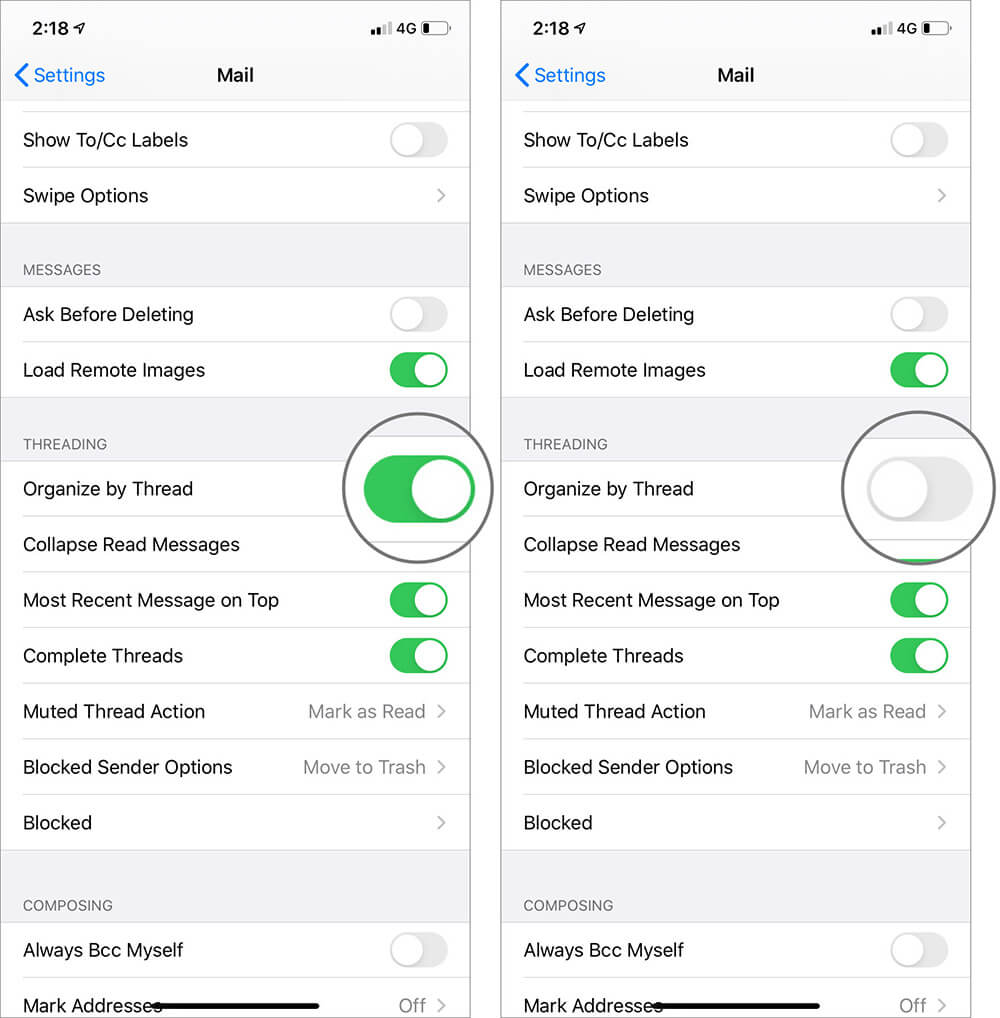
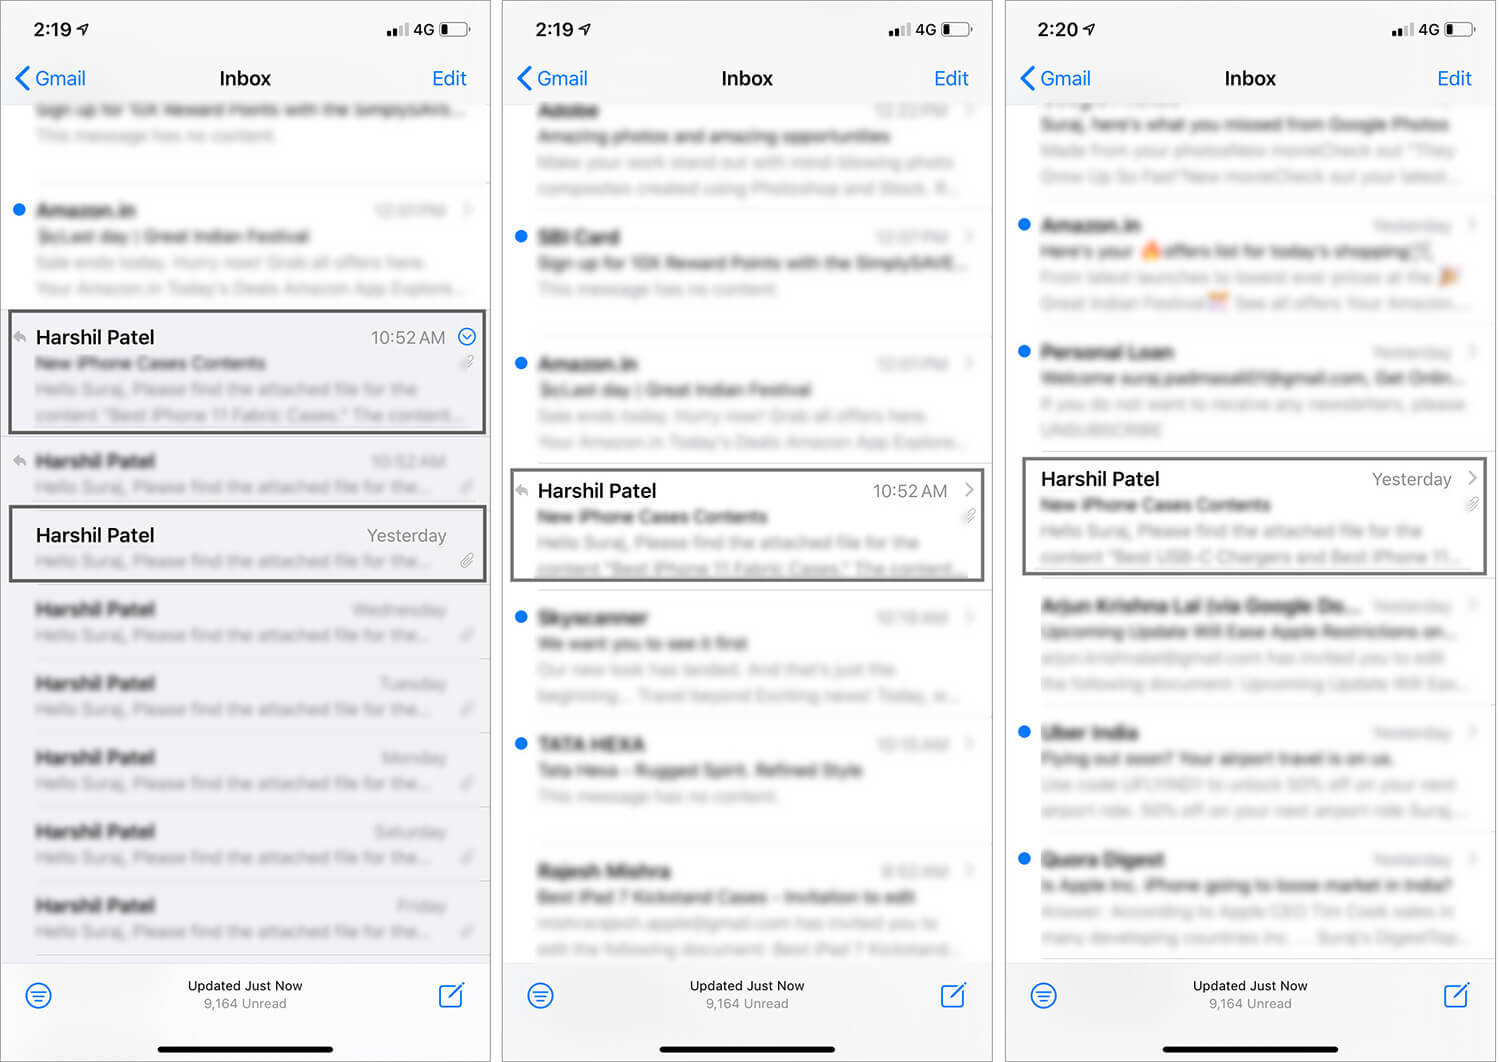
Once disabled, you will see all the emails separately lined as per the date and time they were received. Check out the before and after image below for better understanding.
If you want to enable message threading again, open Settings → Mail and toggle on the tab next to Organise by Thread. The process is so simple that you can toggle on/off as per your convenience. Switch on when you need email thread, switch off when you are looking for individual message.
How to Turn Off Collapse Read Messages
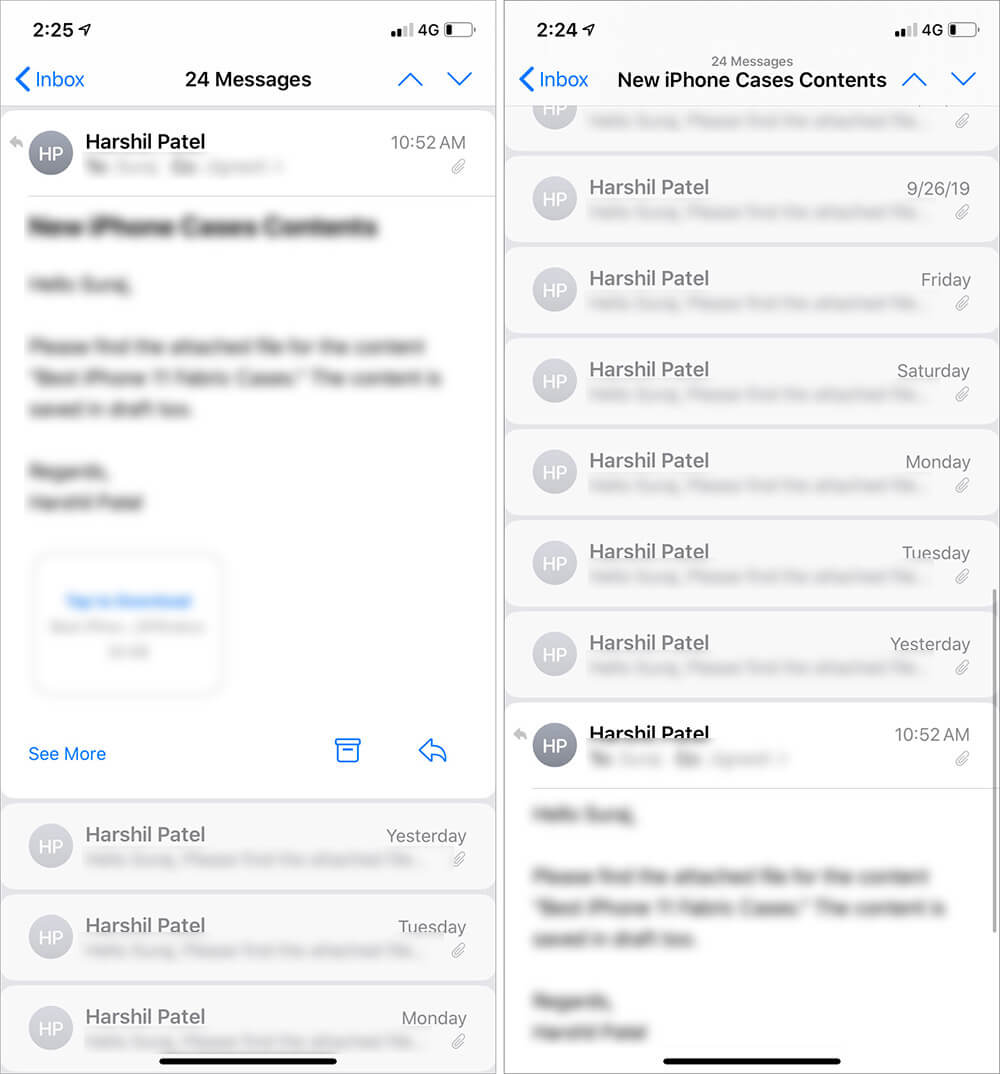
Another setting enabled by default is that read messages are displayed in the form of collapsed windows. So, while all other messages are in sort of a minimized window, only the very recent email is shown. Check out the image below for more clarity:
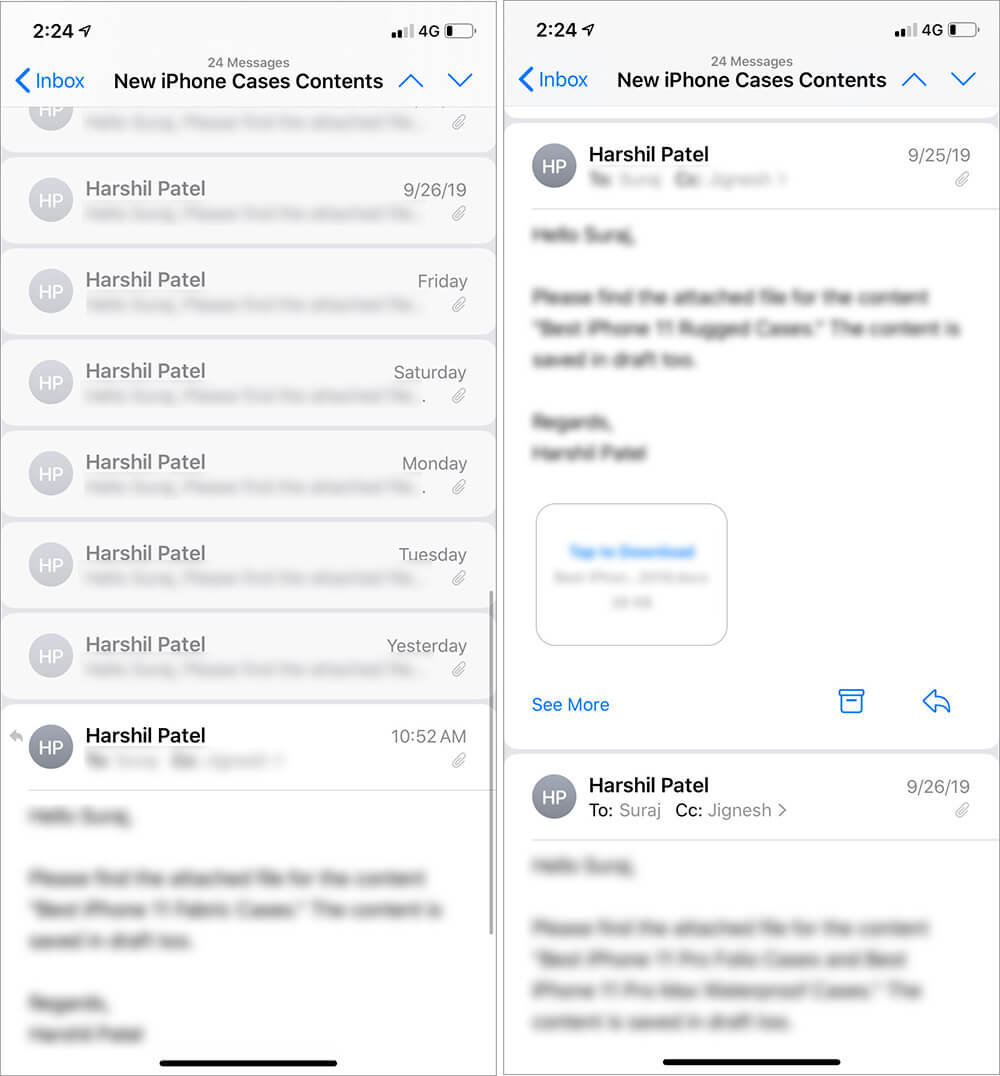
However, there might be a few who resent the feature and like all the email threads open on a full scale. Which is why Apple has incorporated the option in its recent iOS and iPadOS updates.
Step #1. Open the Settings → Mail on your devices.
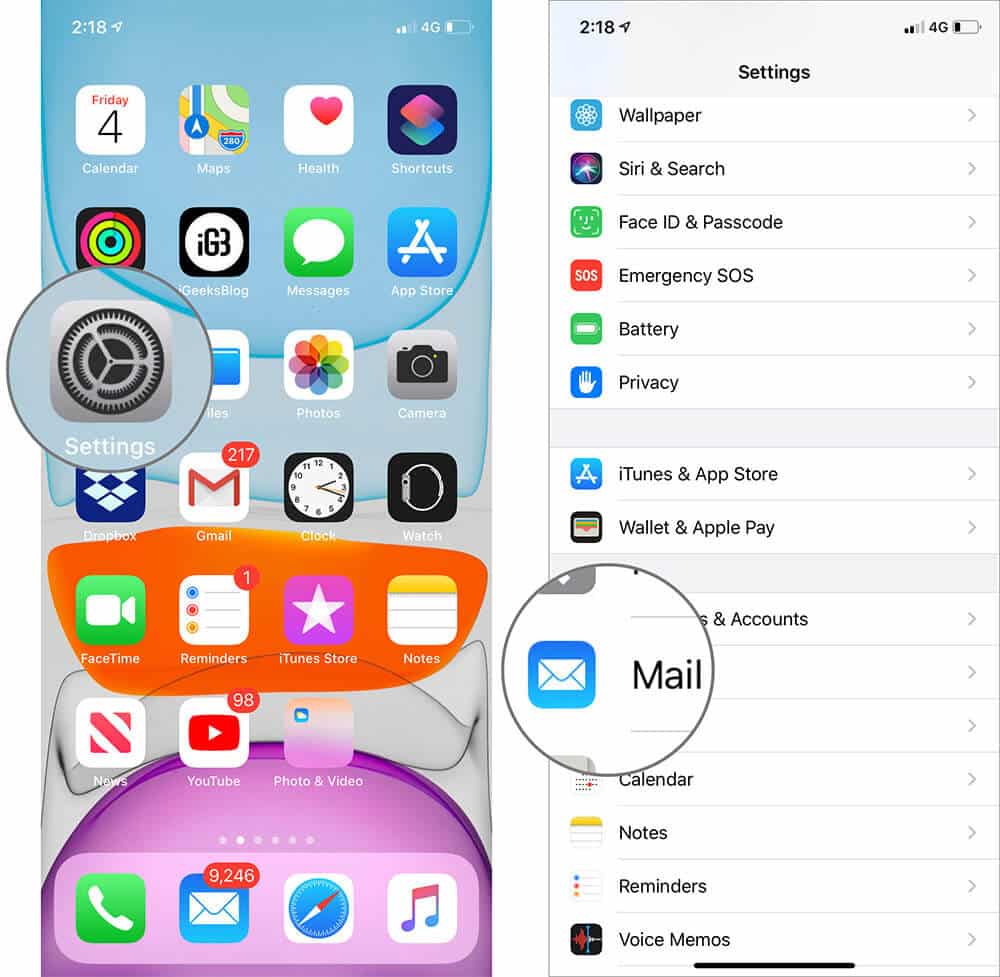
Step #2. Toggle off the tab next to Collapse Read Messages in the Threading options.
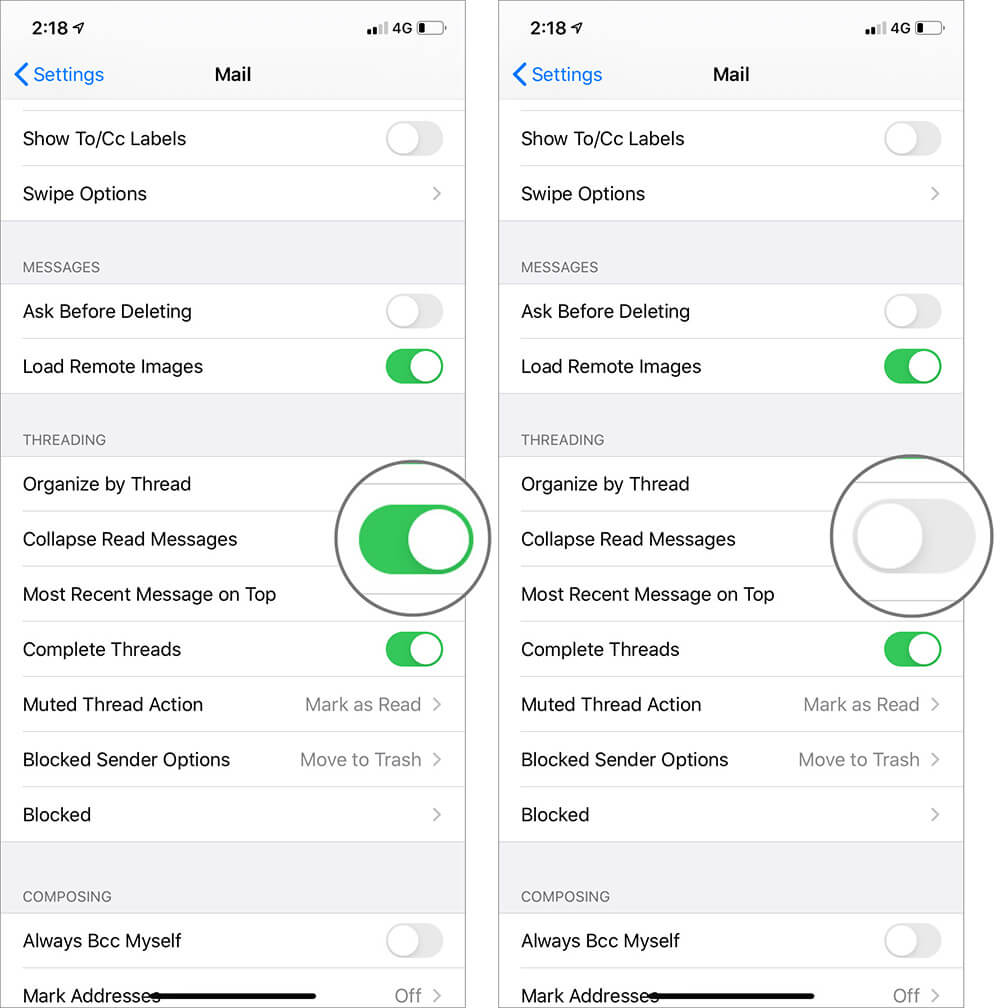
In case, you do not like this version of message threading, switchback by simply turning on the toggle.
Place Recent Message on Top or Bottom in Apple Mail
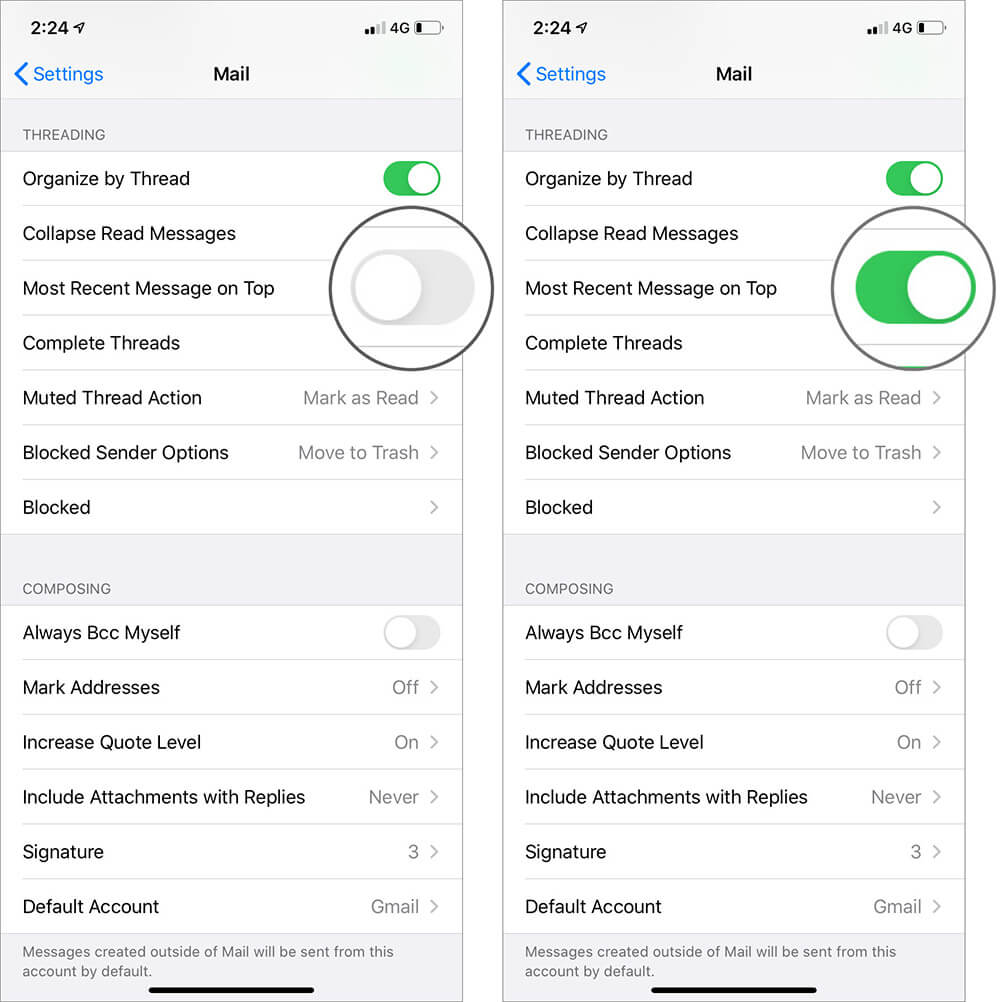
By default, recent messages are kept at the bottom, while all others are stacked above it in ascending order. Though you can switch up the setting to ensure that the recent message is always on top. The rest of the emails will follow suit and will now be arranged in descending order.
This option can be especially helpful when you have disabled Collapse Read Messages, as instead of scrolling down multiple emails, you just see the most recent one first.
Step #1. Open the Settings → Mail on your iOS and iPadOS.

Step #2. Scroll down to the Threading options and toggle on the tab next to Most Recent Message on Top.
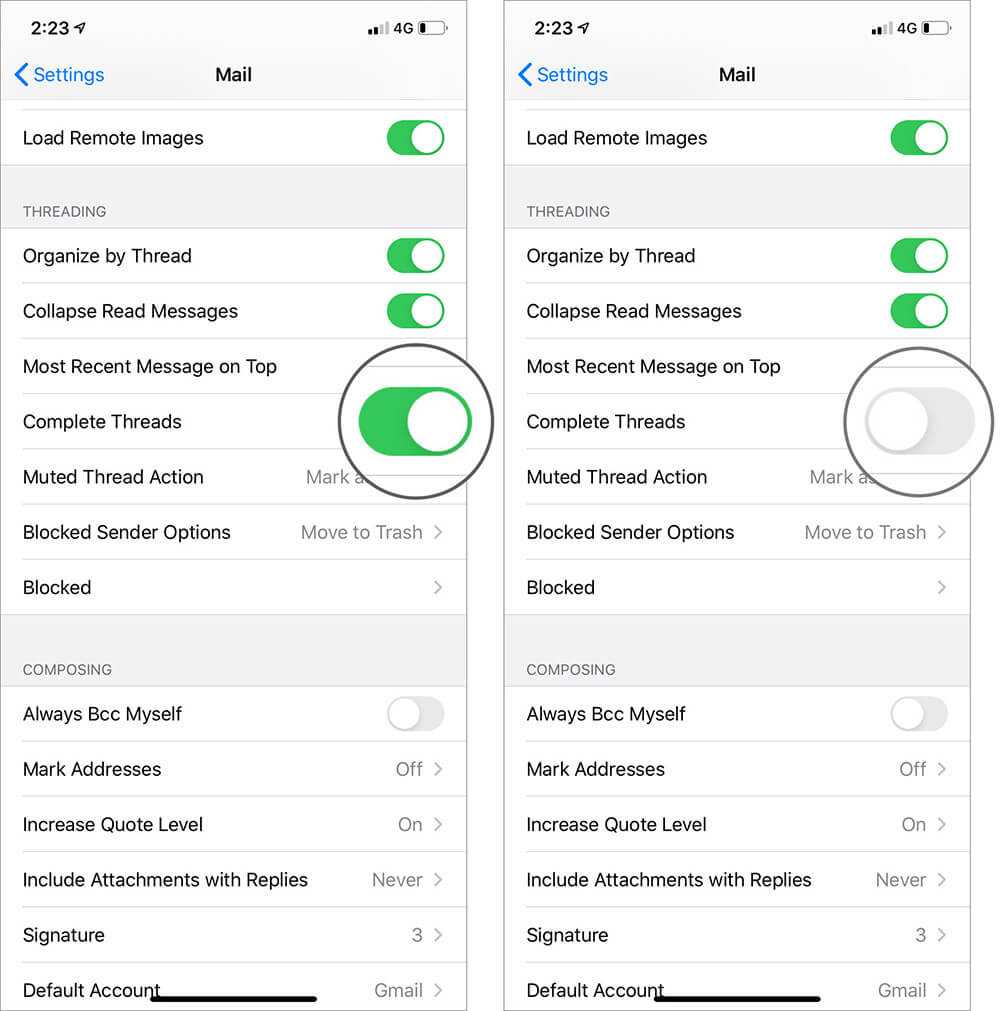
Disable Complete Threads in Apple Mail
Your inbox receives multitudes of emails; depending upon their importance, you either keep them or delete. At times, you also archive them or segregate them into different sections. In doing so, we move them out of the primary mailbox and into a separate folder.
Become an iGeeksBlog Premium member and access our content ad-free with additional perks.
The Complete Threads option enables you to view all the messages in the thread, even those which are stored outside the mailbox. For instance, an important conversation mail saved in your important mailbox is also shown.
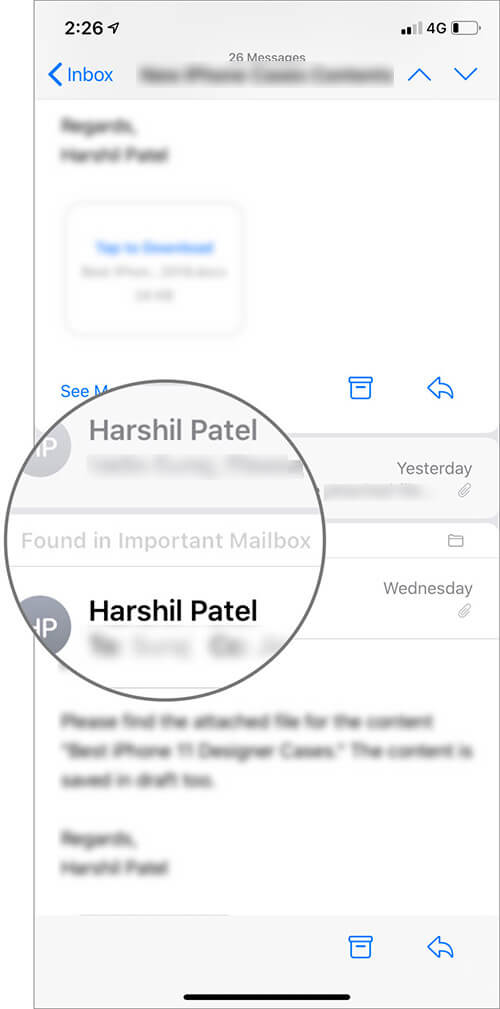
Let’s say someone only wants to see threads from the mailbox, then the option could be disabled.
Step #1. Open the Settings → Mail on your iOS and iPadOS.

Step #2. Scroll down to the Threading options and toggle off the tab next to Complete Threads.
Mute Message Threads
When part of a group email conversation where you do not have active participation, notification pings could be irritating. Apple developers seem to face a similar issue, maybe that’s why the option of muting message threads was introduced in iOS and iPadOS. Check out how:
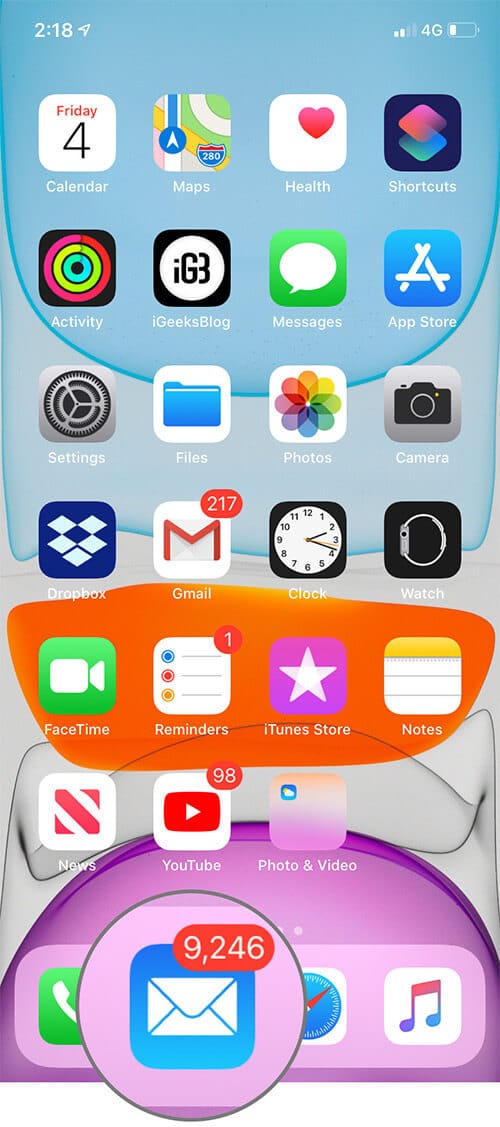
Step #1. Open the Mail app on your device.
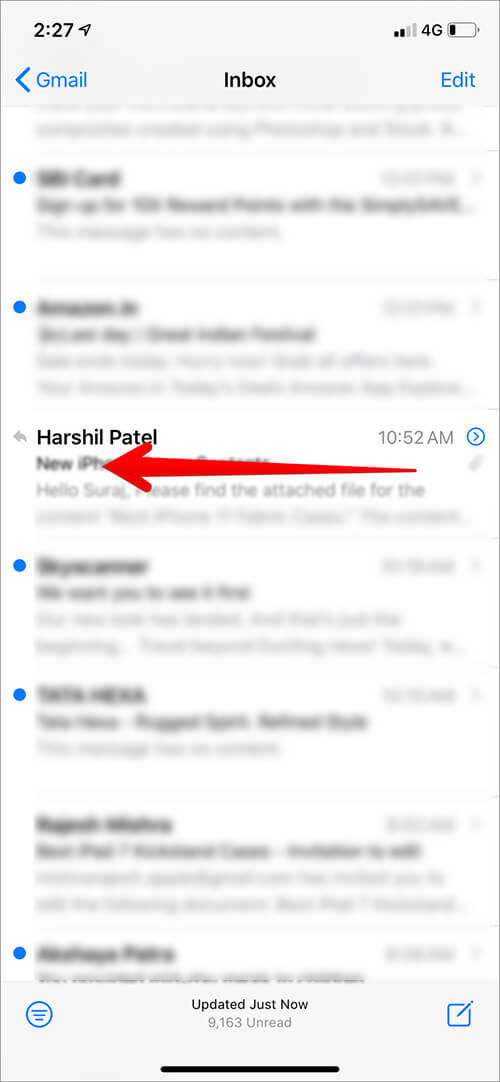
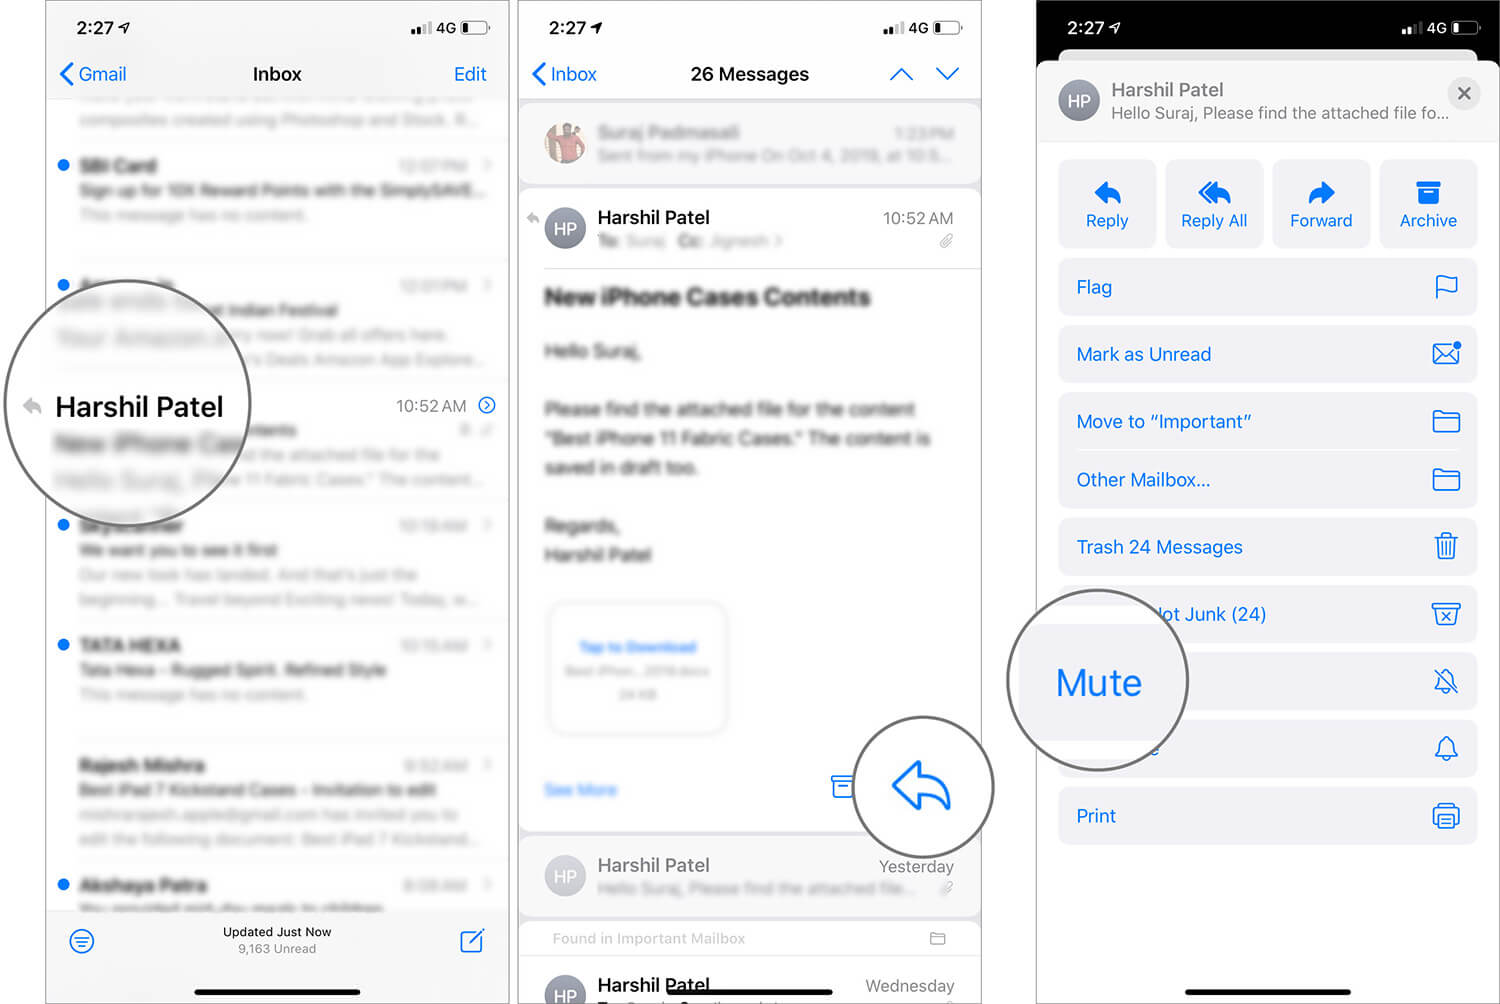
Step #2. Select the email thread you want to mute and swipe left.
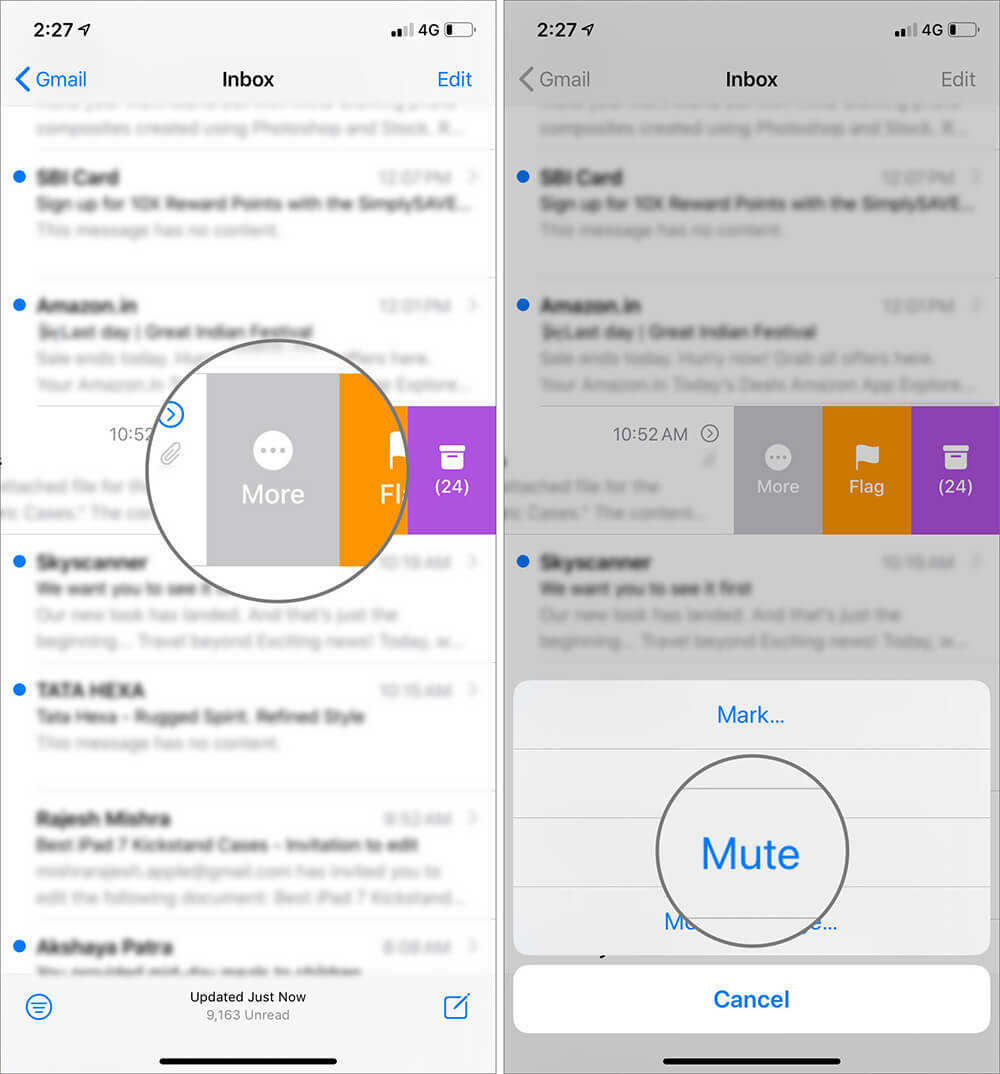
Step #3. Tap on More (…) from the hidden actions bar. and Tap on Mute from the options.
You can also mute notifications for an email thread from the thread itself. Open Mail → Thread, here tap on Arrow icon at the bottom right of the page. Scroll down and tap on Mute.
Along with this nifty trick, the makers have also added an option to customize the action.
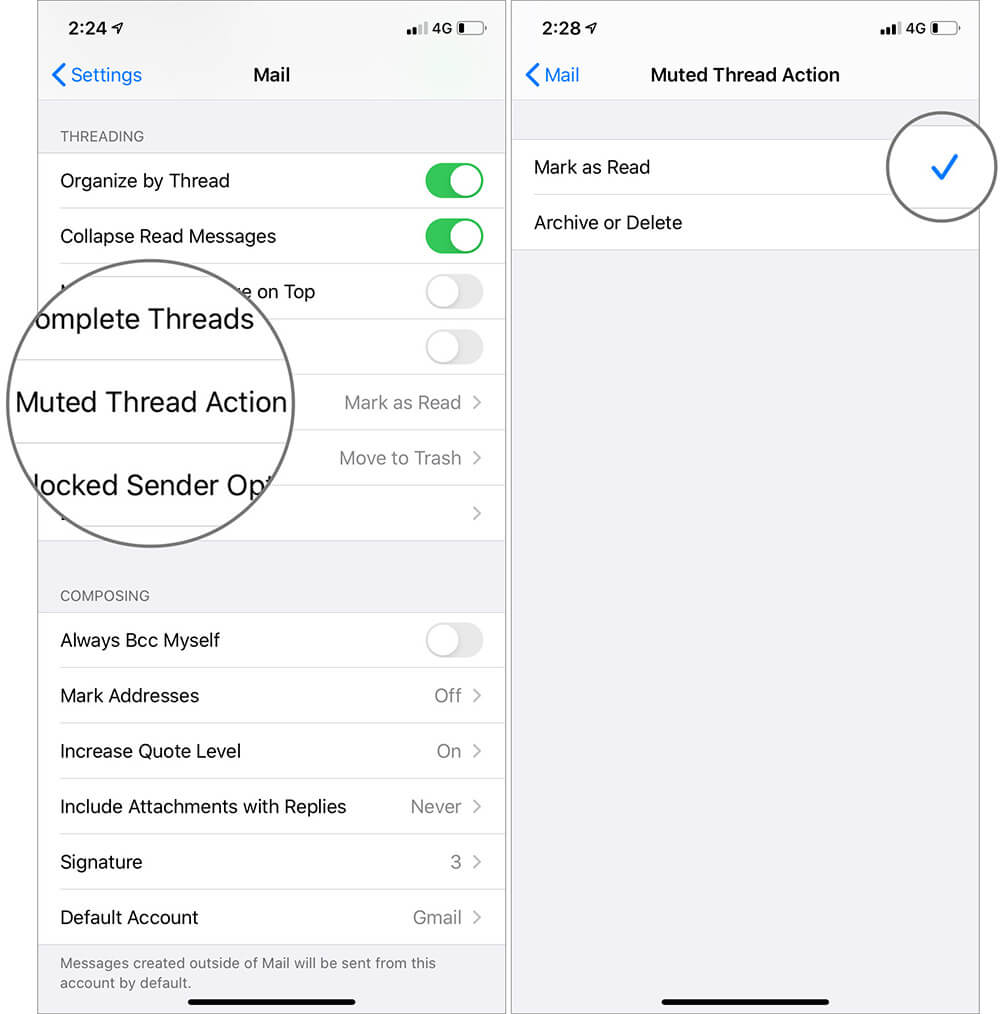
Thanks to which, when you mute a thread, you can decide what happens to it, at the same time. You can either choose to ‘Mark as Read’ or ‘Archive or Delete,’ depending upon your preference.
Customise Muted Thread Action
Step #1. Open the Settings → Mail on your iOS and iPadOS.

Step #2. Go to the Threading options and tap on Muted Thread Action and select your preference from the given options.
Similarly, you can also customise what happens to the blocked messages.
Customise Block Email Options
Unwanted and spam emails crowd your inbox almost as much as important mails. So, why waste your time when you can simply block them. However, you can save time further by deciding what happens to these emails when you block the sender.
Step #1. Open the Settings → Mail on your iOS and iPadOS.

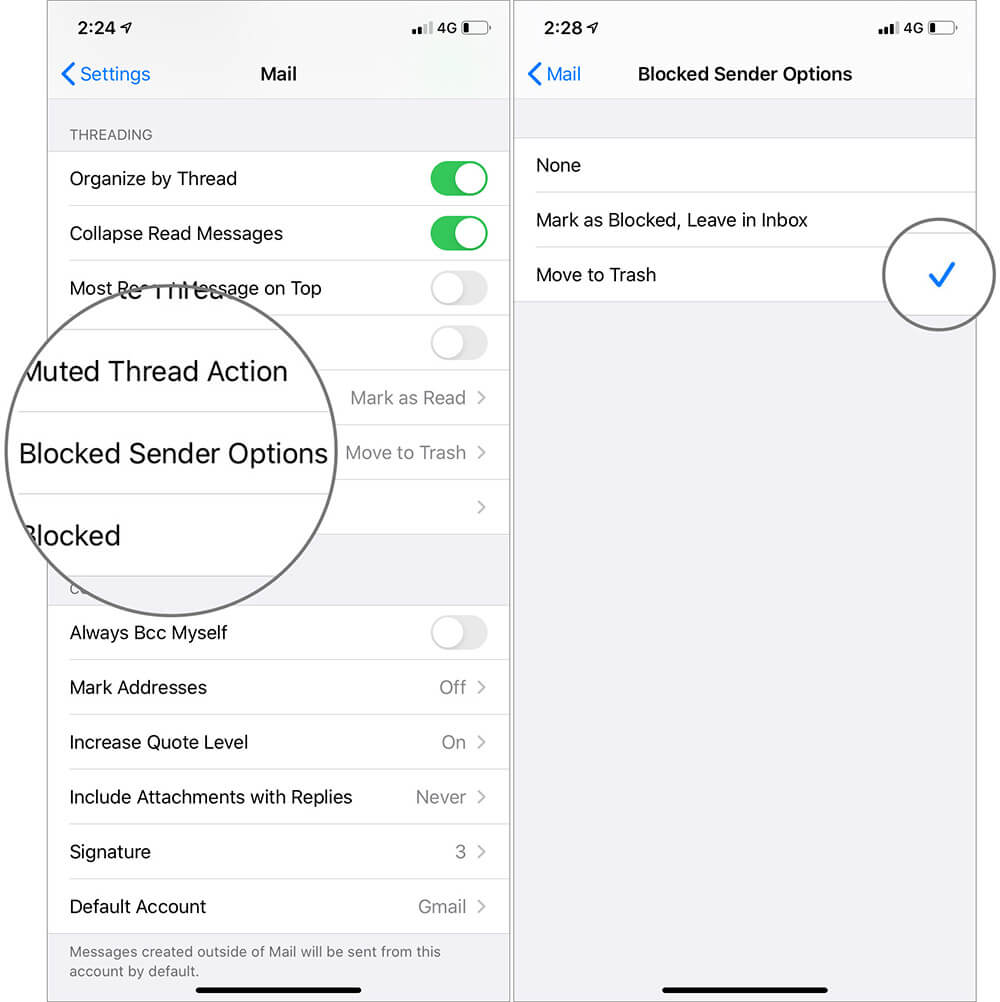
Step #2. Go to the Threading options and tap on Blocked Sender Options. Select your preference from the given options:
- None
- Mark as Blocked, Leave in Inbox
- Move to Bin
That’s All Folks!!!
We each have our own style of managing our emails; some fall in the category of ‘zero unread mails’ and some in ‘1000 unread mails’. There are also a few who are in between these two categories. Whichever zone you belong to, email threads and its customization options will help you immensely. Though if you hate it and are planning to disable message threads, then also these settings are a boon.
Here are a few more settings that are nothing less than a blessing:

