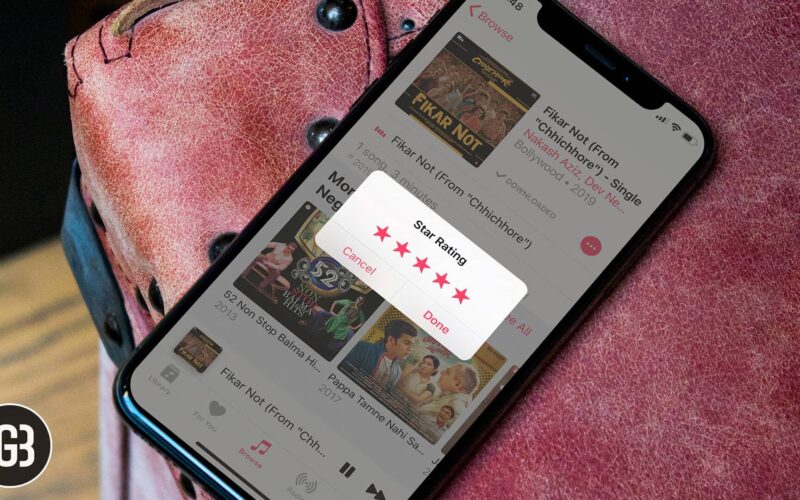
Many users have already started migrating from Spotify to Apple Music for some reason. The battle between Spotify and Apple Music is always on to get more subscribers to its music streaming platform. However, many prefer to cancel the subscription. But, if you still love Apple Music app and want to give a star rating to a particular song, it’s very simple!

Today, I am going to explain you how to rate songs with stars in the Music app on your iPhone, iPad, Apple Watch, and Mac. This will show you the songs you liked in your Music app based on your ratings.
Table of Contents
How to Rate Songs with Stars in Apple Music
When you rate a song with star ratings, you can quickly sort the list of the songs you’ve rated from the library. It is great for organizing and making a playlist of your most-loved songs. Let’s get started.
Enable Star Ratings for Apple Music on iPhone and iPad
Step #1. Play the song in your iPhone’s Music app.
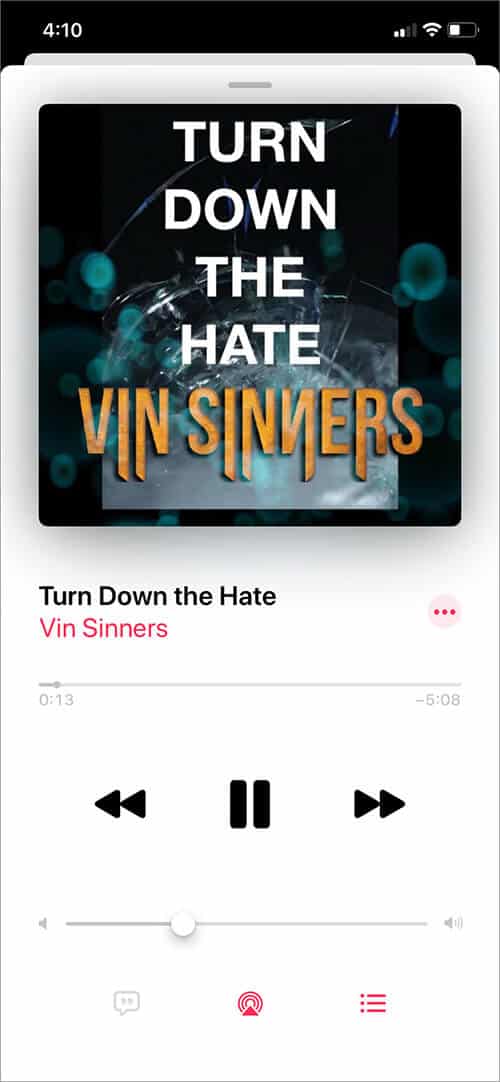
Step #2. Now launch Siri and ask it ‘Rate this song five stars‘ or the number of stars you wish.
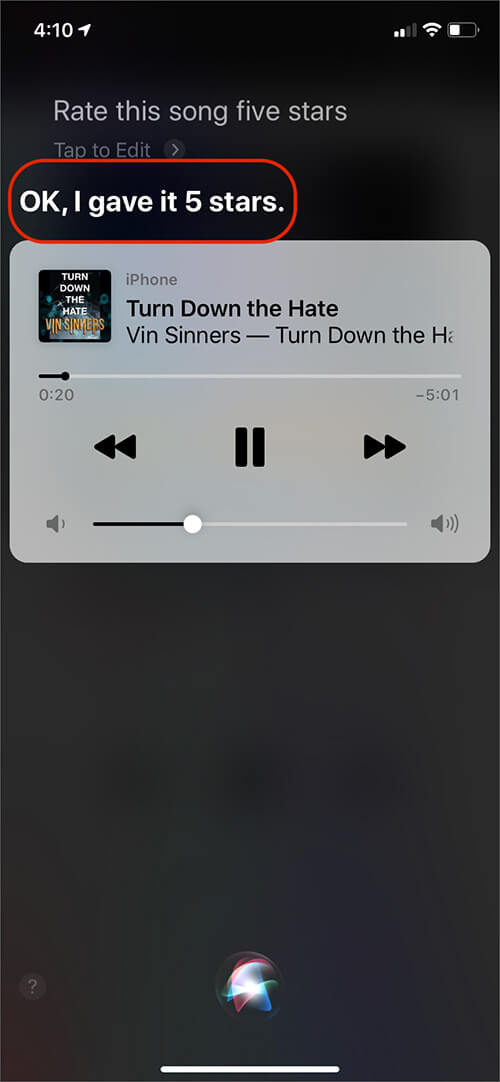
You can invoke Siri while the song is playing or you can tap on pause button and then ask Siri to rate the song.
Done! But, there is no way to see the songs you have rated. I tried to find it in Music app, iTunes Store app, and even asked Siri ‘Show me all songs I have rated’. Maybe Apple will use these ratings in the background and personalize your music recommendations accordingly.
But one thing that you can do to curate your music experience is tagging it Love (♡). Unlike the above method, where your music was paused as you summoned Siri, the technique below is better and visible.
How to ‘Love’ Song or ‘Suggest Less Like This’ in Apple Music
Step #1. Launch Music app on iPhone → Play a song → Go to the Now Playing screen.
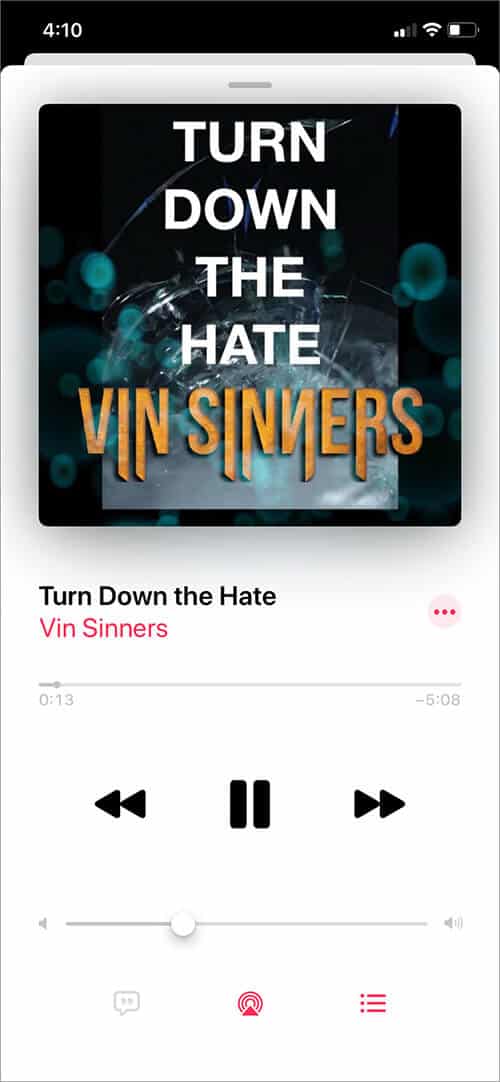
Step #2. Tap on three horizontal dots icon.
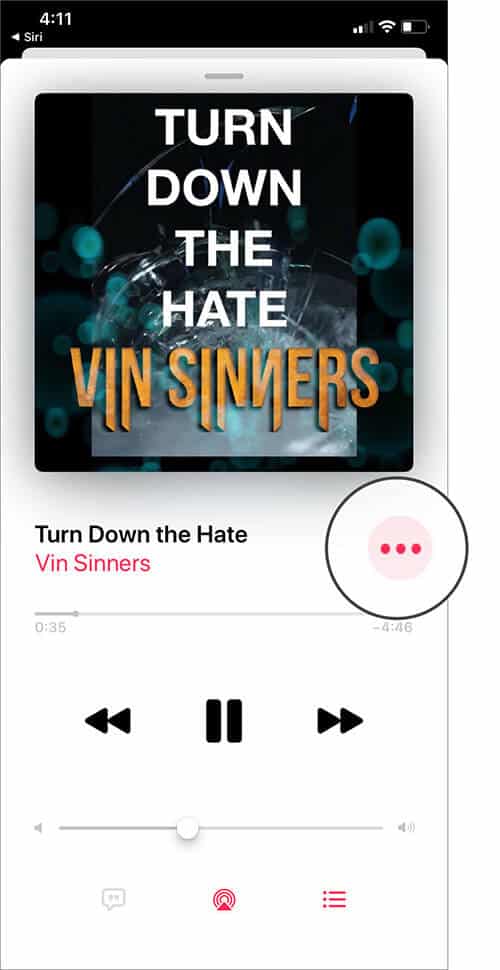
Step #3. Tap on Love (♡).
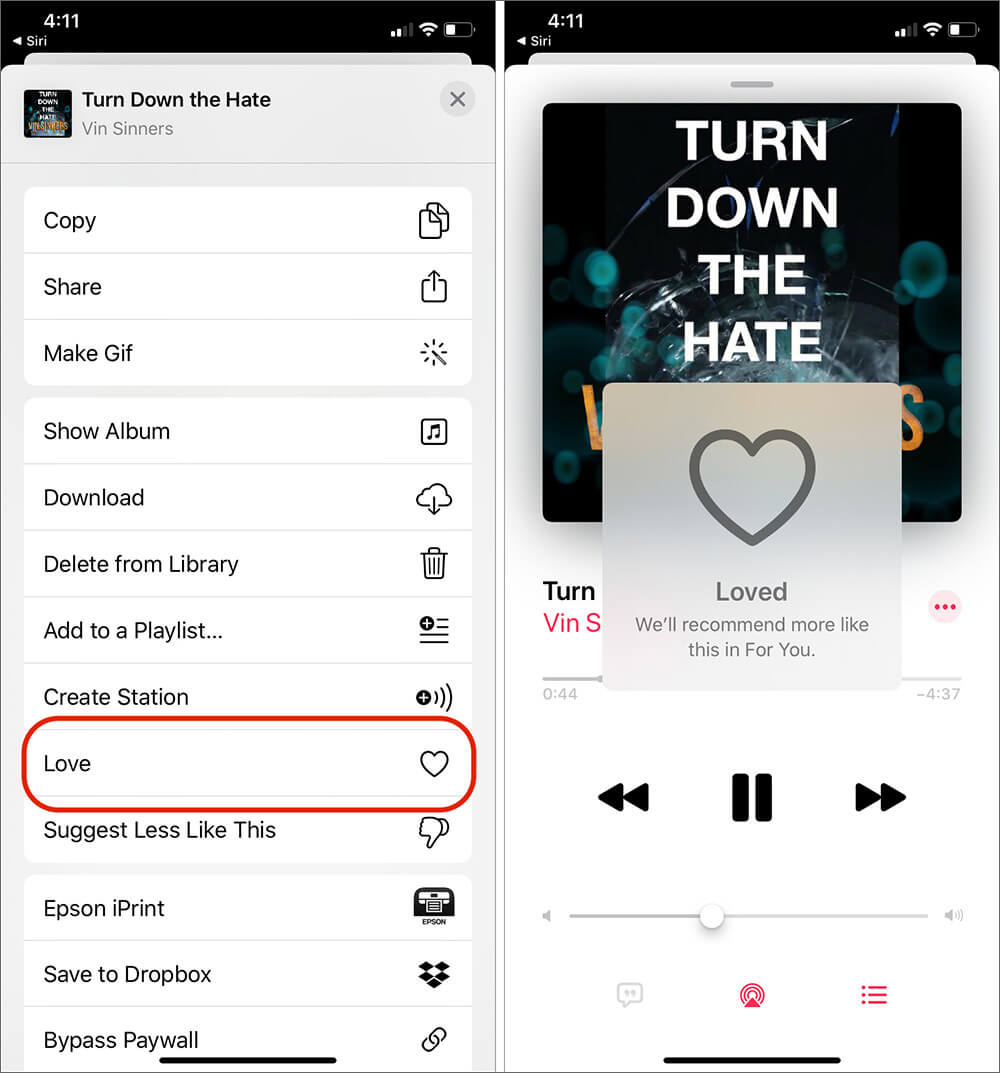
You will see a display message that says, “We’ll recommend more like this in For You.” If you do not like a song, you can tap on “Suggest Less Like This.” Now Apple will recommend less music like this in For You section.
Rate Song with Stars in Apple Music from Apple Watch
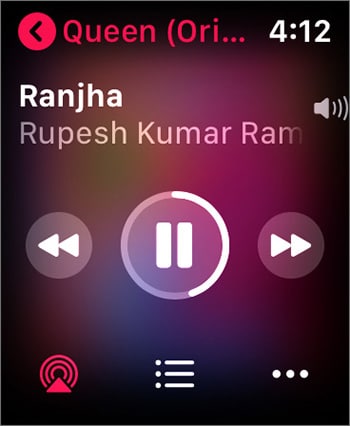
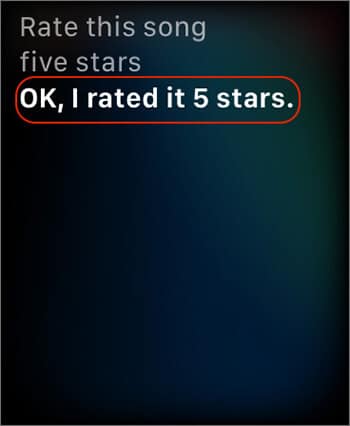
Step #1. Make sure your Apple Watch is connected with a Bluetooth headset, and the song is playing.Step #2. Press the Digital Crown on your Apple Watch or use Hey Siri to summon Siri and say ‘Rate this song 5 stars.
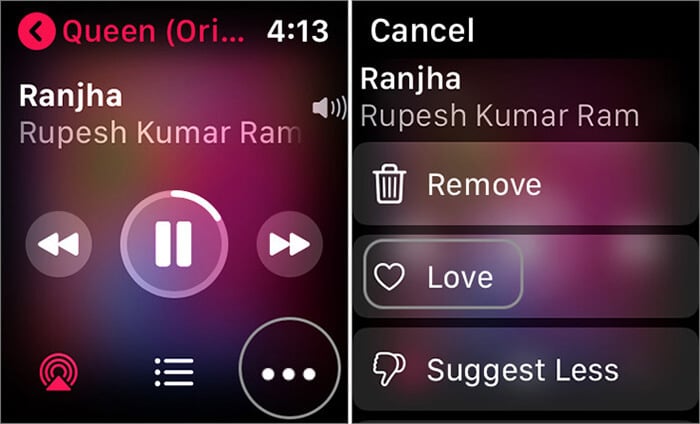
To Love a song on Apple Watch, go to the Now Playing screen of the Watch Music app and tap on the small three dots icon in the bottom right. Now tap on ♡ Love (or Suggest Less).
Become an iGeeksBlog Premium member and access our content ad-free with additional perks.
How to Rate Songs in Apple Music from Mac
Step #1. Launch Music app on your Mac running macOS Catalina.
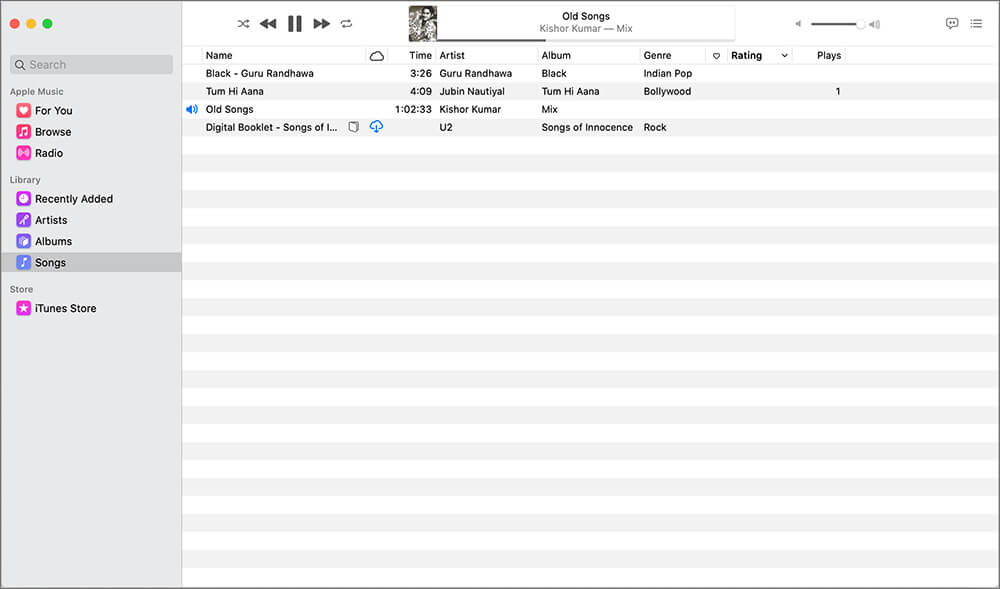
Step #2. In the Songs tab, you will see a column named Rating. Hover your mouse pointer on the song name, and you will see five unchecked stars under Rating.
Note: If, for any reason, you do not see a Rating column, place your mouse pointer on the top row that has options like Name, Time, Artist, etc. and then Right Click. Click on Rating from the list that opens. After this, you will find that a new column titled Rating is added.
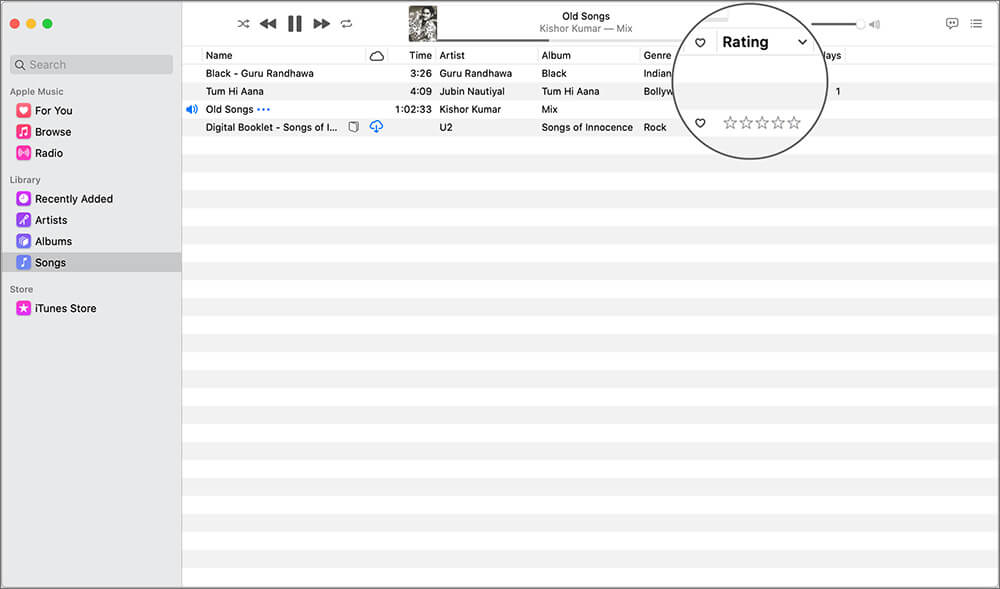
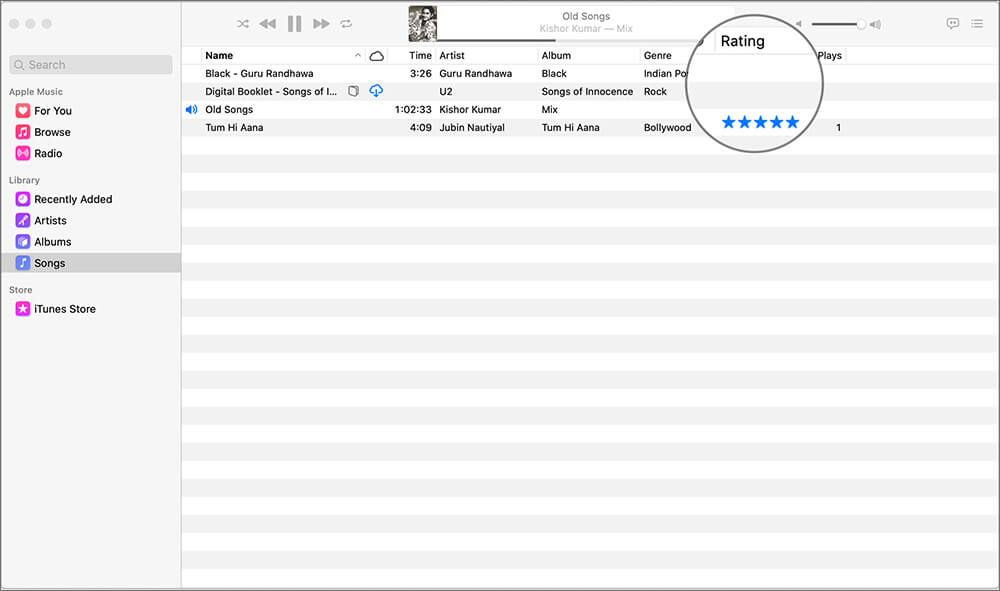
Step #3. Take your Mouse pointer on the Stars and Click to rate it according to your taste.Alternatively, when you are in Artists tab, Albums tap, etc., there too, you can rate by taking your mouse pointer on the song or album cover and then clicking on the three dots icon. Now hover your mouse pointer on Rating and select the stars.
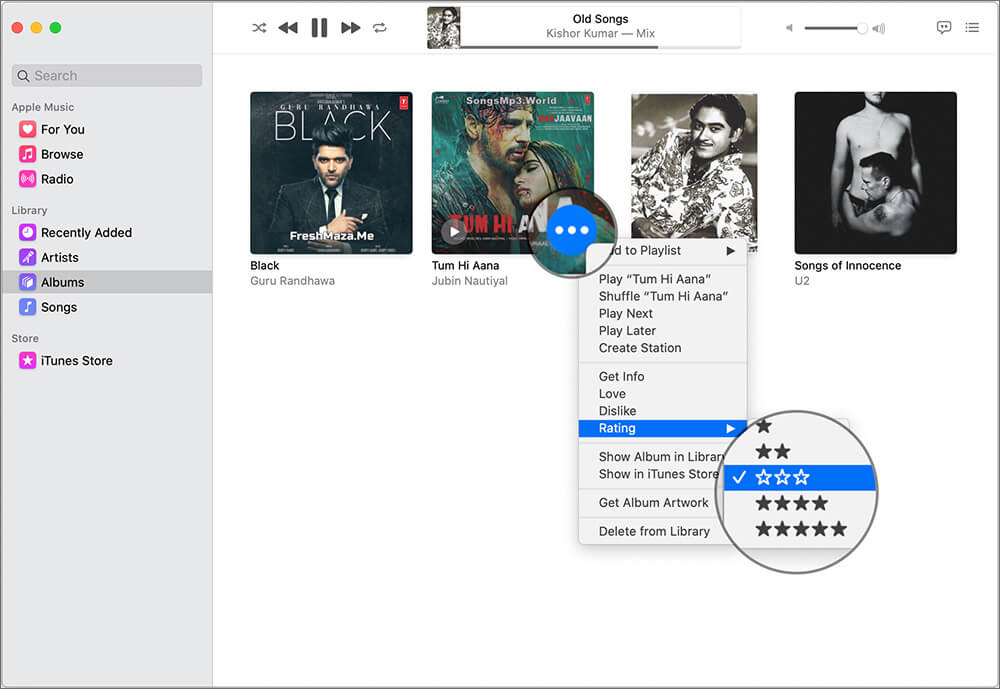
Another, ‘Sirious’ way is to use Siri on your Mac when music is playing (or paused but music app is open) and ask her ‘Rate this song five stars’.
On Mac, you can sort your songs by ratings. This is actually amazing. To do this, click on Rating and then on the small arrow-like icon next to it. After sorting, you can also make a playlist of all the top-rated songs easily by selecting them and clicking ‘Add to Playlist’.
How to Give Ratings to a Song in iTunes on PC
Step #1. Launch iTunes on your Windows PC and go to the Songs tab.
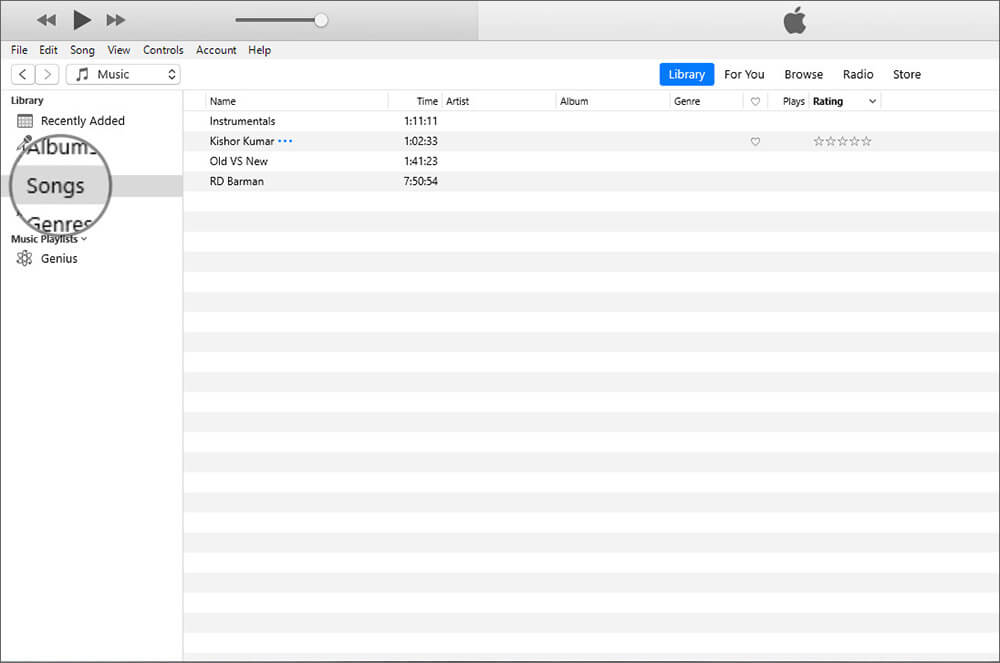
Step #2. Do you see the Rating column along with usual columns like Name, Time, Artist, Album, Genere, ♡, Plays, etc.? If yes, hover your mouse pointer on the song and then take it to the rating column and click on the number of stars.

If you do not see a Rating column, place your mouse pointer anywhere on the top row that has options like Name, Time, Artist, etc. and then Right Click. A long list will open. Click on Rating. After this, you will find that a new column titled Rating is added.
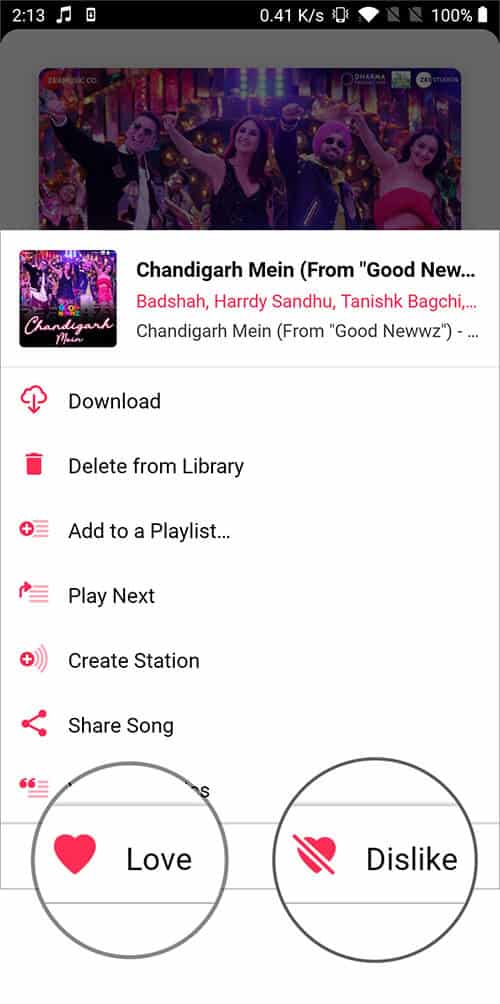
I would not like to end this post without talking about Apple Music app on Android. Since there is no Siri there (and yes Google Assistant can not rate Apple Music songs), you have just the two options – ♥ Love and Dislike.
Summing Up…
So this is how you can rate songs on Apple music on various devices. Now, I understand that rating on iOS and watchOS is next to useless. However, on Mac and iTunes it is instrumental in organizing the songs. I have been using this since 2014 on my MacBook.
Music app on Mac and iTunes also have Love and Dislike options that work like iPhone’s ‘Love’ and ‘Suggest Less Like This’, respectively. They build recommendations according to your music taste.
If you loved Rating songs on iOS devices (I sure did) and want it back, you may try giving feedback to Apple. They might bring it back!
Related Posts on Apple Music to Customize Your Music Listening:
- How to Set an Apple Music Song as Alarm on iPhone
- Repeat Songs or Playlists in Apple Music in iOS 13
So that’s all about rating a song on Apple Music.

