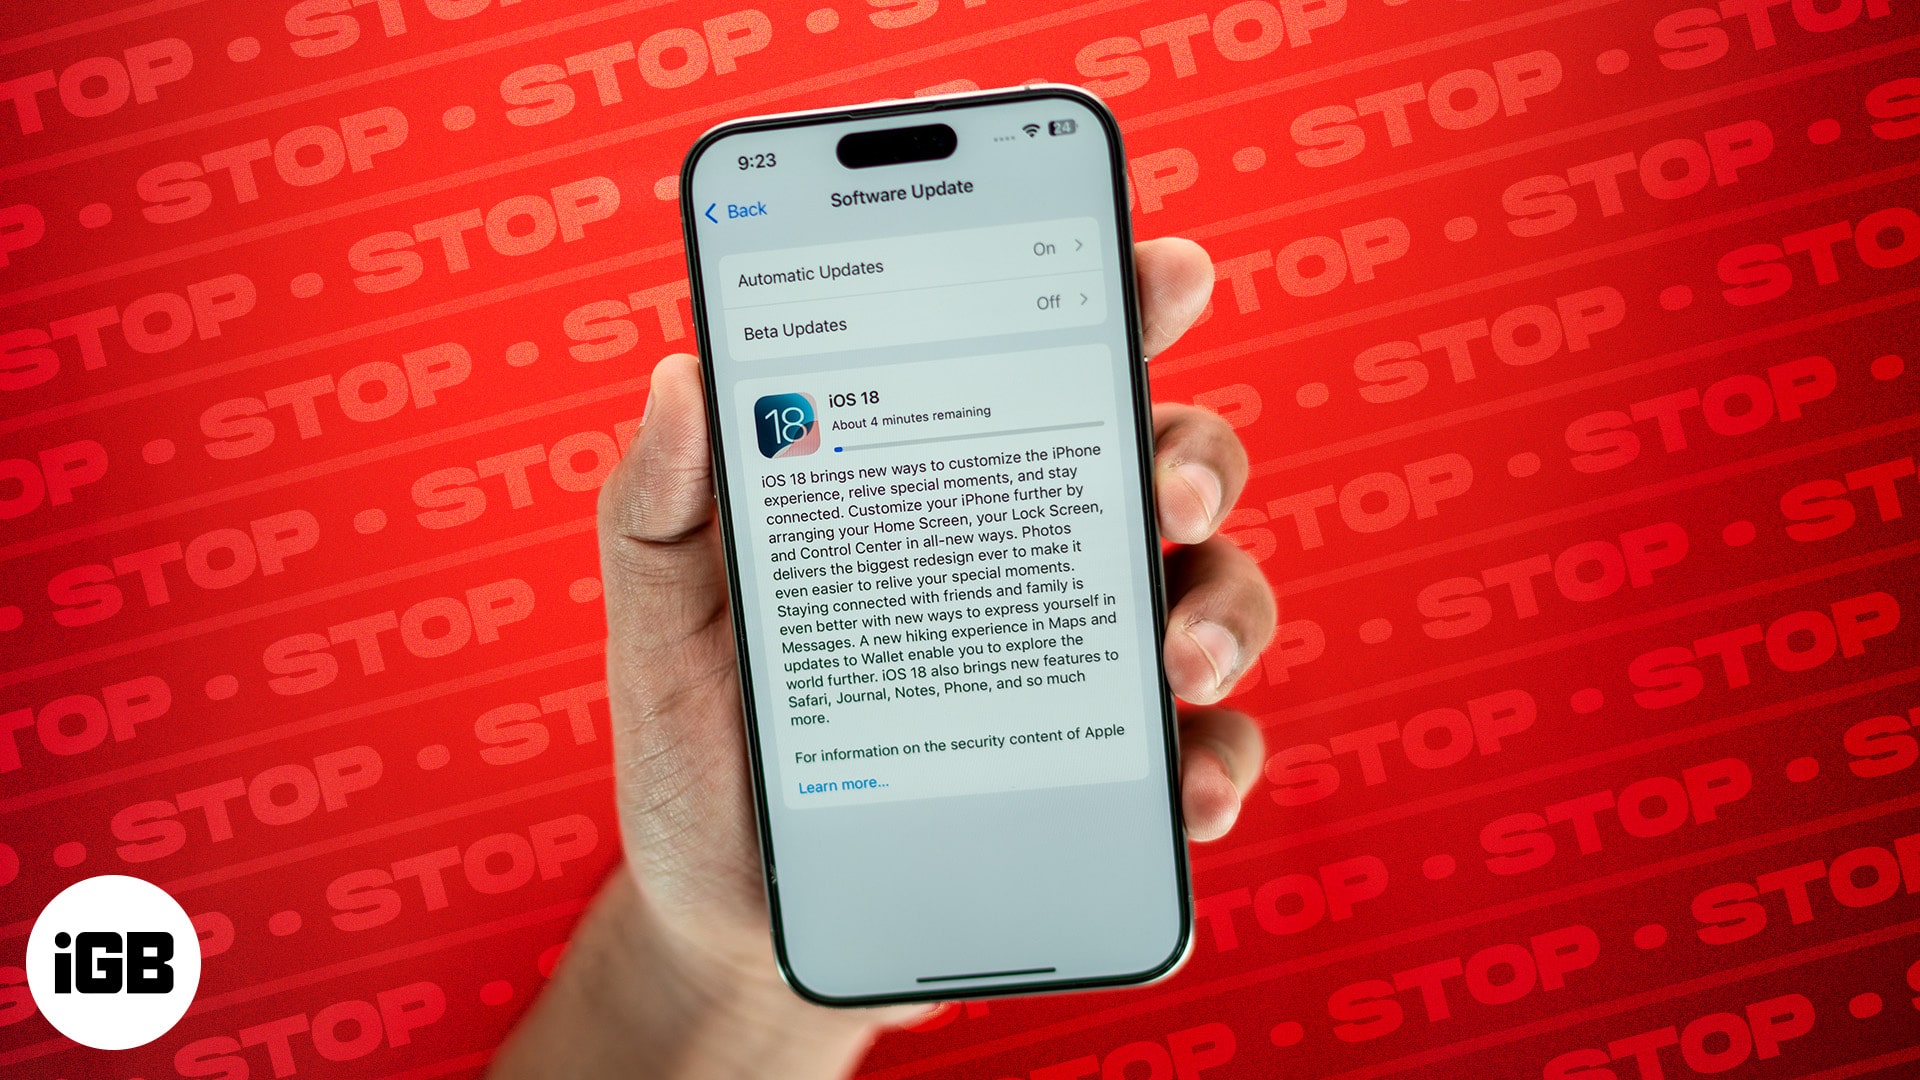
iOS 18.1.2 brings performance improvements and security enhancements to the iPhone. However, sometimes, you might need to stop an iOS update while it’s still downloading if you think the new iOS version is unstable or you’re just fine with the version that’s currently installed.

In this detailed guide, I’ll explain how to stop the iOS 18.2.1 update while it’s downloading. You’ll also learn how to turn off automatic updates on your iPhone. You can cancel the current update and even prevent future iOS updates from installing without your permission.
How to cancel the iOS 18.2.1 update in progress
While Apple doesn’t provide a pause or stop button for updates, it’s still possible to cancel an iOS update that’s in progress if you still haven’t started the installation process after downloading the update.
Performing an over-the-air iOS update usually involves downloading and installing the update. If you have just started downloading the update, you’re in luck; you can stop it.
But once you’ve started the installation, you cannot stop it midway. You must downgrade your iOS after the update is complete.
With that out of the way, here’s the two-step process to cancel an iOS that’s already in progress:
Step 1: Stop the iOS update while it is downloading
Your iPhone needs an active internet connection to download the update from Apple’s server. So, you’ll need to disconnect your iPhone from the internet to stop the download as explained below:
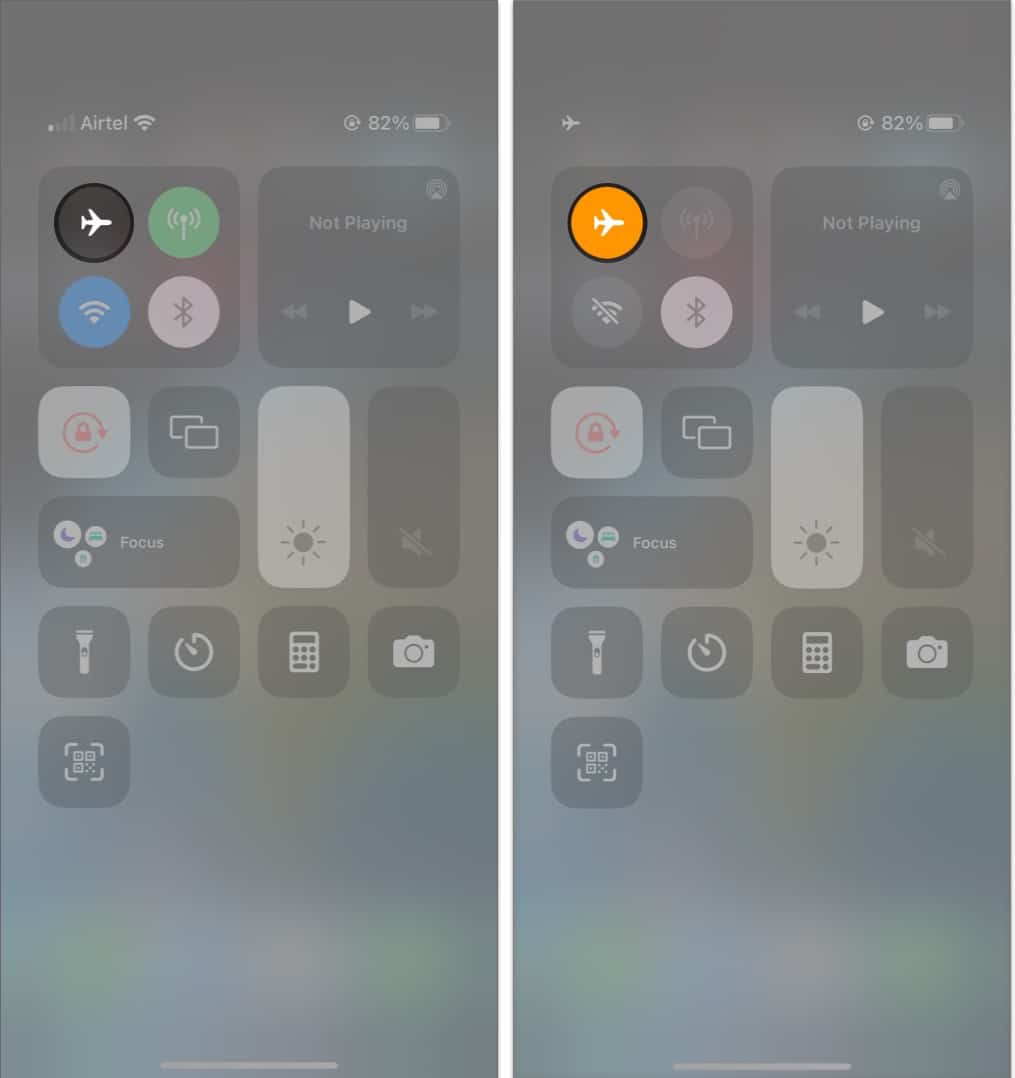
- While the iOS update is downloading, open the Control Center.
- Enable Airplane Mode. The tile should turn orange when enabled.
- Make sure Wi-Fi is also disabled.

Once you toggle on Airplane Mode and disable Wi-Fi, the download will immediately pause as the connection is interrupted. You can verify the same by navigating to Settings → General → Software Update. Whatever you do, keeping the iPhone in Airplane Mode is crucial until the next step is completed.
Become an iGeeksBlog Premium member and access our content ad-free with additional perks.
Step 2: Delete the downloaded iOS update file
The next step is to delete the downloaded software update files. This will prevent the new iOS 18.2.1 update from continuing and free up storage on your iPhone.
- Go to Settings → General → iPhone Storage.
- Scroll down and tap the iOS update file → Tap Delete Update.
- Finally, tap Delete Update again to confirm your action.
Once the iOS update file is deleted, the update won’t be installed on your iPhone. Still, you may follow the steps below to verify the update has been terminated before using your iPhone again:
- Swipe down from the top-left corner to open the Control Centre → Turn off Airplane Mode.
- Go to Settings → General → Software Update to ensure that the page has reverted to the initial update screen. If not, you may perform the previous steps again.
The steps mentioned above will help you cancel iOS 18.2.1 from installing on your iPhone for the time being.
However, if you want to prevent the current and future iOS updates from installing without your permission, you must turn off Automatic Updates.
How to turn off automatic updates on iPhone
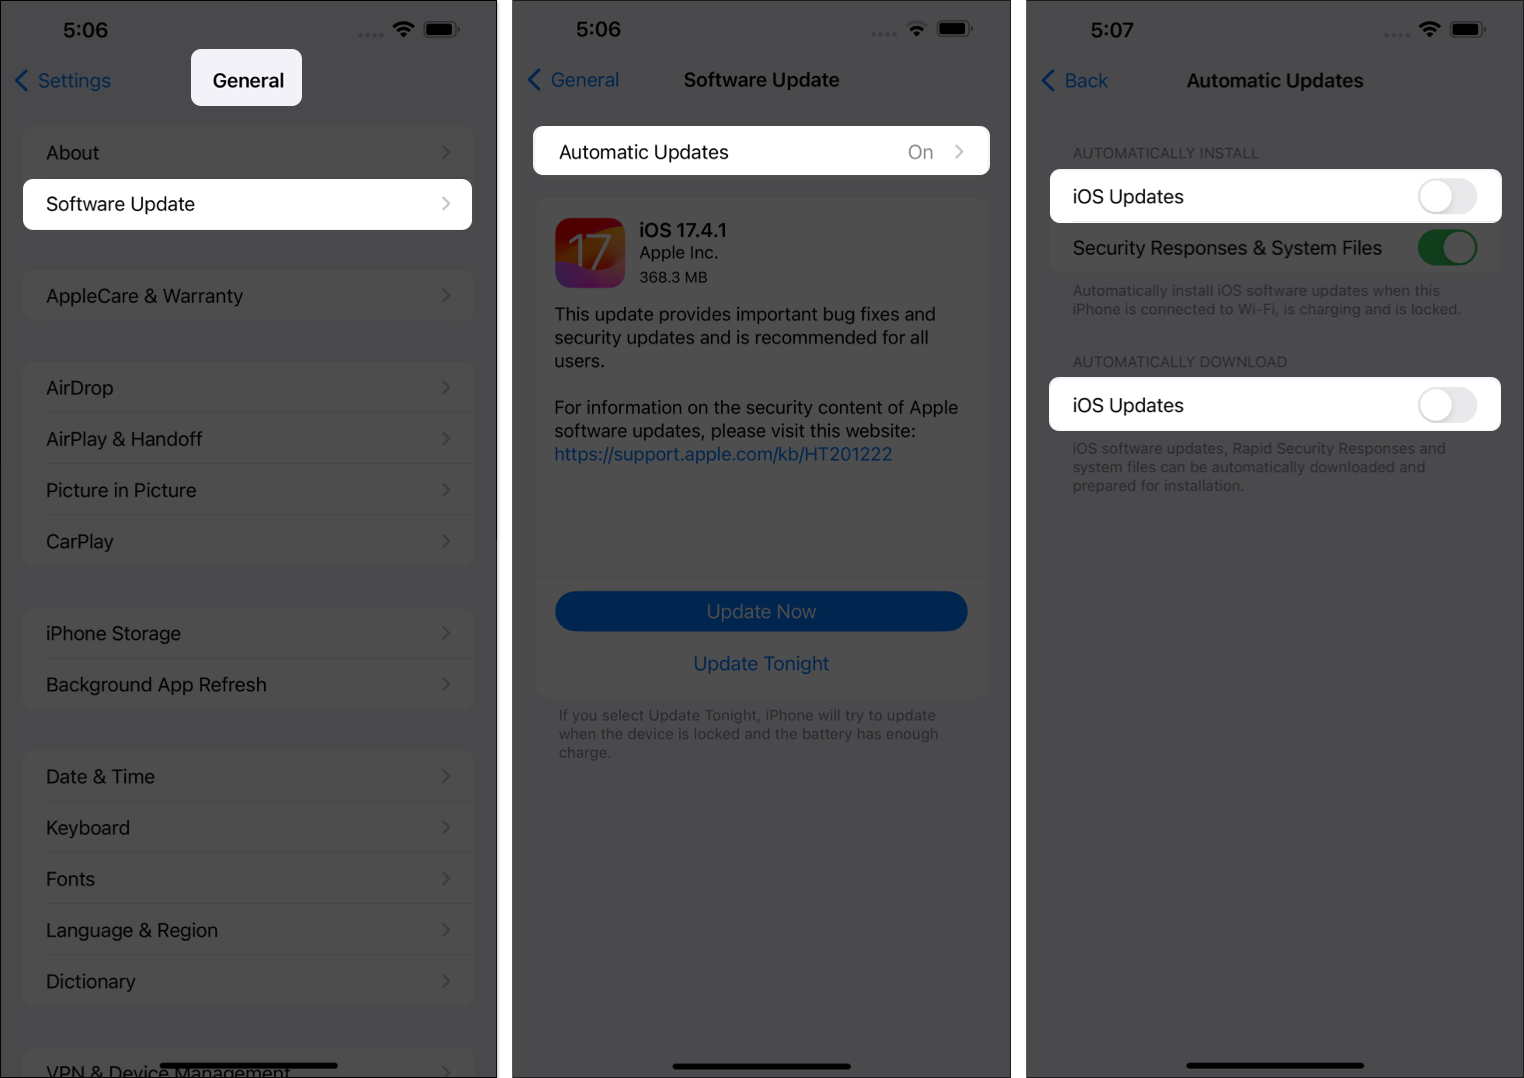
- Go to Settings → General → Software Update.
- Select Automatic Updates → Then, toggle off iOS updates.
You will see two iOS Updates toggles. You must toggle off both.
Alternatively, instead of entirely turning off Automatic Updates on your iPhone, you can just toggle off iOS updates under the Automatically Install section.
This way, your iPhone can still auto-download new iOS update files whenever a suitable network becomes available, but they won’t be installed without your knowledge.
Signing off…
By following the steps in this guide, you’ll be able to regain control over your iPhone and decide when and if you want to install iOS 18.2.1.
Not only that, but you can use the same steps to cancel beta updates for iOS in addition to canceling public releases of iOS updates that are in progress.
For more awesome iOS hacks, check out the links below:

Thank you for this. I accidentally hit install and I definitely didn’t want the next iOS installed. Thanks so much!!
I, too, accidentally clicked install. I’m trying to uninstall the latest update. I’m following all the steps but the option to delete is not there. 🙁
If auto-download is enabled, tapping Install will install the update on your iPhone. In this case, unfortunately, you can’t delete the update. So, if you don’t want to use the latest update, you need to downgrade iOS version. Check out our detailed guide on
https://demo.igeeksblog.com/how-to-downgrade-ios/
.