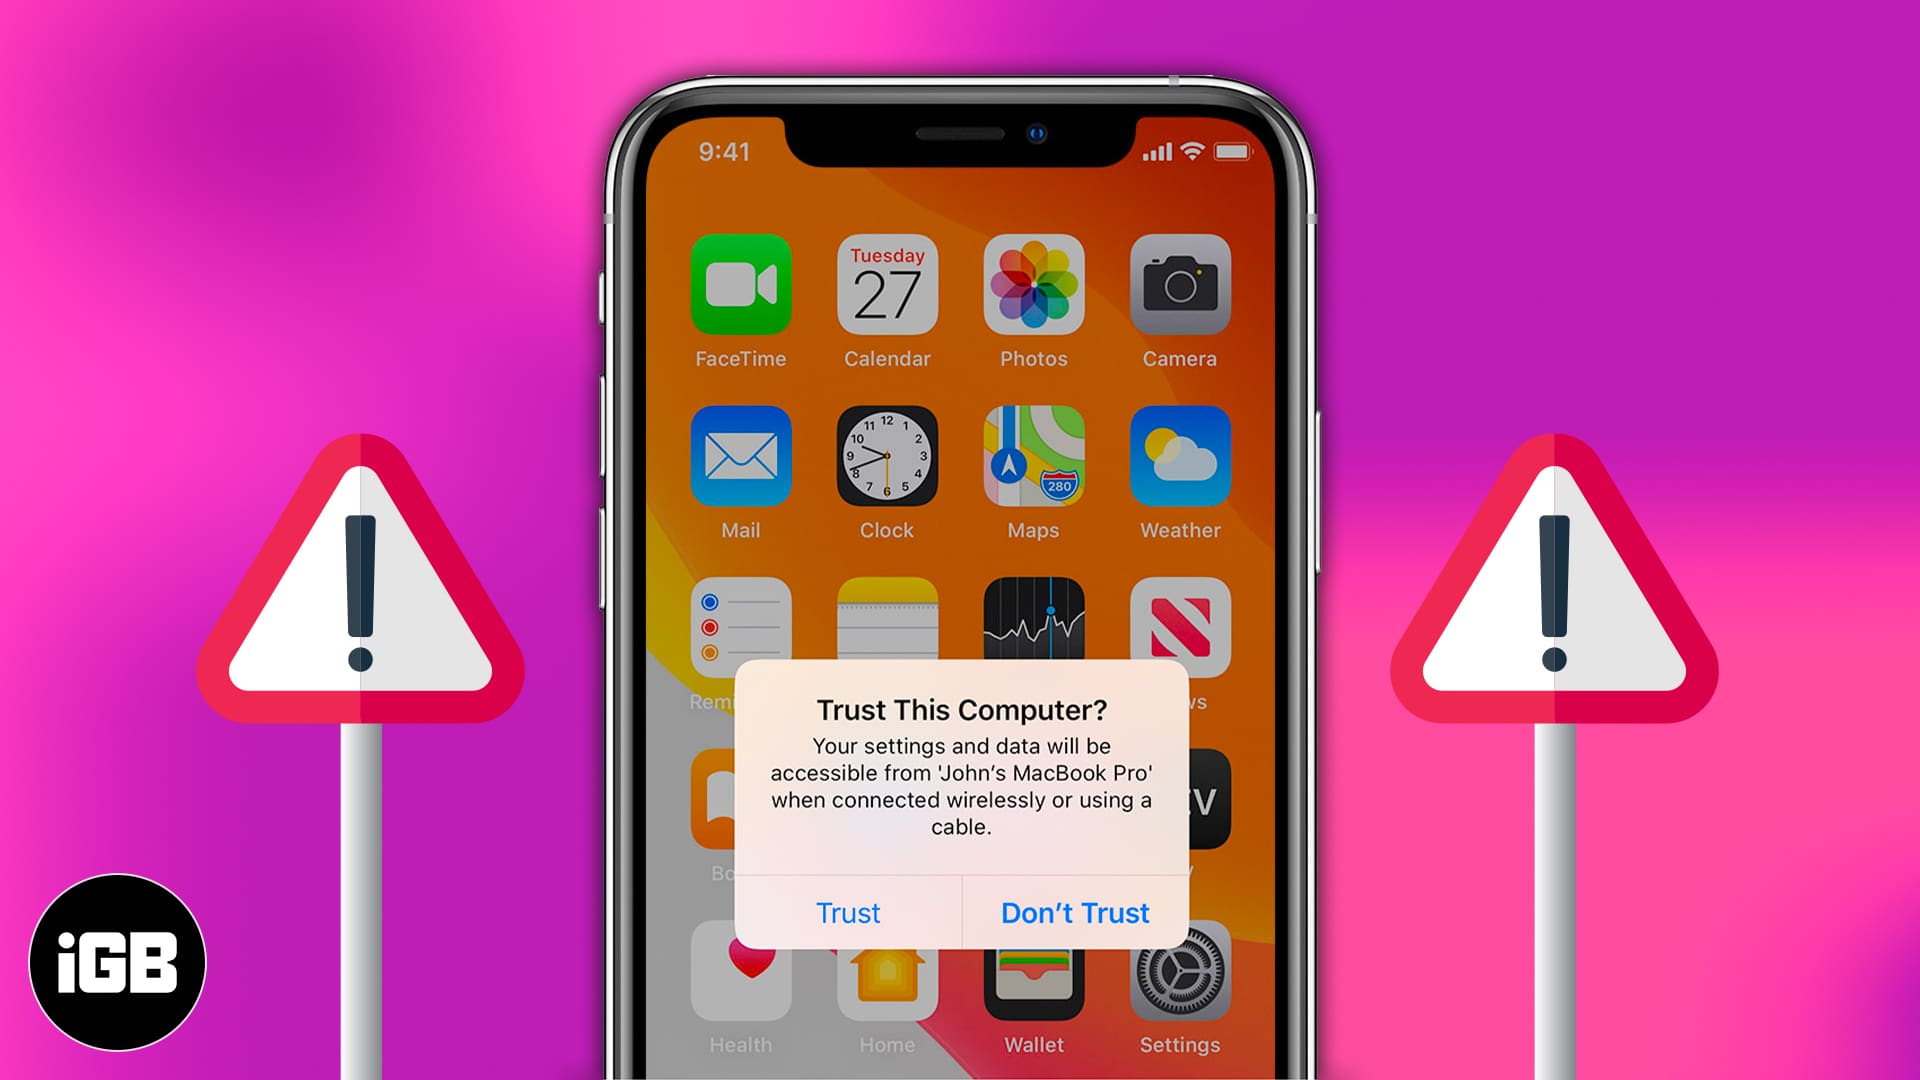
A ‘Trust this computer’ message usually pops up when you connect your iPhone or iPad to the computer for the first time or after an update. But if it’s popping up repeatedly even after having ‘trusted’ the computer, there might be an issue in the backend.

Don’t worry, just follow these simple solutions to stop ‘Trust This Computer’ alert on iPhone and iPad
How to stop ‘Trust This Computer’ message on iPhone and iPad
Before we move on to the troubleshooting guide, it is wise to check the cable you are using. This issue of frequent ‘Trust This Computer’ alert may arise if you are not using an authentic MFi certified cable. In case you have got the best charging cable, you can go ahead and check other solutions.
1. Update iTunes
Although it is not a “sure” solution to the message loop, it did fix the issue in some cases. While you are at it, also check the version of your macOS. Ensure that your Mac and iTunes are running on the latest version.
If you are using iTunes for Windows, ensure that the iTunes Mobile Device Helper runs automatically at startup. Check out Microsoft’s tutorial for the same. Also, if you use any other Apple-related software, update that too. Certain mobile-related services are linked to software and the only way to update these services is by updating the software.
2. Reset trust settings on iPhone and iPad
In order to turn off Trust This Computer warning, try changing your settings for trusted computers.
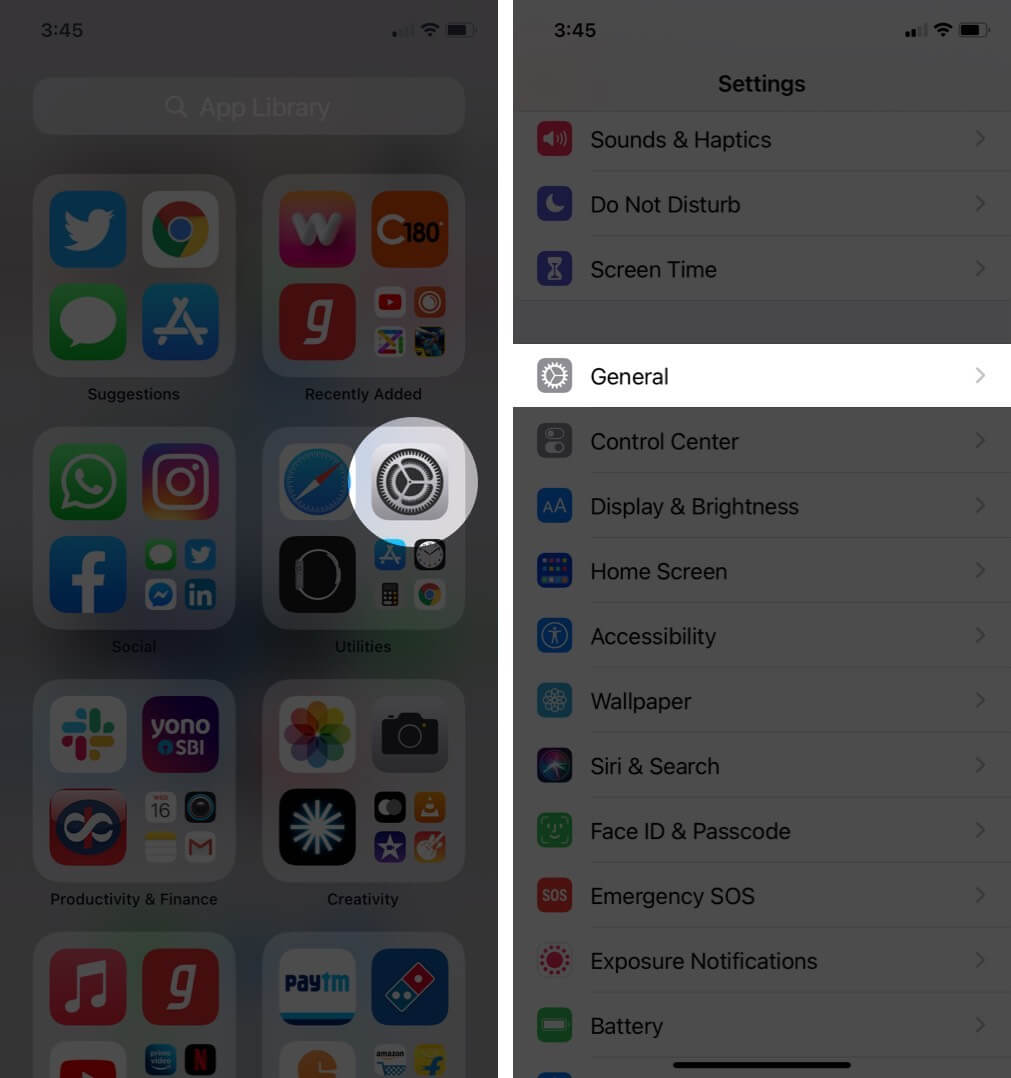
- Go to the Settings app on your iPhone or iPad.
- Tap General.

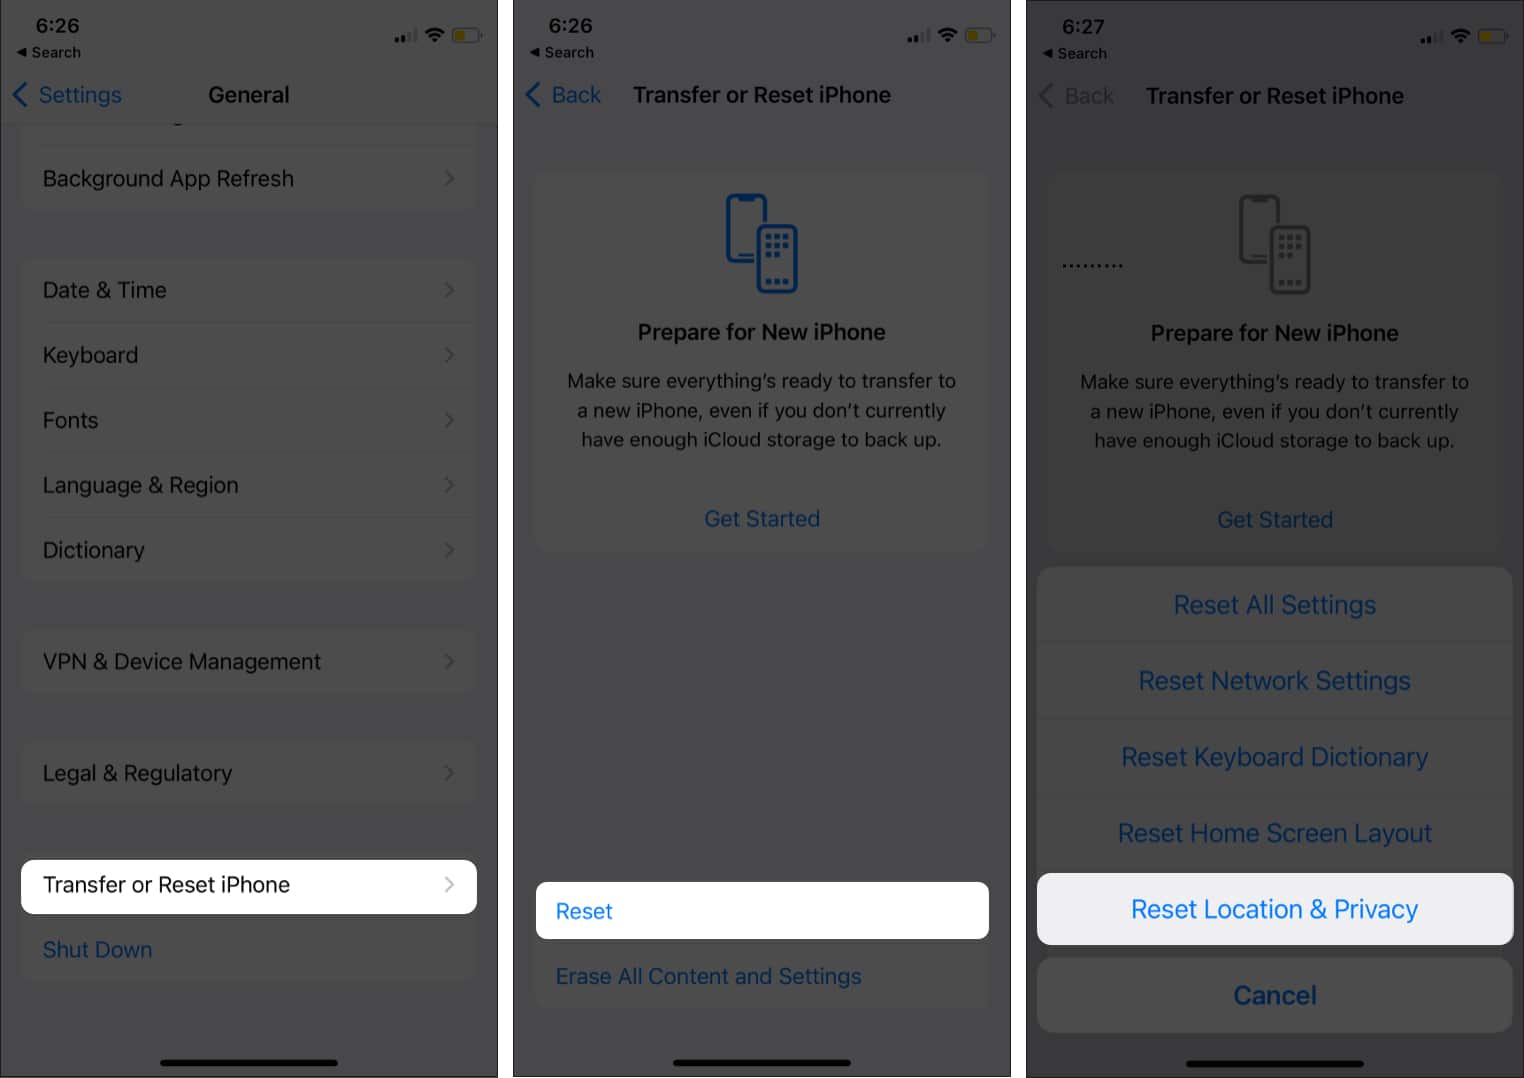
- Scroll down to select Transfer or Reset iPhone.
- Tap Reset → select Reset Location & Privacy.

- Enter your Passcode and tap on Reset Settings.
This action will reset the Location & Privacy data of your iPhone or iPad to factory settings. Apart from revoking certain permissions from apps, this will erase all trusted computers. Now, when you connect to a formerly trusted computer, the Trust alert will pop again (hopefully, this time it won’t go in the loop).
Become an iGeeksBlog Premium member and access our content ad-free with additional perks.
In case the problem isn’t resolved, try resetting the network settings. This will reset all Wi-Fi networks and passwords, cellular settings, and VPN and APN settings. Go to Settings → General → Reset → Reset Network Settings and follow the instructions.
3. Disable Apple device
Though this message will disable Trust This Computer alert, it comes with a more significant issue. It will not let the computer “detect” and connect the iDevice but will charge the iDevice nevertheless. What this means is that you won’t be able to do sync or other data-transfer jobs with the iPhone/iPad when you follow this step. Proceed with caution.
- Connect your iPhone/iPad → Head over to the Control Panel.
- Click on Hardware & Sounds → Click and open Device Manager.
- In the Device Manager window, you should see a listing that has the name of your iDevice.
- Right-click on iDevice‘s name and click on Properties.
- Click on the Hardware tab and then click on Properties → Go to the Driver tab → Click on Disable.
As I said, the problem with this method is that this will disable data transfer (sync). But it is known to disable the “Trust this computer” message loop.
4. Is personal hotspot on?
Our readers are smart enough to come up with good suggestions. Dan VanWinkle has rightly pointed out that “When the personal hotspot is turned on, it will ask every time you connect your iPhone to a computer because it’s requesting access to the hotspot network over cable.”
That’s all, folks!
I have tried my best to cover all possible solutions for the issue. Feel free to contact us in the comment section below and we might be able to help you further. In case you are facing any other Apple ecosystem-related issue, you can use the comment box for that as well.
You may also like to read other articles related to iTunes…

