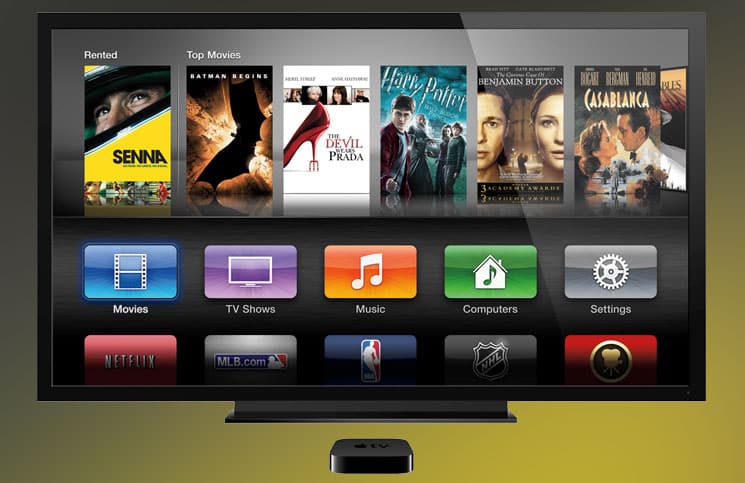
You might want to take a screenshot on Apple TV to share a cool app or get some troubleshooting support. But the process is not as straightforward as on other iOS devices and requires the help of your Mac. Before tvOS 11 and macOS High Sierra, you would need to use the Xcode developer utility, which complicated matters. But now, on tvOS 11 and later, and with macOS High Sierra and later, there’s an easier way. Let’s check out both these methods to take a screenshot on Apple TV.

How to make a screenshot on Apple TV using QuickTime Player
- Open QuickTime player on your Mac.
- Connect your Apple TV to your Mac using a USB-C cable.
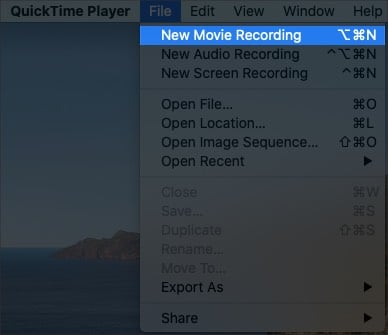
- Now on your Mac in QuickTime player, go to File menu and select New Movie Recording.

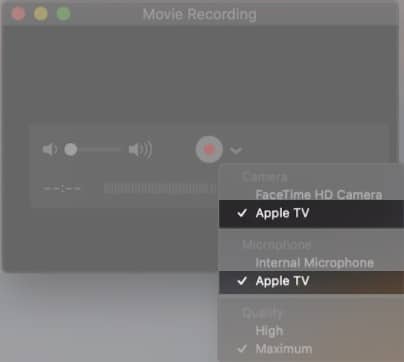
- Click on the down arrow “v” icon located near the record button.
- From the list of available options, select Apple TV for both: Camera and Microphone.

- You will now see your Apple TV feed on your Mac screen.
Note: You don’t need to record anything using QuickTime Player on Mac. Just use the Apple TV’s remote to move around the screen and then take screenshots on your Mac. - To take a screenshot of the Apple TV screen, press Command+Shift+4, then hit the space bar. This till turn your cursor to the camera icon.
- Take your cursor on the window, until the title bar and recording interface disappear.
- Now click the trackpad or mouse to take a screenshot.
Xcode workaround to take a screenshot on older tvOS
- Install Xcode on your Mac.
- Plug the Apple TV and connect it to the television.
- Now connect your Mac to Apple TV using a USB Type-C cable.
- Open Xcode on your Mac.
- On Xcode, click on the Windows menu.
- Now click on Devices, and select Apple TV from the list of devices.
- Now click on Take Screenshot.
Voila! The screenshot you just took will be saved on your Mac in a desktop folder. By default, the resolution of your screenshot will be 1920×1080; regardless of the resolution, you have set on your display.
Become an iGeeksBlog Premium member and access our content ad-free with additional perks.
That’s it.
Share your Apple TV screenshots with us on our social media pages (Facebook, Twitter and Instagram) or in the comment box given below.
You may also like to read these articles:
