iPhone cameras are known as the industry standard for capturing crisp, clear images. Only a handful of devices compete with the iPhone’s video quality. However, the iPhone lacks some obvious camera controls, including a long exposure setting.

If you want to know how to take long exposure photos on your iPhone, we have a simple guide for you to follow. Let’s dive in.
What is long exposure?

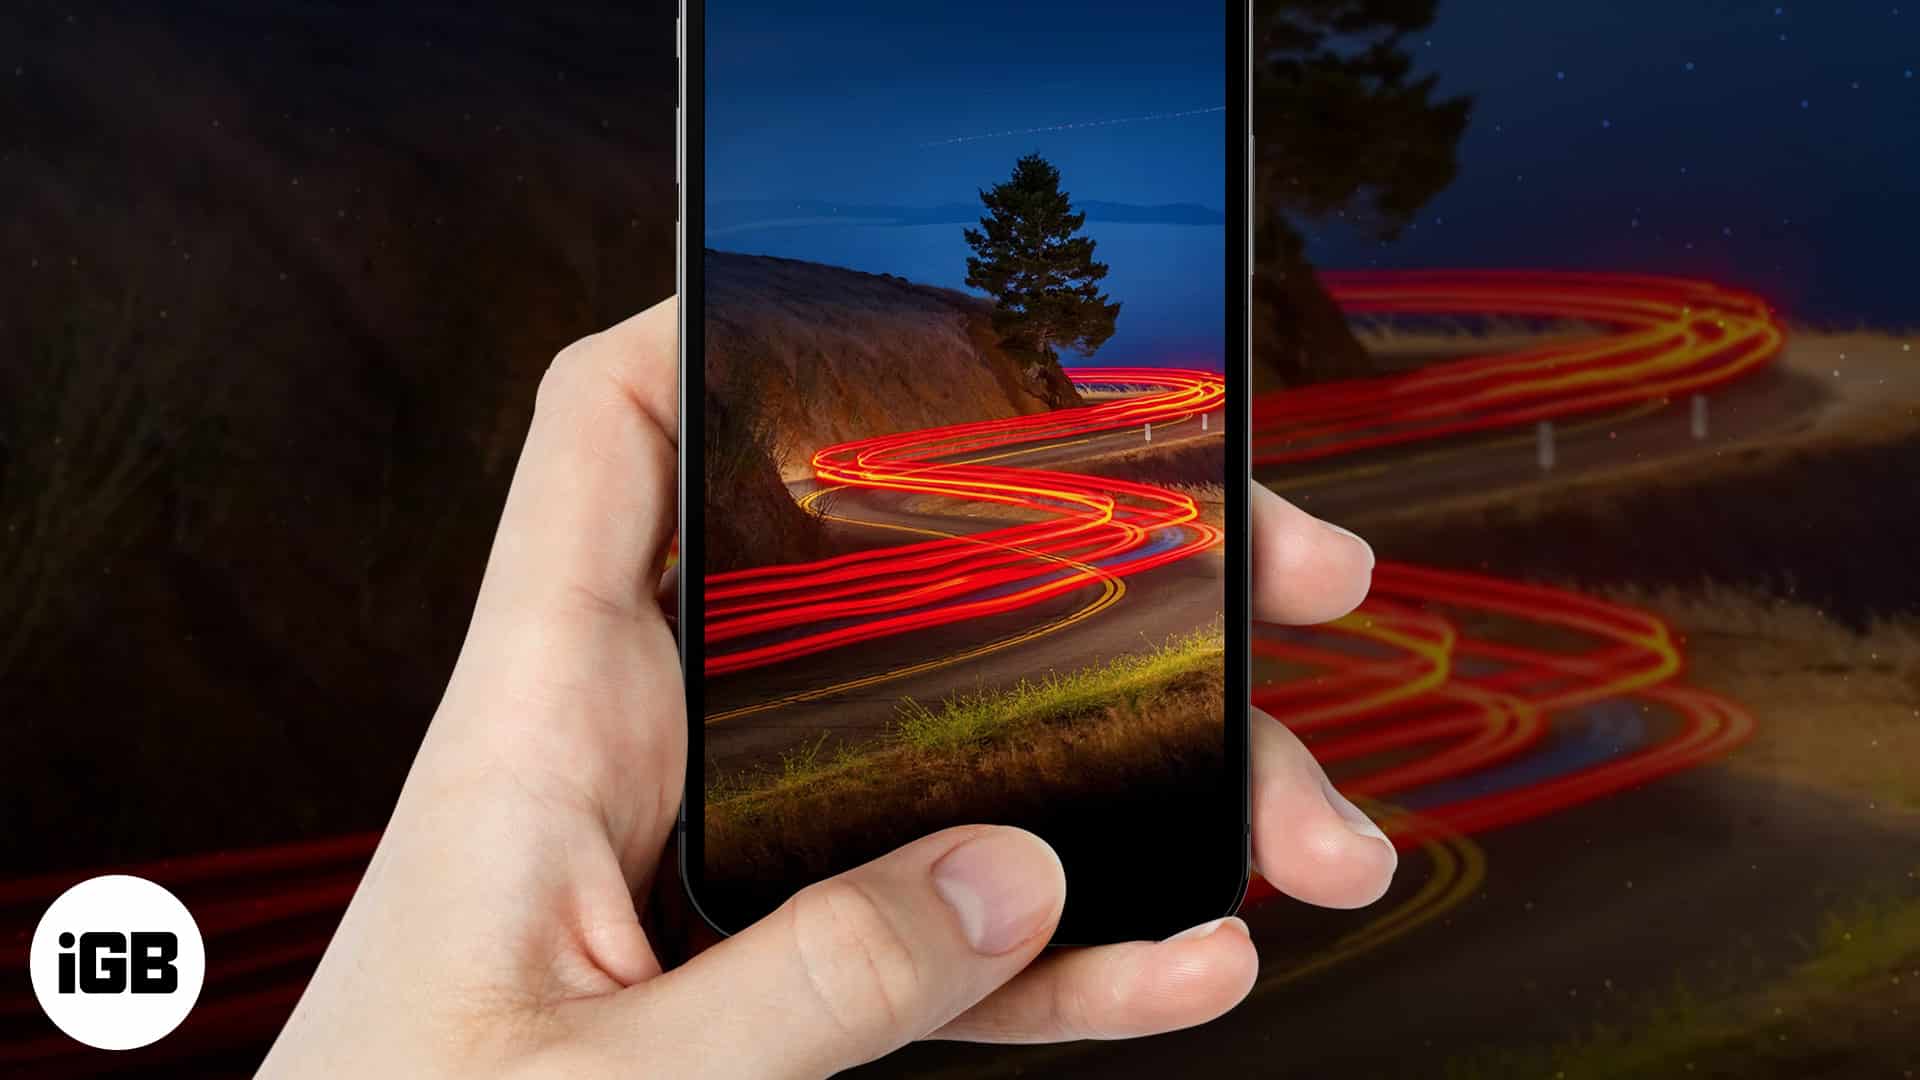
Have you seen shots where the hustle and bustle of city traffic are turned to light streaks? Or images of waterfalls where the flowing water looks like silk? Well, those are examples of long-exposure photography.
Long-exposure photography is possible by keeping the shutter of the camera sensor open for a long duration. This allows the sensor to capture the motion of moving objects, and the resulting image is often pleasing to the eye.
So, does the native camera app on the iPhone support long-exposure images? I hate to break it to you that they don’t. Even the “Pro” models of iPhones don’t come with professional camera modes that allow manual controls. But don’t be disheartened. There are ways you can take long-exposure images with your iPhone.
How to take long-exposure photos on your iPhone
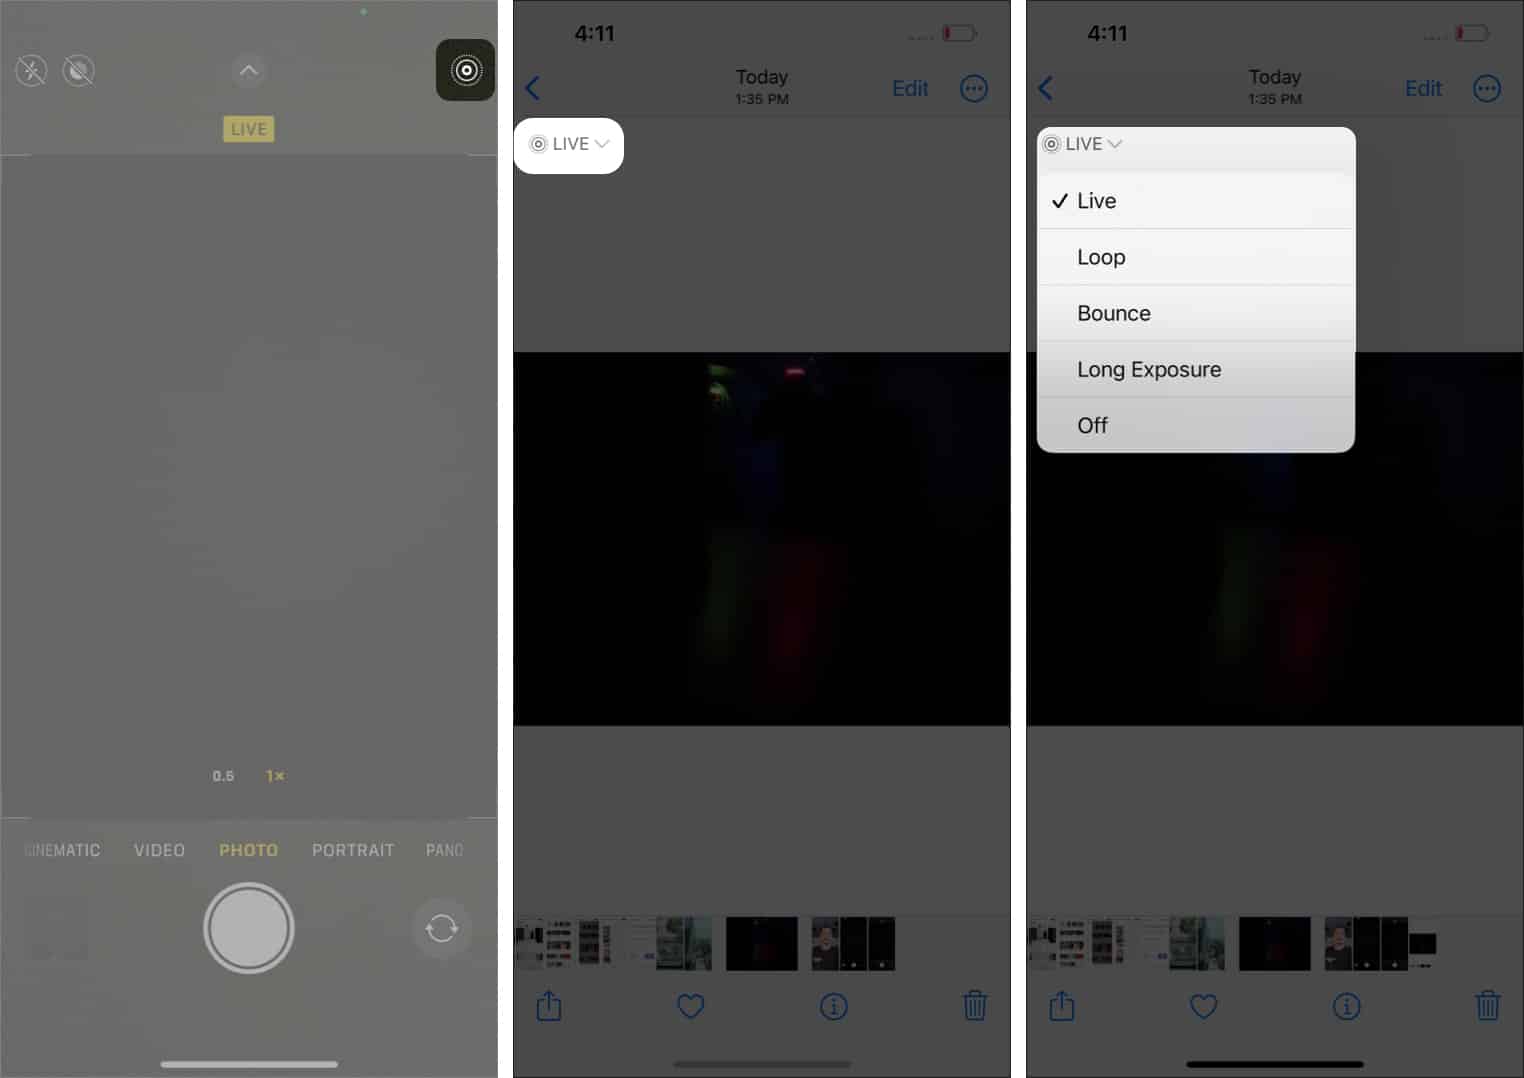
While the iPhone does not have manual camera controls for long exposure, Apple’s handset does have a feature that allows you to shoot long-exposure images through the native camera app. To do so, you must enable live photos and then convert them to long exposure in the Photos app on your iPhone.
- Open the Camera app on your iPhone.
- Tap the Live Photo icon at the top right.
- Tap the shutter button to capture an image.
Remember: Use a tripod and set a timer or a remote to hit the shutter button. - Once clicked, go to the Photos app.
- Tap the Live option below the back button at the top left.
- Select Long Exposure from the menu and done!

Pro tips for taking better long-exposure photos
There are several different ways to take long-exposure photos on your iPhone. Luckily, the setup is fairly straightforward, so you’re not far from creating masterpieces.
I. Get a tripod
Long-exposure photography requires the camera sensors to be open for a significant time. Suppose you try to capture long-exposure images while holding the camera in your hands. In that case, the images will be blurry, as stability is a prerequisite for long-exposure photography.
Mounting your iPhone on a tripod keeps everything level and solves this issue with relative ease. If you’re not keen on shelling out any cash for your first few shots, you can use other household objects as alternatives to a tripod. Depending on the angle you’re shooting, you have a number of options at your disposal. Wikihow’s tutorial for creating your own tripod using a few common items is a great start.
Become an iGeeksBlog Premium member and access our content ad-free with additional perks.
But if you’re serious about clicking long-exposure images, you should get a tripod. Here’s our list of best iPhone tripods to help you make a decision.
II. Use a remote shutter or set a timer
Tapping the shutter button of your iPhone or even tapping the screen introduces some level of shakiness. And to prevent this, even when using a tripod, use a remote shutter or set a timer.
The volume-up button of the EarPods (wired earphones from Apple) doubles as a shutter button in the Camera app. You can use the Apple EarPods or buy a wireless selfie remote controller and avoid the fear of messing up your shot.
Best long exposure apps for iPhone
Third-party apps offer more control over your long-exposure endeavors. If you want a quick and easy approach, the Live Photo method is the way to go. On the other hand, the following apps may be closer to what you’re looking for.
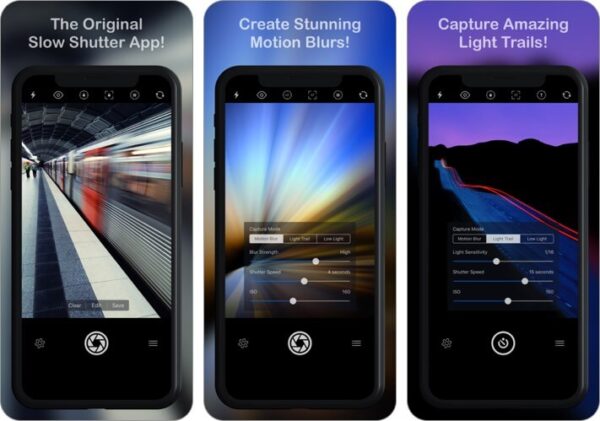
1. Slow Shutter Cam – For beginners

The name gives away the primary purpose of the Slow Shutter Cam app. It also has preset settings, such as Motion Blur, Light Trail, and Low Light, which are perfect for capturing long-exposure images on your iPhone.
However, the app is paid. So, if you’re serious about capturing long-exposure photos on your iPhone, subscribing to this app will be a small but mighty investment.
Price: $2.99
Download
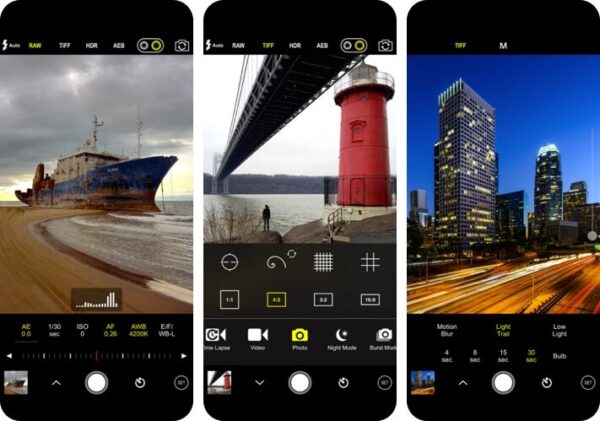
2. ProCam 8 – For professionals

If you’re a regular in the world of photography and know your way around the camera, the ProCam 8 is the app you should get. It offers more control over your iPhone camera, and since you’re already well-versed with manual controls, it opens more doors to your mobile photography ventures.
Price: $0.99
Download
If none of these make the cut, check out our list of the best manual camera apps for iPhone. You’ll certainly find what you’re looking for!
That’s it!
I hope this article helps you capture long-exposure images on your iPhone. What images do you plan on capturing now that you know how to take long-exposure images? Let me know in the comments below.
Read more:
