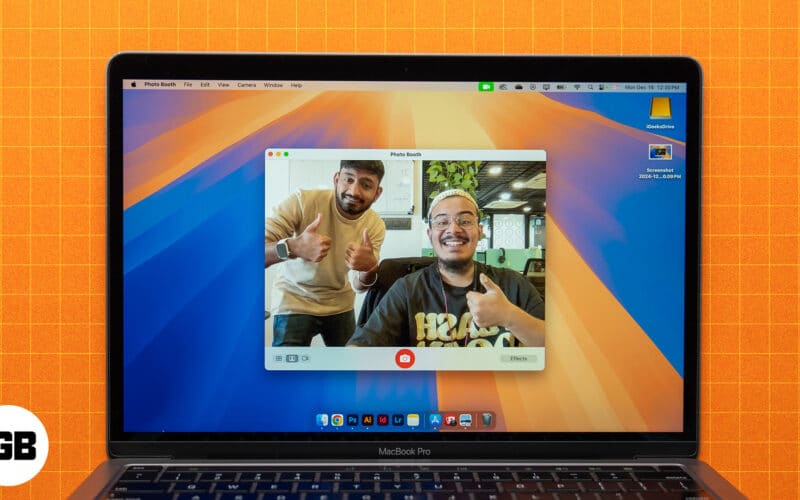
The webcam on your Mac is primarily used for video calls and conferences. However, there may be situations where you may want to record yourself or take photos straight on your Mac, perhaps to record tutorials and guides or for some other reason.
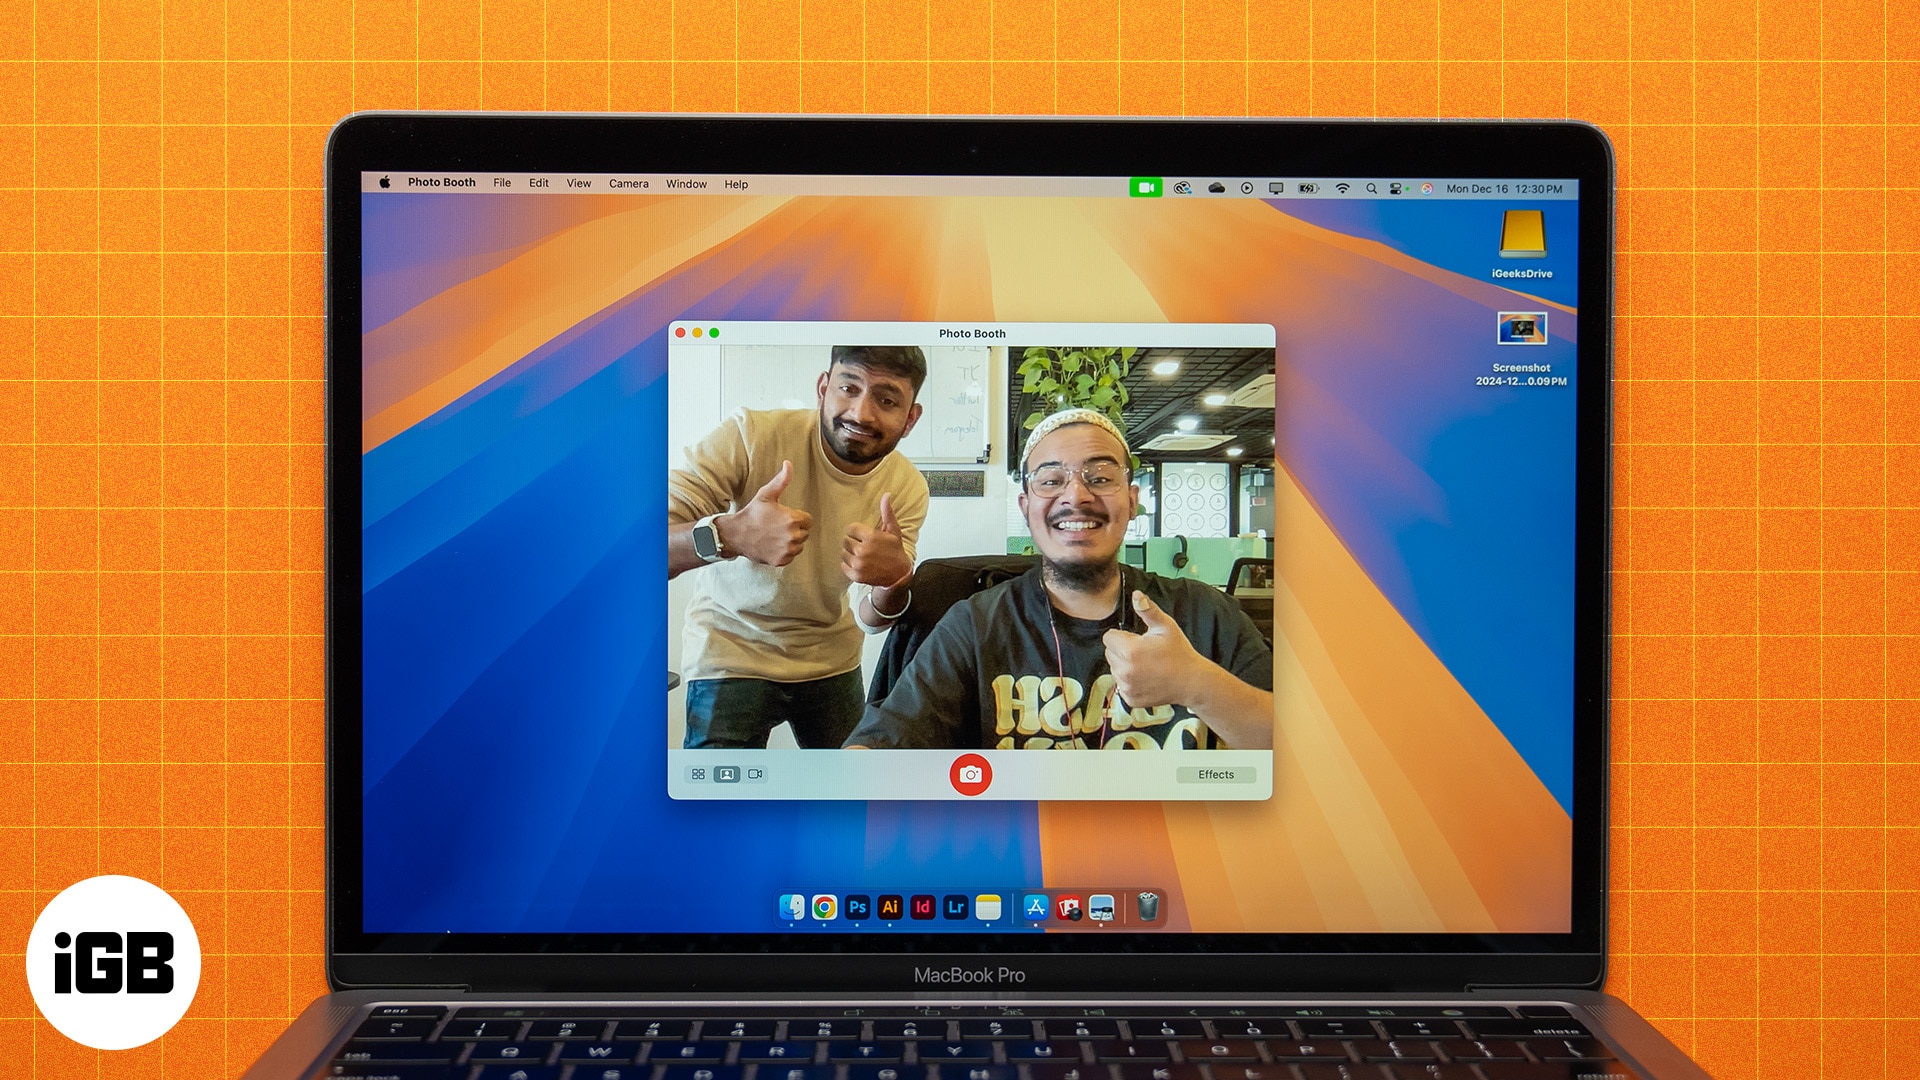
What do you do then? Well, macOS offers the ability to take pictures and record videos directly from the built-in webcam on your Mac in such scenarios. In this guide, we’ll go over all the methods to take pictures and record videos on a Mac.
How to take a picture on a Mac
You can capture an image with the webcam on your Mac using Photo Booth or FaceTime. Let’s see how.
Using Photo Booth
Introduced first in 2005, Photo Booth is a macOS app that comes pre-installed with macOS. It’s pretty easy to use and lets you take pictures and videos using the built-in camera on your Mac. Here’s how to use it to take a picture:
- Open Photo Booth on your Mac.
- You’ll see a preview with a bunch of buttons at the bottom. From the ones on the left, you have two relevant to taking pictures: Take a Single Picture (person-on-screen icon) and Take Four Quick Pictures (four-rectangle icon). Click the icons to switch between modes per your preference.

- Click the Effects button and click on an effect to apply it. You can skip this if you prefer to keep a natural tone.
- Finally, click the shutter button (red camera icon) in the middle to capture the image/images.

You can access the captured image/images by clicking the preview thumbnail above the Effects button. Then, you can right-click on it to export or delete it. Additionally, you can click the share button to directly share it on various platforms.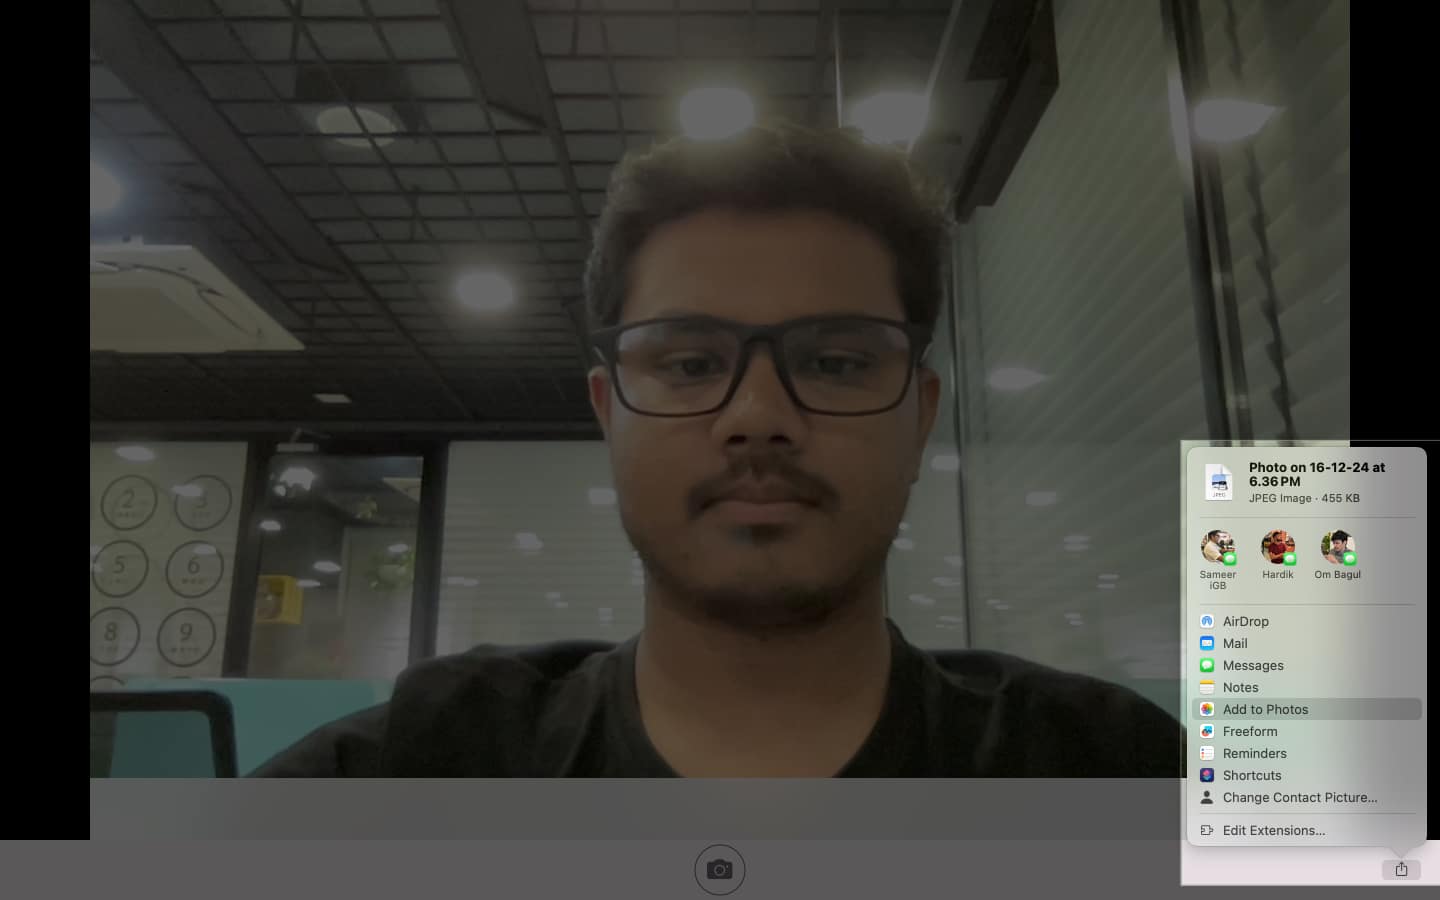
When you take a photo, you’ll notice a three-second countdown and a screen flash before the picture is clicked. However, you can skip them if you want like this:
- Skip countdown: Press and hold the Option key when taking a photo to skip the three-second countdown.
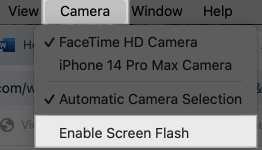
- Avoid or turn off screen flash: Press and hold the Shift key while taking a photo to avoid the screen flash. Alternatively, you can turn it off altogether. Click Camera in the menu bar and untick Enable Camera Flash.
Using FaceTime camera
Alternatively, you can combine the FaceTime app and the built-in macOS screenshot utility to capture a decent-quality picture on your Mac. This is what that looks like:
- Launch FaceTime on your Mac.
- Position yourself in the frame.

- Press Command+Shift+4 to bring up the screenshot utility.
- Now, carefully select the frame you want to capture using the trackpad and release to capture it.

This will capture a screenshot and save it on your Mac. You can refer to our guide on how to take screenshots on a Mac to learn more about the macOS screenshot utility.
How to record yourself on Mac
When it comes to recording videos on a Mac, you can use Photo Booth, QuickTime, or a third-party app, based on your preference and requirements.
Using Photo Booth to record a video
You can use the Photo Booth app to record videos on your Mac, too. This app provides a reasonably easy UI and is possibly the simplest to use when you want to record a straightforward video on your computer without any tweaks. Here’s how to record a video using Photo Booth:
- Open Photo Booth on your Mac.
- When the camera preview loads up, click Record a Movie Clip button (video camera icon) in the bottom-left corner of your screen to switch to video mode.
- Then, press the red camcorder button to start recording yourself. Click it again to stop recording.

Alternatively, if you want to record high-quality videos on your Mac—and you own an iPhone—you can record videos using your iPhone camera on your Mac. To do this, first, connect your iPhone to your Mac. You can either do this using a USB cable or wirelessly by turning on Wi-Fi and Bluetooth.
Now, while in the Photo Booth app, click Camera in the menu bar and select your iPhone from the list of devices to use it.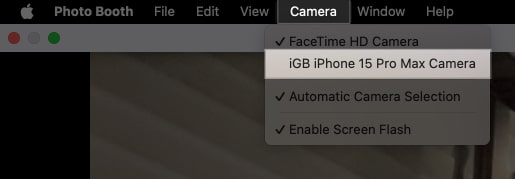
With the set up done, follow the same steps as above to record a video.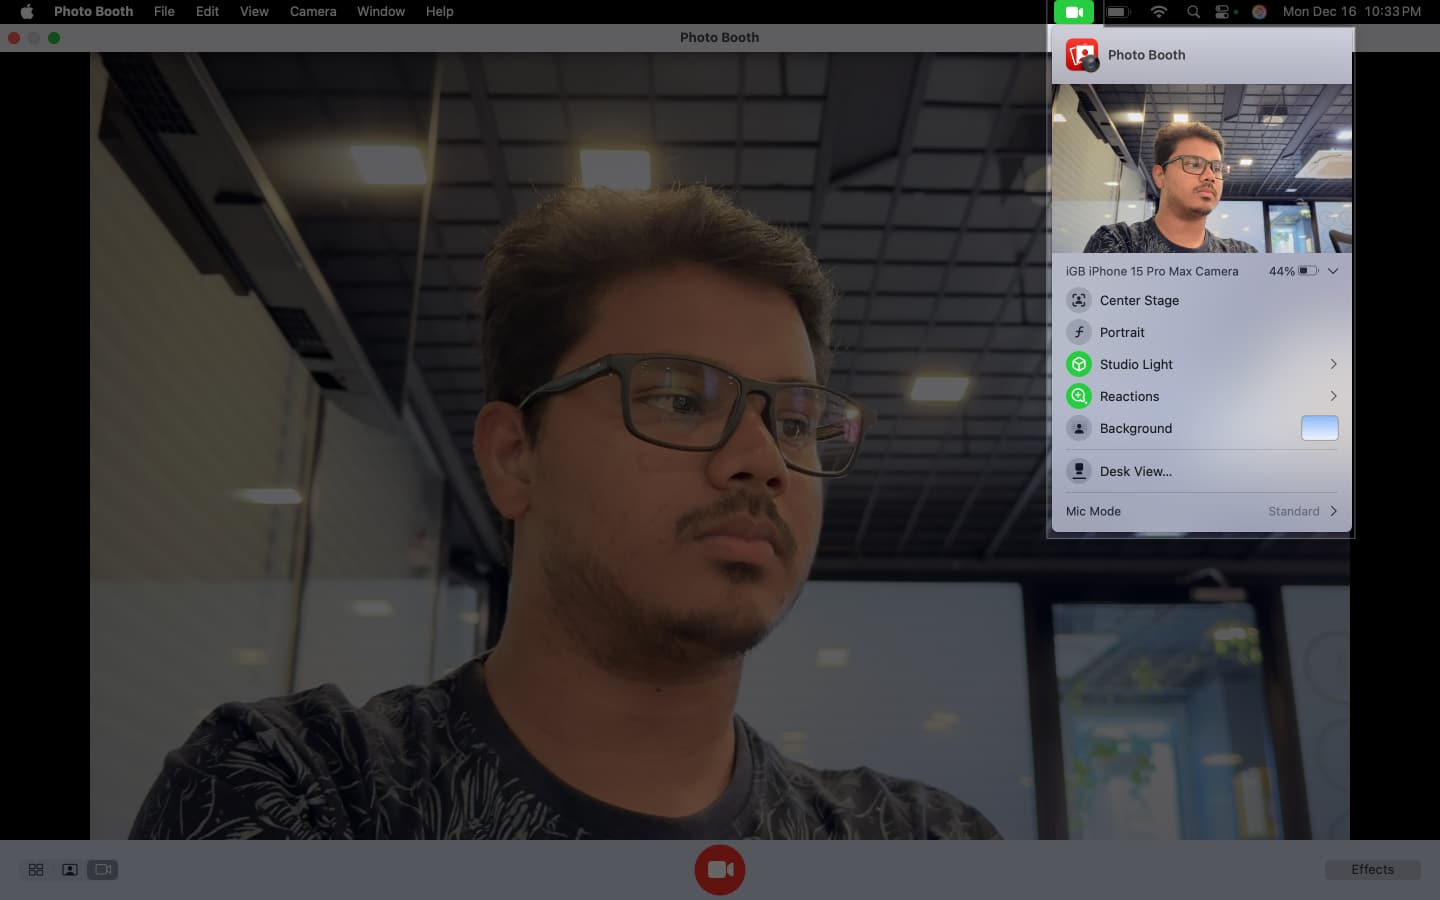
Using QuickTime Player
You may also use the built-in QuickTime Player app to record a video on your Mac. This app provides relatively more features than the Photo Booth app. Here, you can customize the audio recording level, choose the video quality resolution, and export the video in various resolutions after recording.
Become an iGeeksBlog Premium member and access our content ad-free with additional perks.
- Open QuickTime Player on your Mac.
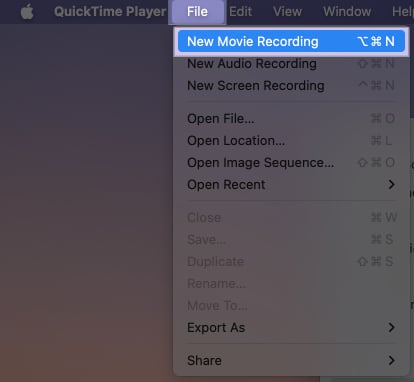
- In the top menu bar, click File → New Movie Recording.
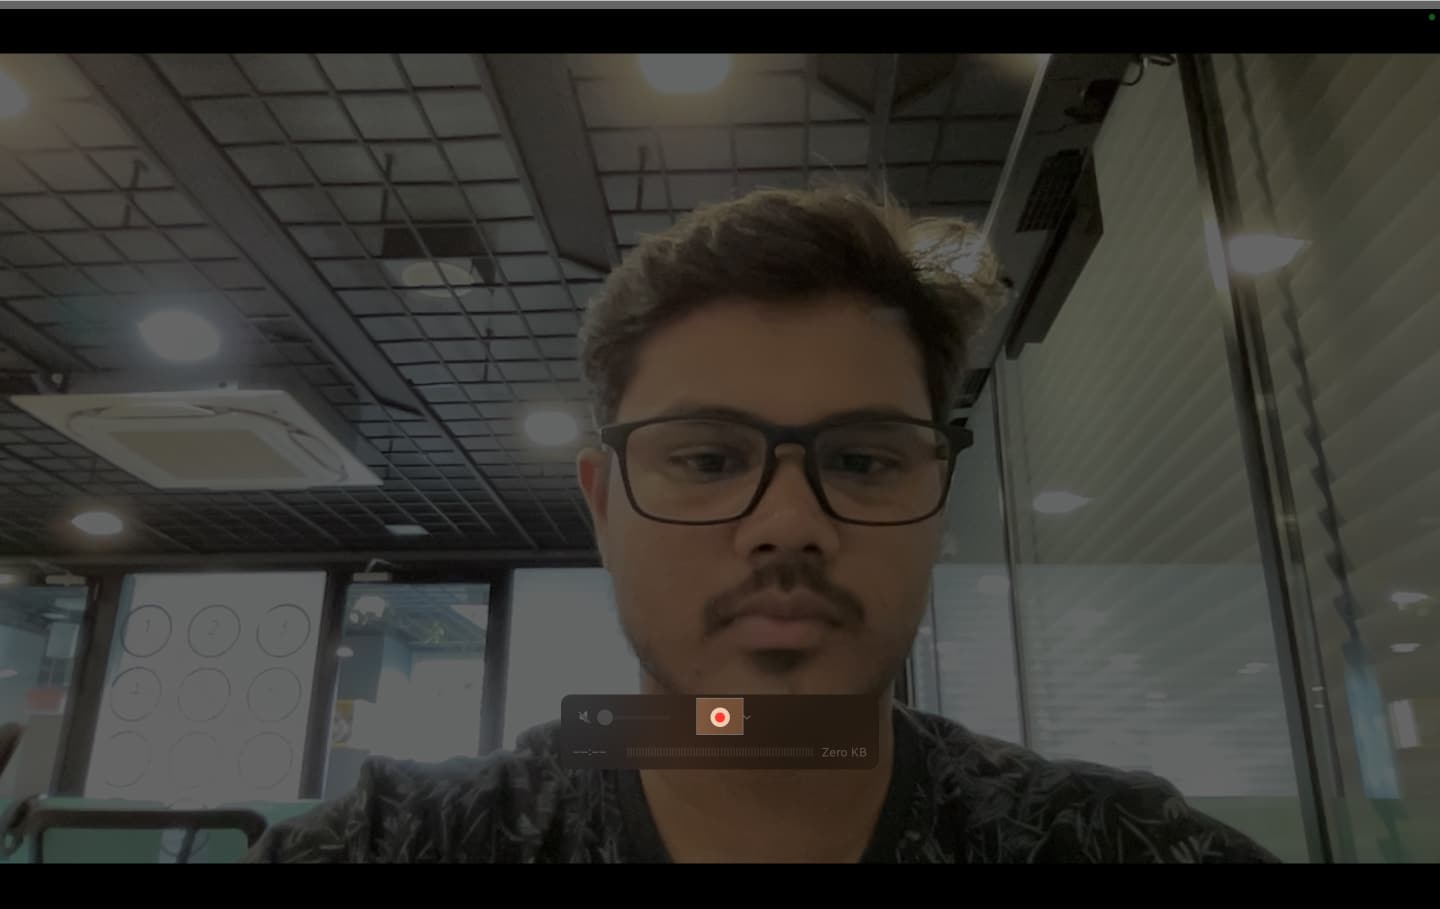
- This will open the recorder screen.
- Click on the circular record icon to start recording a video.
- After you stop recording, you will get a preview of the recording, which you can save by clicking File → Save.
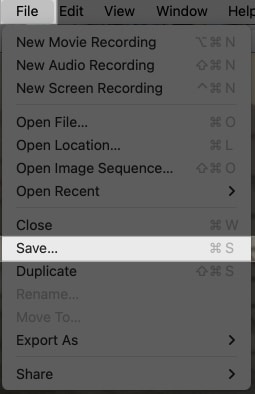
You should have now successfully recorded and saved the video on your Mac using QuickTime Player.
Occasionally, there could be scenarios where you may want to record your screen and record yourself simultaneously. You can do so using the QuickTime Player like this:
- Open QuickTime Player on your Mac.
- Click File in the menu bar and select New Movie Recording.
- Now, resize the recorder screen as per your preference.
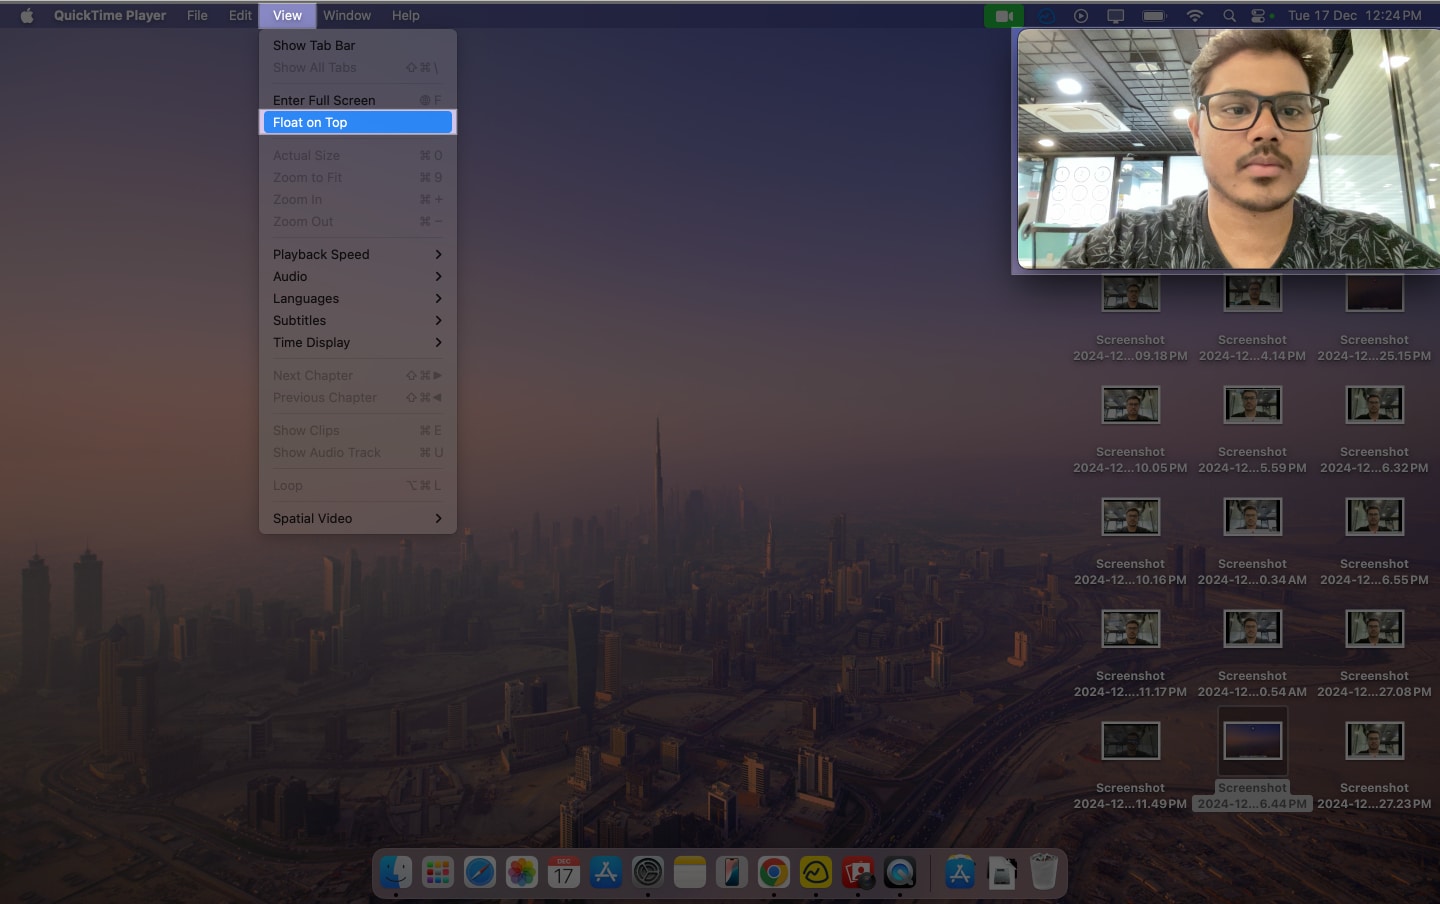
- After this, go to View → Float on Top.
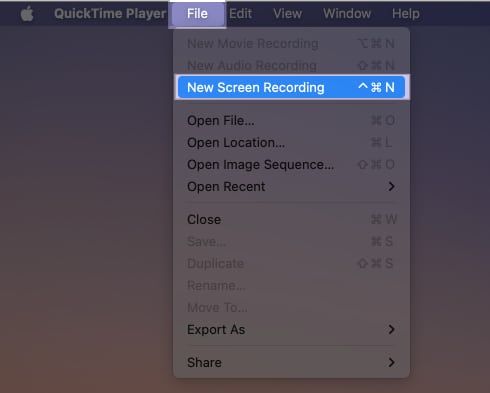
- Then, click File → New Screen Recording.
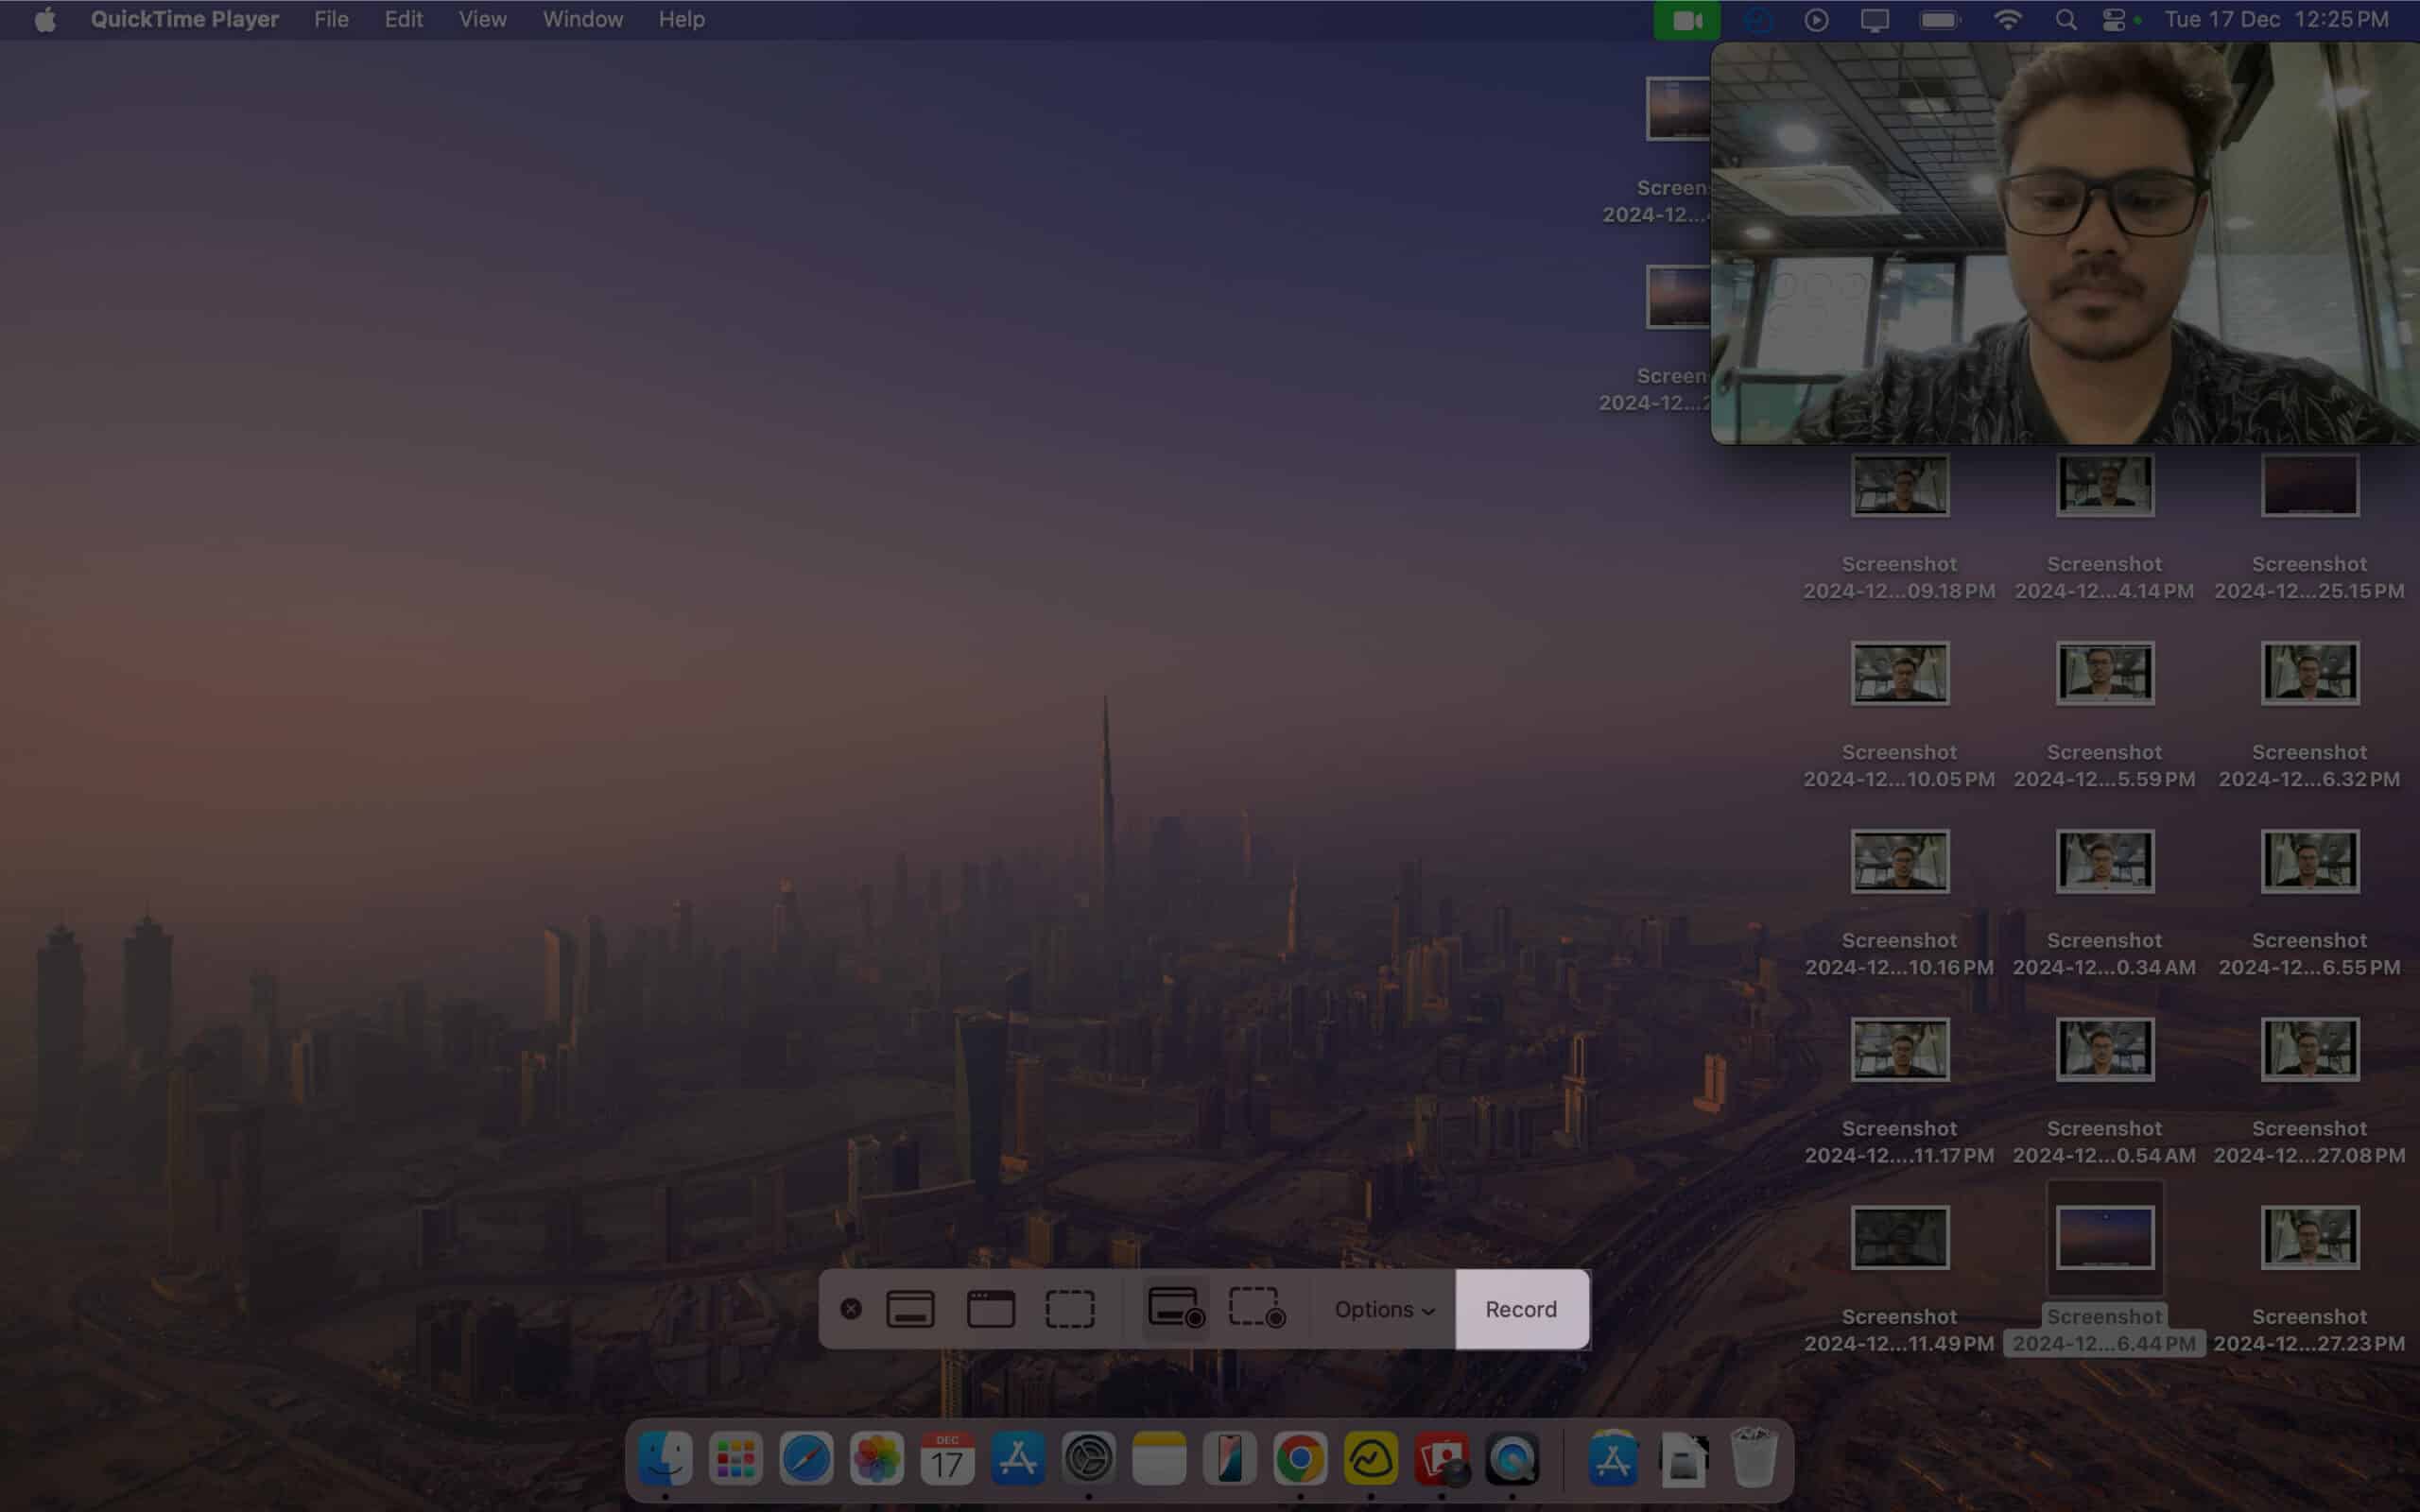
- Finally, click Record to record your screen and yourself simultaneously.
Learn more about screen recording on Mac by following our detailed guide.
Third-party apps to record videos on Mac
Alternatively, you can also use third-party apps to record videos on your Mac. The upside of using third-party apps is that they give you many customization options and advanced features like the ability to choose recording resolution, audio mixing, and built-in editing features. Here are some apps I recommend.
- Riverside: Riverside is a good option if you fancy features like virtual background, uncompressed audio, and up to 4K resolution recording.
- Movavi Screen Recorder: Movavi is another app that lets you record videos on a Mac with features like draw on recordings, show keystrokes, and mouse movements.
- EaseUS RecExperts: EaseUS RecExperts lets you record videos in picture-in-picture mode and allows you to export the recorded video in multiple formats. Check out our detailed review of the EaseUS RecExperts to learn more about the app.
Tips to record video of yourself on Mac
Now that you’re familiar with various tools, here are some tips to help you improve the quality of recorded videos on your Mac.
- Lighting: Always ensure you have ample light while recording videos on a Mac, as the FaceTime camera isn’t as high-quality as your iPhone and iPad. More light improves the video quality.
- Framing: Adjust the camera framing, keep the camera to your eye level, and ensure your face is clearly visible while recording videos on a Mac.
- Audio: When recording a video with audio, try using an external mic, like this Blue Yeti mic from Amazon, to enhance your audio quality immensely.
Signing off…
Knowing how to record videos on a Mac is useful in scenarios where you want to record video tutorials and guides. Similarly, it may also help to know how to take pictures on a Mac when your phone is unavailable and you urgently need some quick pictures. Be sure to choose the correct method based on your needs for the best results.
FAQs
Yes, you can connect both wired and wireless webcams to a Mac. Alternatively, you can use your iPhone as a webcam.
Try restarting your Mac. If that doesn’t help, follow our guide on how to troubleshoot MacBook camera when it isn’t working.
Yes, you can use the Photos app to edit photos and iMovie (or any third-party video editing app for Mac) to edit videos.
Also read:

