Apple’s iPad is a revolutionary device that lets you do more than ever before. The invention of the iPad has changed the way we think about tablets and their functionality. And if you possess one, you know how enjoyable it is to produce artwork and illustrations on your touchscreen tablet.

Procreate is a popular drawing app for iPad, packed with features to help you create beautiful, original artwork. It has everything from layer-based editing to incredible brushes for Procreate and filters. So how can you use Procreate to produce your next masterpiece? Here are some tips for how to get going:
1. Set up Procreate on your iPad
You’ll need to download the Procreate app from the App Store to get started. You can do this by going to the App Store on your iPad and searching for “Procreate.” Once you’ve found it, tap on it and tap “Get.” A screen prompt will appear where you are asked if you want to buy the app or if you want to try it free for seven days.
If you choose to buy it, enter your password and tap Buy when prompted. The app will start downloading onto your iPad, and once it’s done installing, tap Open.
2. Choose a canvas
When you first open Procreate, it will ask “what kind of canvas do you want to work on?” You can choose from several options: paper texture, grid, solid color background, or no background.
- The paper texture will give the drawing a realistic look as if it were drawn on actual paper.
- A grid will help with perspective and drawing straight lines
- Solid color is excellent for creating more abstract pieces
- No background is perfect if you want to add your background later using another program like Photoshop.
3. Use layers

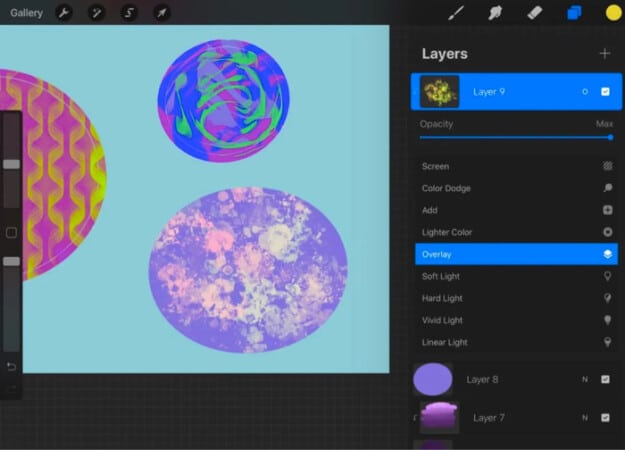
Layers are the building blocks of a Procreate file. Your image is created by combining many different layers. Each layer can be edited and moved around independently, allowing for a huge amount of creative freedom.
To add a new layer, tap the plus icon at the top left. This will add a new layer to your file, set to 50% opacity by default. Tap the Opacity slider to change this value if you want to create a semi-transparent layer.
To re-order layers, tap Select at the top right → tap and hold any layer and drag it up or down in the list. To hide or show each layer, tap its eye icon in the Layers menu. This allows you to focus on selected parts of your drawing without having to delete them entirely.
4. Roughout your sketch
No matter how confident you are with your finished piece, one of the most daunting parts of using any new digital device is not knowing where to start. But remember, just like drawing on paper, it’s all about practice and experimentation.
The best way to get started is by opening the app and diving right in, starting with rough sketches and getting a feel for each tool and Procreate brush.
For the first sketch, you will use the primary pencil tool. Select the pencil tool and adjust the size, opacity, and hardness. A pencil with a hardness of 0% will be more like an ink pen, while 100% will be as hard as an actual pencil. Opacity determines how much of the layer underneath is visible; 0 is completely clear, and 100 is completely opaque.
5. Favorite your best Procreate brushes

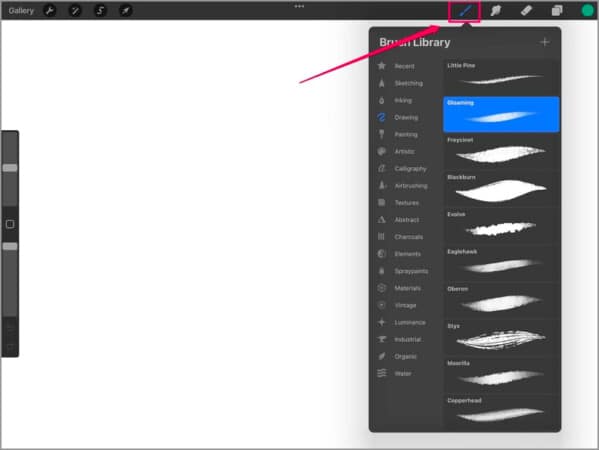
Favorite your free Procreate brushes to see them appear in a handy menu at the top of the screen, so they’re easily accessible without having to scroll through each time. You’ll also notice different sizes of each brush available; experiment with these until you find your favorite.
Become an iGeeksBlog Premium member and access our content ad-free with additional perks.
Don’t worry much about making mistakes along the way! It’s easy to undo and redo as necessary and erase anything that isn’t quite right.
6. Pick a color

Once you’ve got your sketch traced out, you’re ready to divide it into layers. First, decide how many elements in your drawing will need their layers; then, create a new layer for each element by tapping the “+” button at the top of the screen.
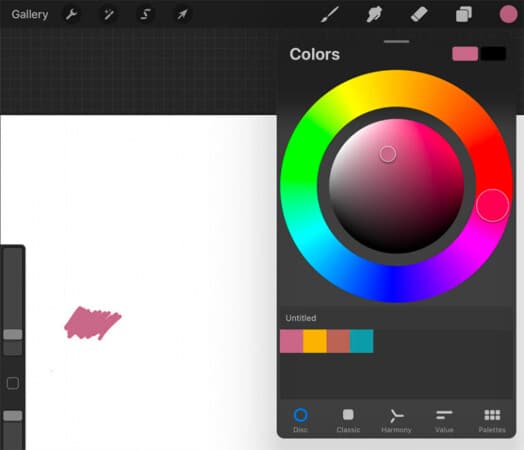
Using different colors for each layer will help you see what they’re doing better when stacked on top of each other! Just tap the color palette in the upper right corner of your screen to get started.
7. Trace your sketch with a clean line
Trace over the sketch with a clean line so that all details are visible on top of each other. This will make it easy to transfer your sketch onto the canvas later. You’ll want to make sure that the line is thick enough to see it when you add layers of color later on.
8. Blur and distort areas of color
You’ll notice that when you apply the Smudge tool, your finger becomes a paintbrush. Select the circle with a dot on the side menu, then click “Smudge” from the Smudge menu if you want to change that. Then select “Smooth Smudge” or “Rough Smudge” using the slider tool at the bottom of your screen.
This will make your finger softer or rougher as you drag it across your canvas, affecting how much color is transferred and how blended everything looks in your image.
To distort color, choose “Distort” from the Smudge menu and tap it once with your finger to activate it. Then move your finger around the canvas to see how it distorts areas of color in different ways.
9. Build volume and shadow in the image
A layer separates some parts of a drawing from others, so you can add or delete elements without affecting the rest of the picture. If you want to draw a set of clouds over a mountain range, you can put them on a separate layer, so it’s easy to make them look like they’re above the mountains or even below them!
10. Export the piece as a JPEG or PNG file to share
To export a piece of artwork, tap the Share icon at the top right. This will bring up a menu with several options for sharing your work. To export an image as a JPEG or PNG file, tap Export Original. Tap Save to Photos and select which album you want to add the image to.
You can also save it directly to iCloud Drive by tapping Add to iCloud Drive. To share your art with other apps, tap Share Options and choose from one of the available options.
Finally
Procreate is one of the best digital painting apps available for iPad. You can use it to create everything from traditional paintings to comics and share your work with the world through social media or upload it to the internet.
If you have an iPad and are looking for a way to express your creativity in a new medium, this app is an excellent choice. Have more queries or want us to create a tutorial for another app? Share your thoughts in the comments below.
Read more:
