Many Android users skip the thought of switching to an iPhone due to their over-reliance on Google services such as Google Photos. While the thought of transferring all your photos from Google Photos to iCloud might seem overwhelming, the process is pretty straightforward. Once done, you can access all your photos onboard any device (Windows, too) using your Apple ID.
Let’s look at two ways to transfer photos from Google Photos to iCloud.
How to transfer photos from Google Photos to iCloud
You can access all your photos and videos in Google Photos on your iPhone with its iOS app. However, if you want to bid farewell to Google Photos once and for all, the Google Takeout service can help. Google Takeout lets you download or migrate your data in any Google-offered services to iCloud in just a few clicks. Here’s what you need to do:
- Visit the Google Takeout page in your preferred browser.
- If you want to transfer all your photos and videos, click Continue.
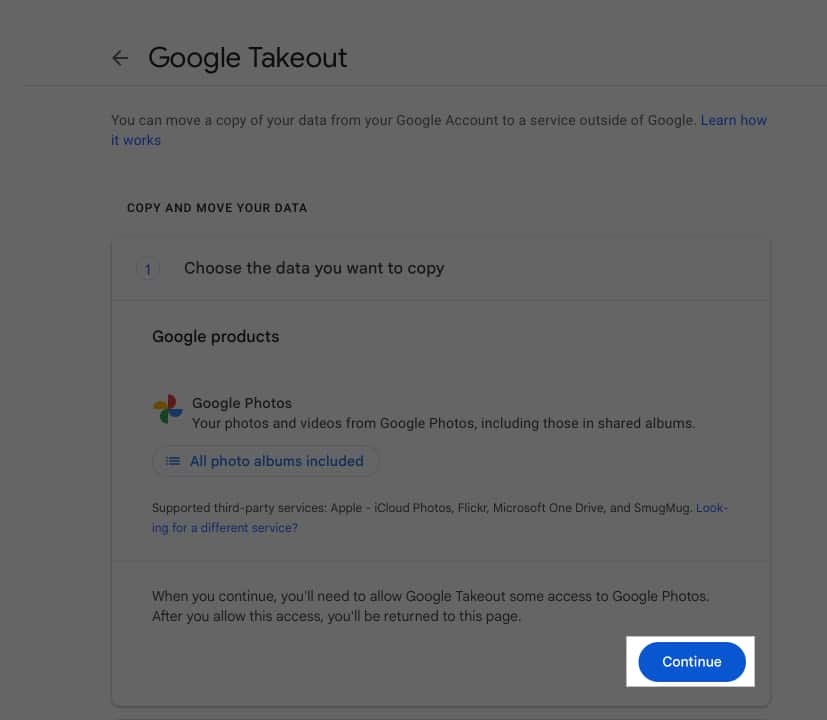
- If not, click on All Photo Albums Included under Google Photos.
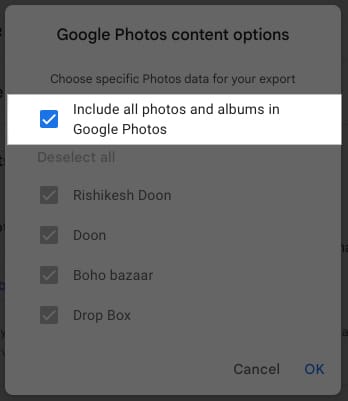
- Check off the Include All Photos and Albums in Google Photos checkbox and uncheck the albums you don’t want to transfer.
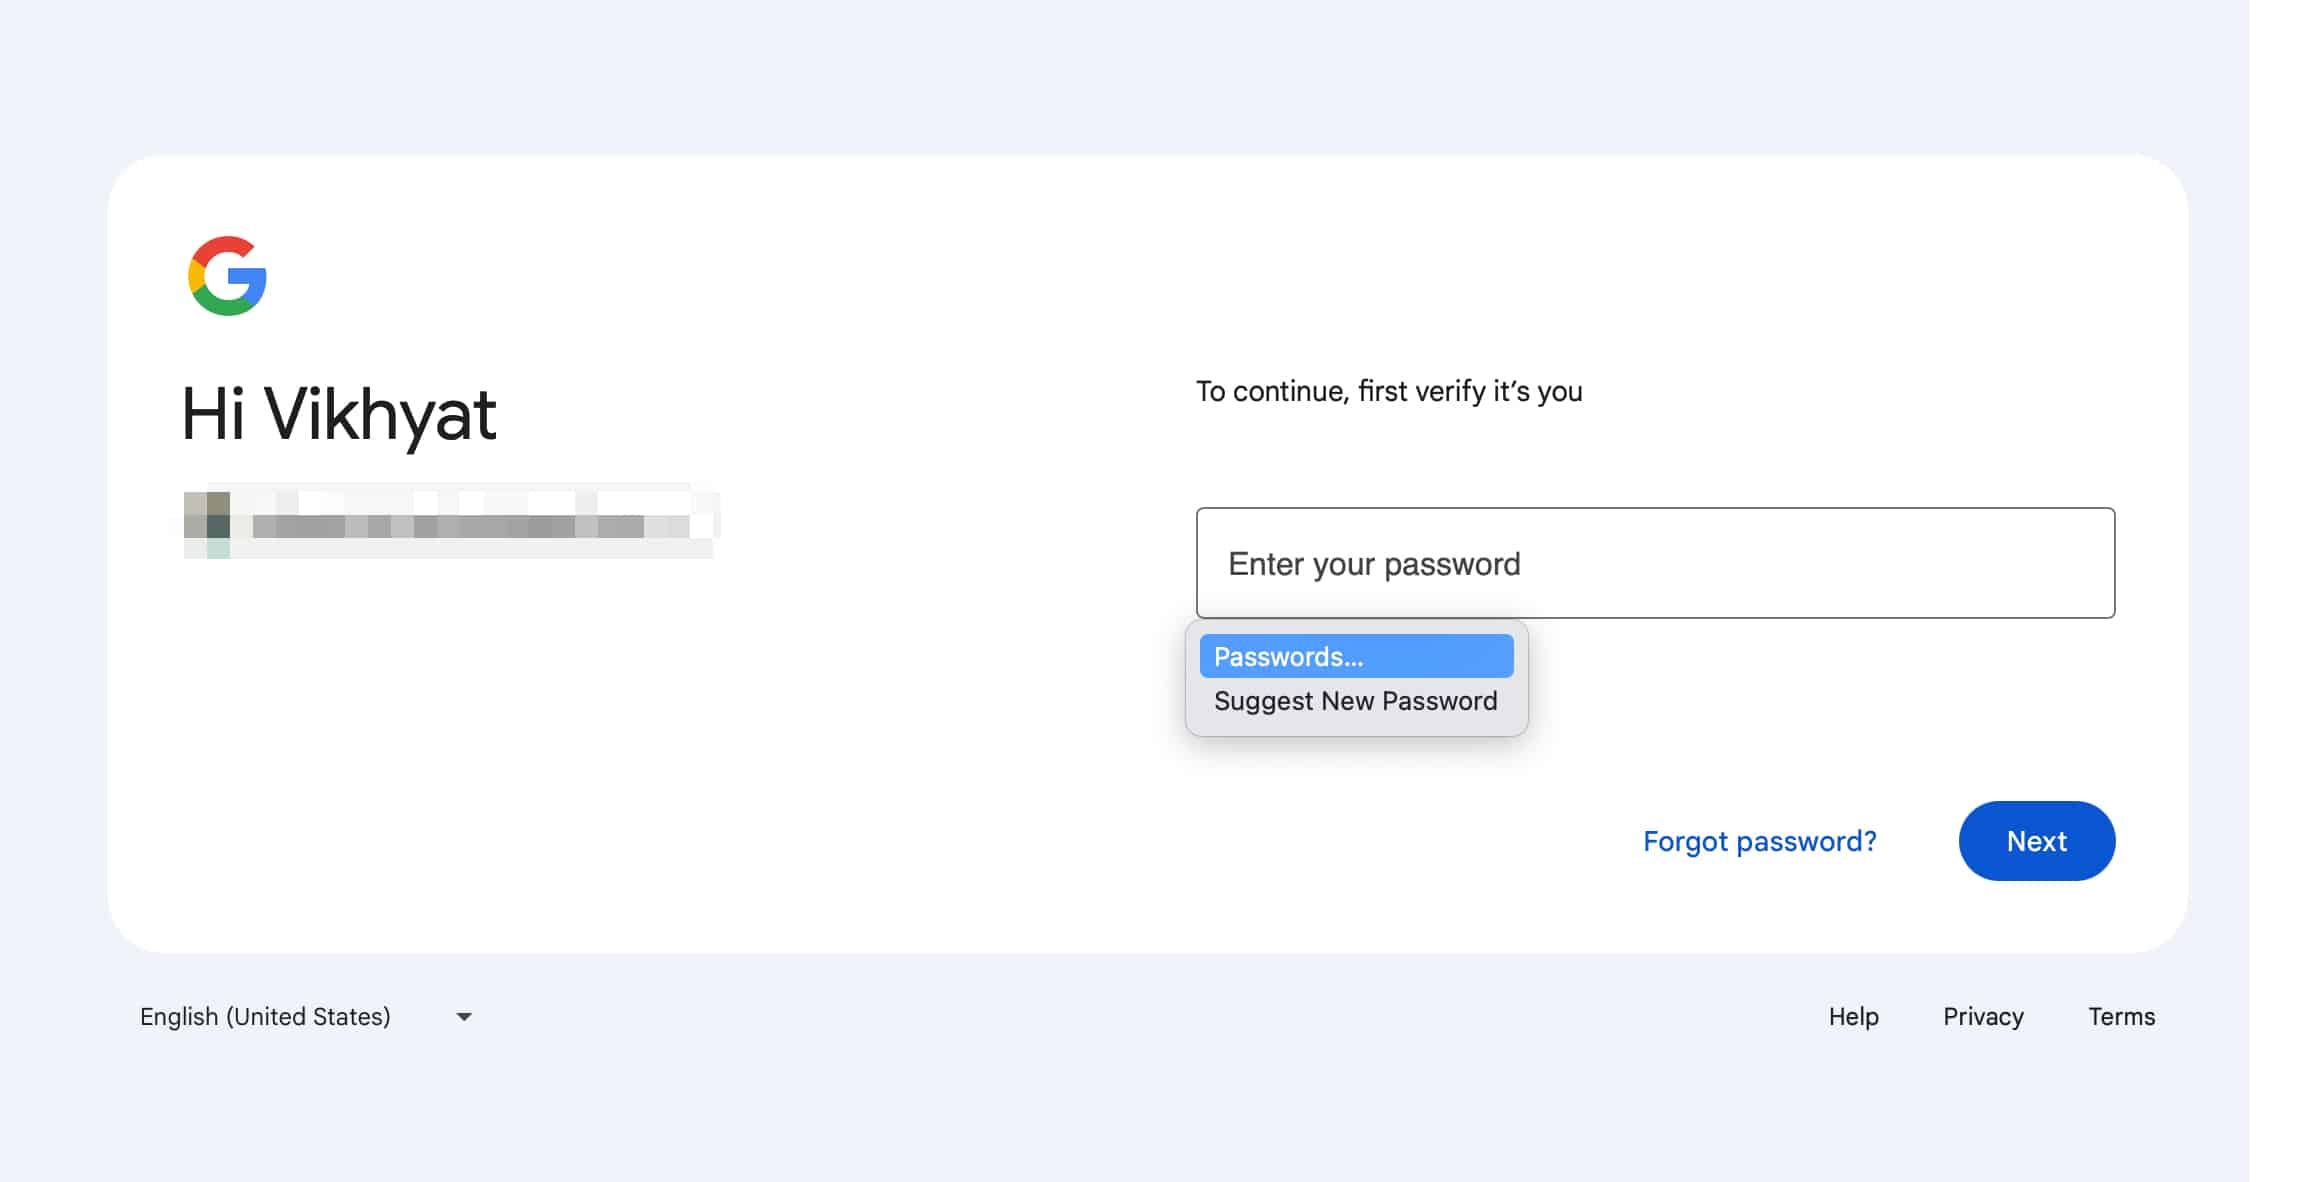
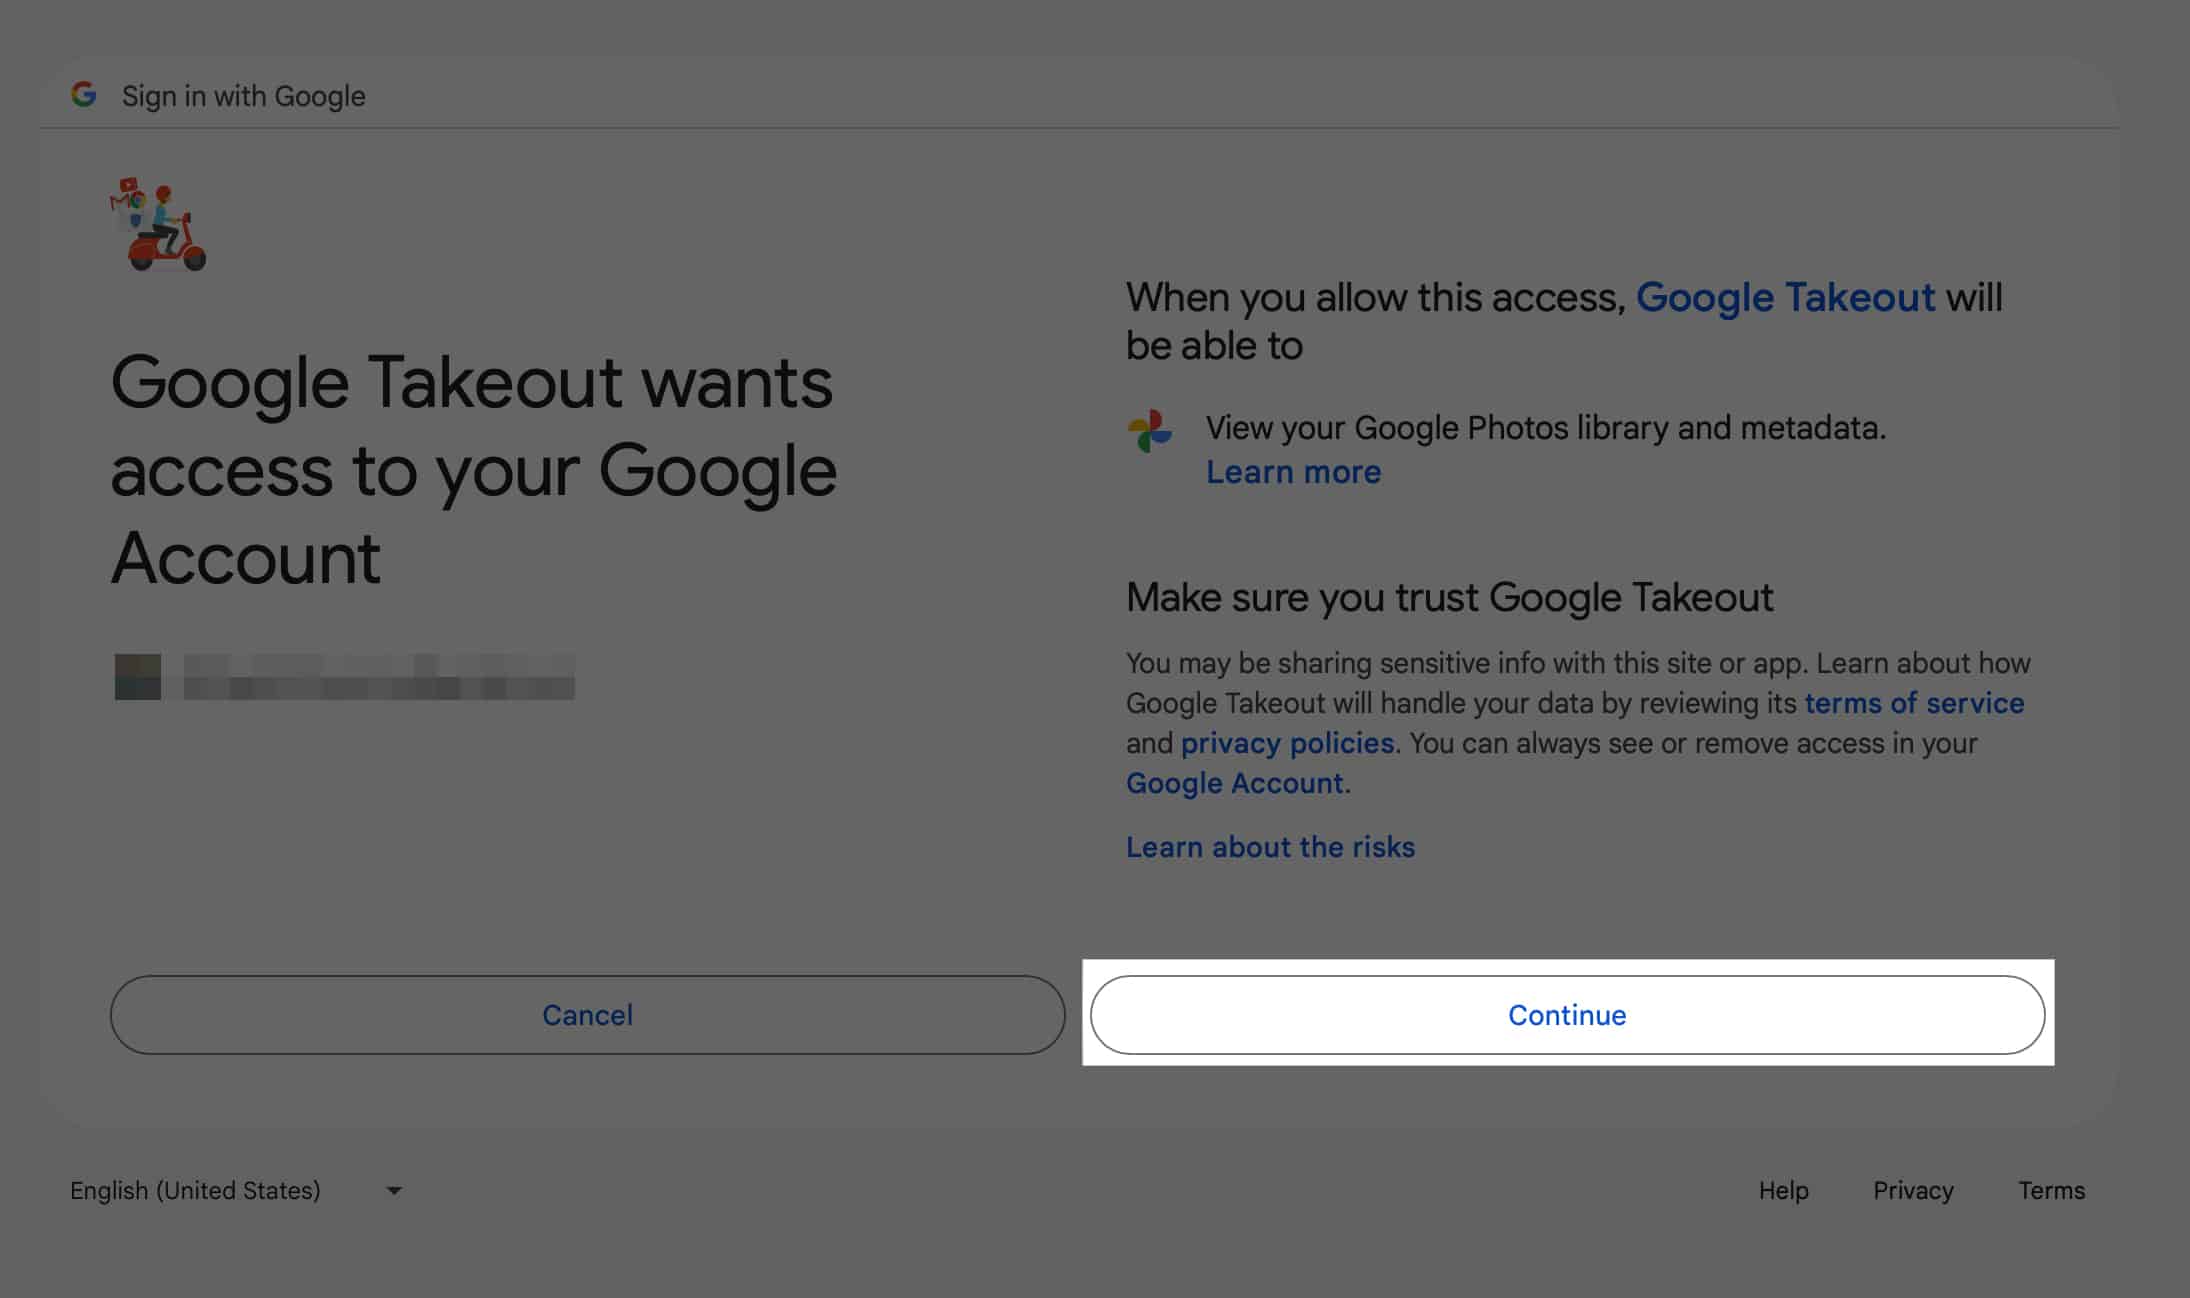
- Grant Google Takeout the necessary permissions when prompted. You may need to sign in again.
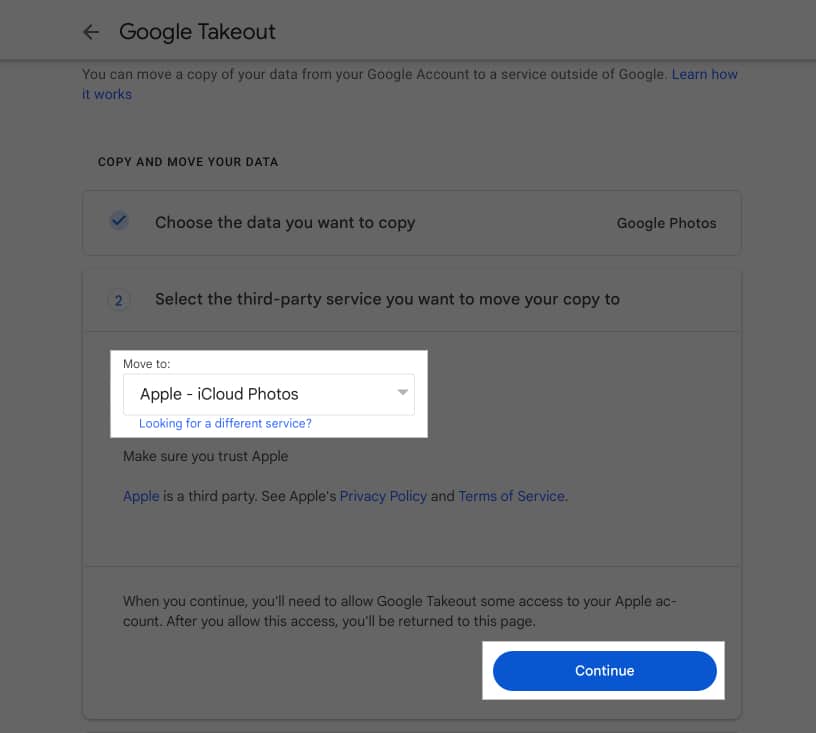
- Now, select Apple – iCloud Photos from the drop-down menu under Move to and click Continue.
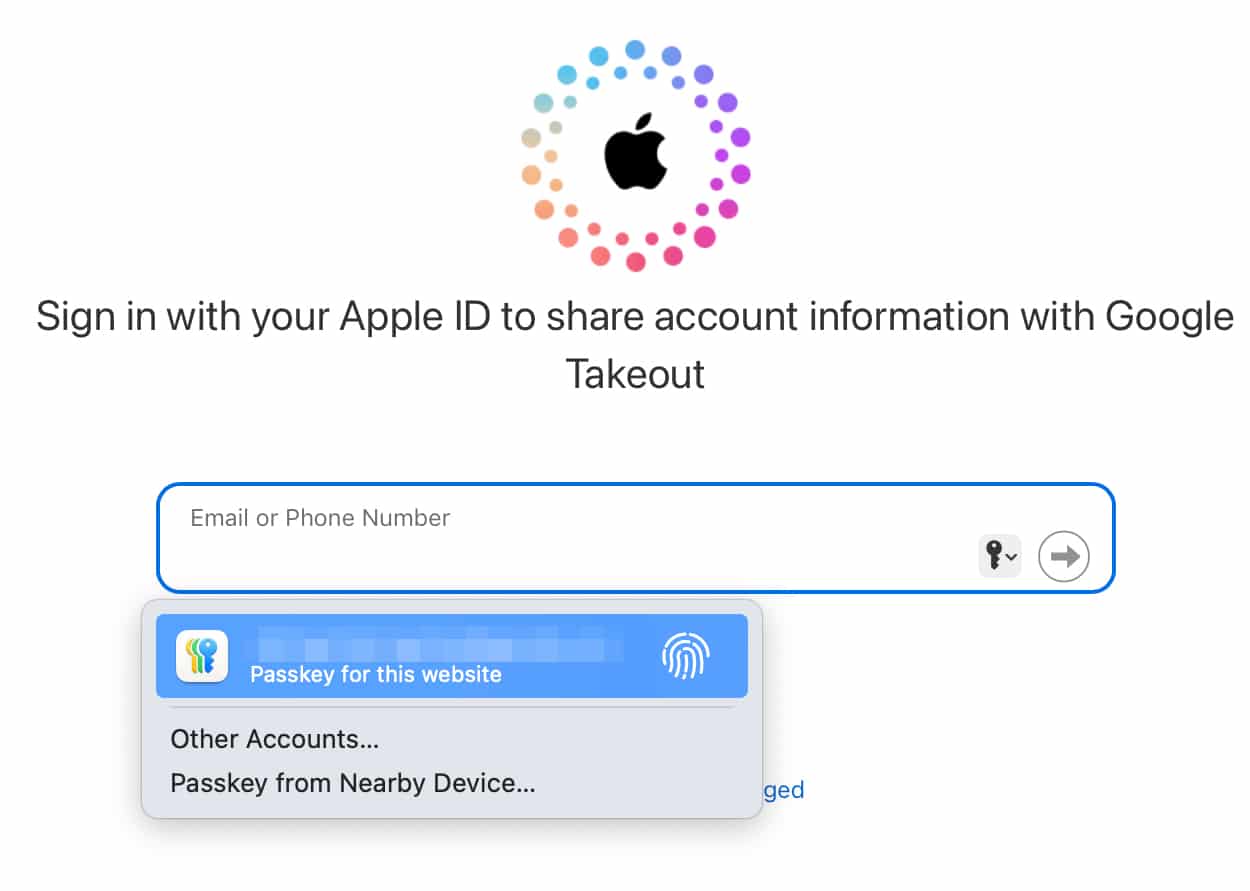
- Log in to your Apple account.
- Grant Google Photos the necessary permissions to add photos and videos to your iCloud account.
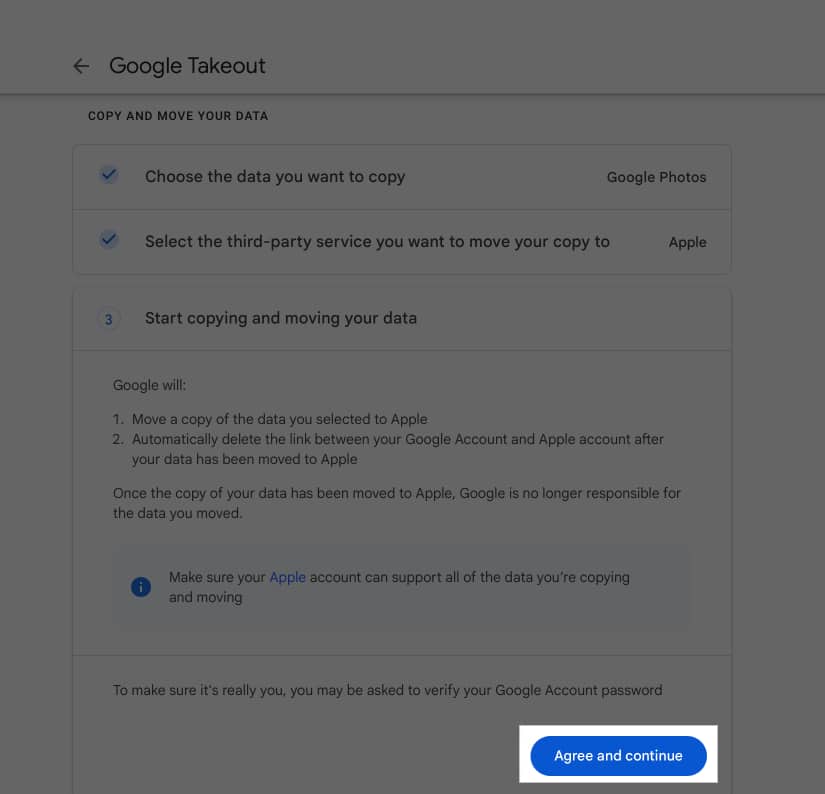
- Finally, click the Agree and Continue to start the transfer process.
How to move photos from Google Photos to iCloud on iPhone or Mac
While the Google Takeout method lets you exclude albums, it doesn’t allow you to choose and transfer only selected photos and videos. This is an essential requirement for many, considering Apple only offers 5GB of free iCloud storage, unlike Google’s 15GB storage. If it’s for you, too, you can directly download the photos and videos from your Google account and add them to iCloud. Here’s how:
On iPhone
- Download the Google Photos app on your iPhone from the App Store.
- Sign in to your Google account.
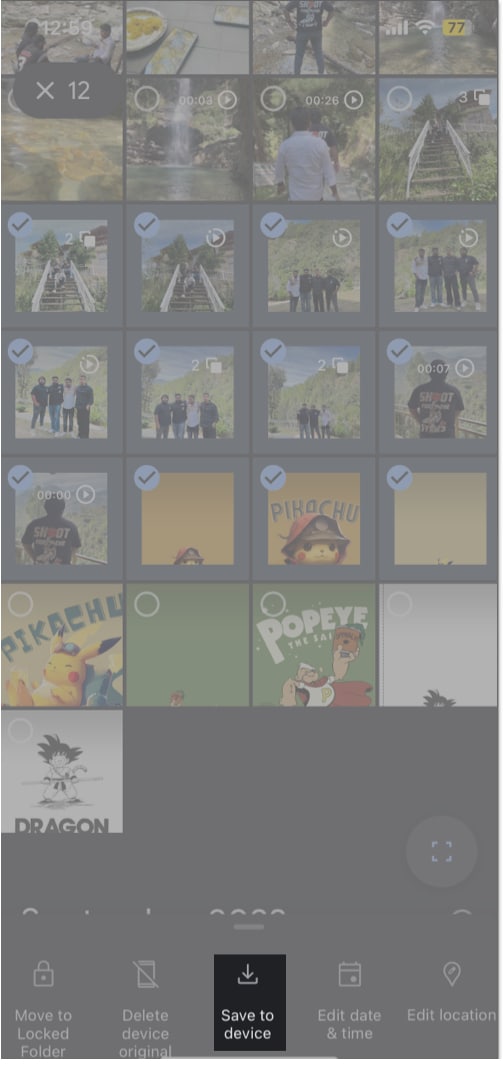
- Select all the photos and videos you want to move out. Then, tap the Save to Device button in the bottom menu bar that appears.
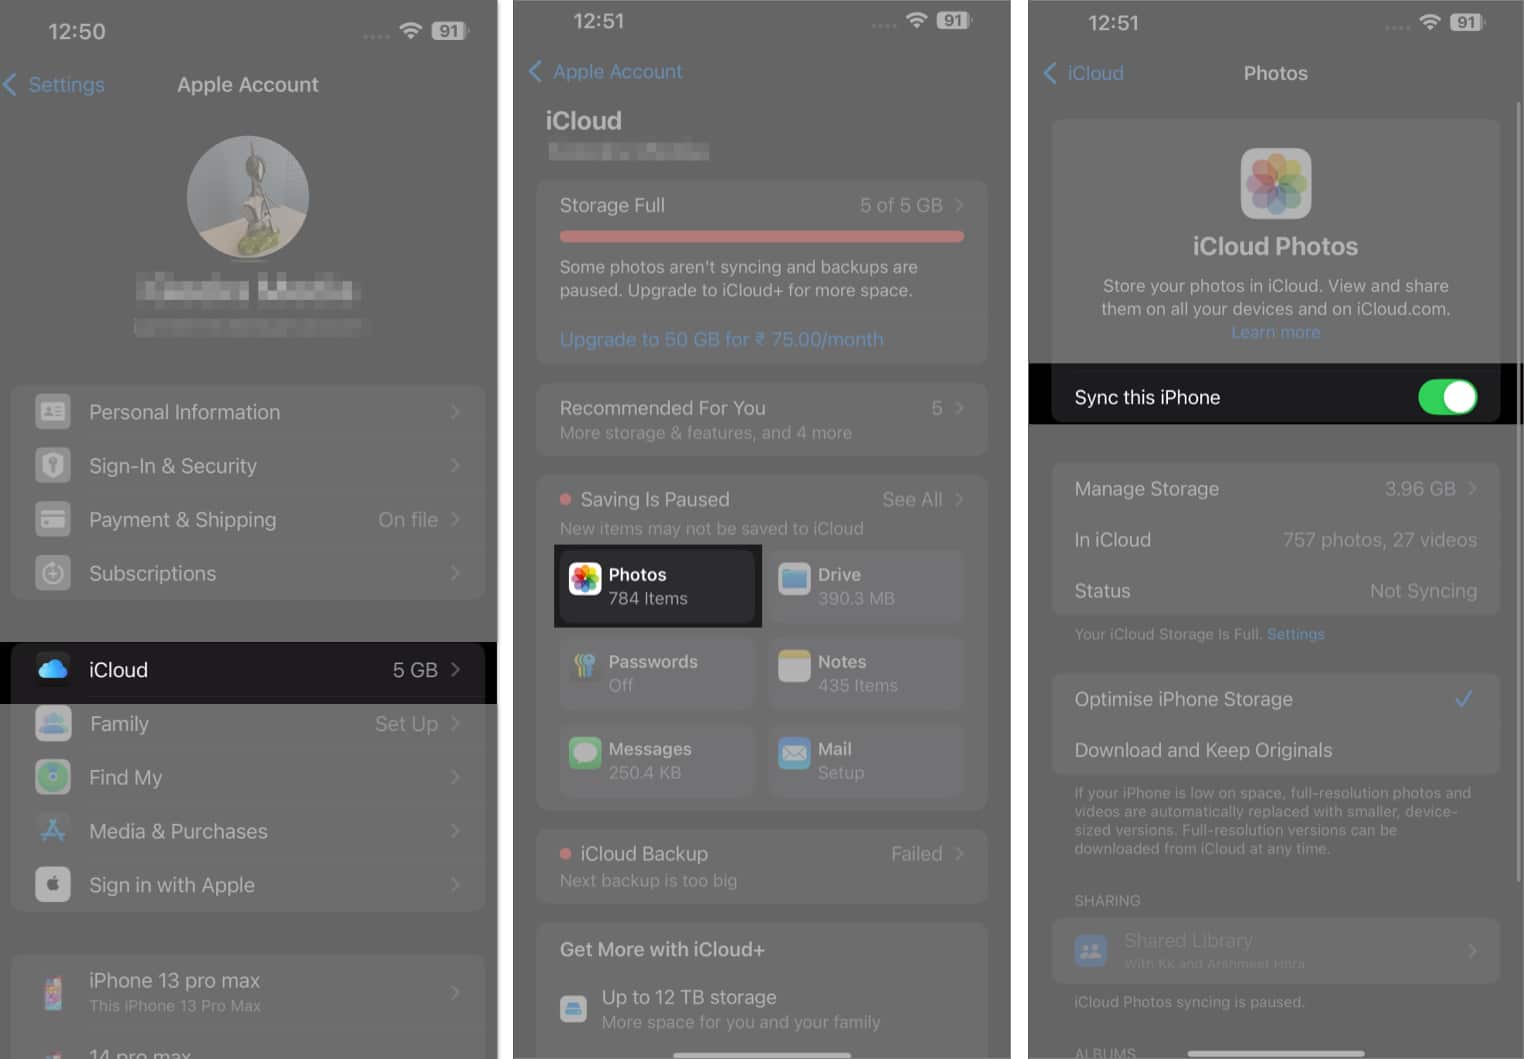
- All your downloaded photos and videos will now get uploaded to iCloud automatically if iCloud Photos is enabled on your iPhone. If it isn’t, you can enable it by opening Settings, going to Apple ID Profile → iCloud → Photos, and toggling on Sync this iPhone.
On Mac
- Visit the Google Photos website and sign in to your Google account.
- Here, hover the pointer over the photo or video you want to download and click the radio button on it to select it. Do this for all the photos and videos you want to move out.
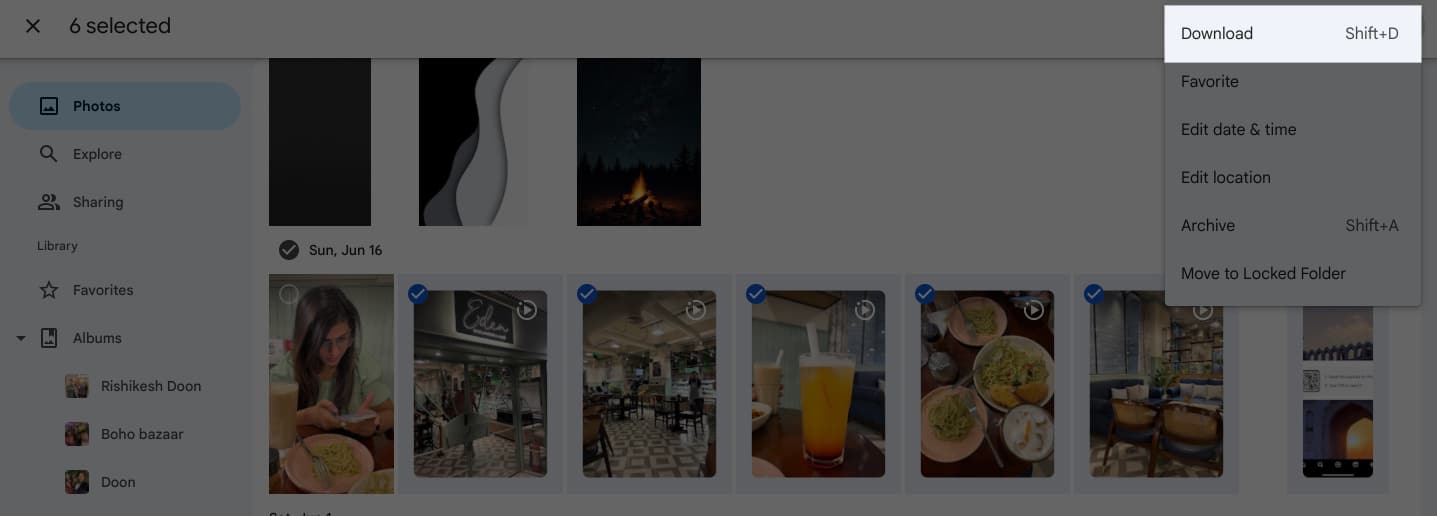
- Next, press the Shift + D key to start downloading, or click the three-dot button in the top-right corner and choose Download in the drop-down menu.
- Open the Photos app and drag and drop all the downloaded photos and videos onto it.
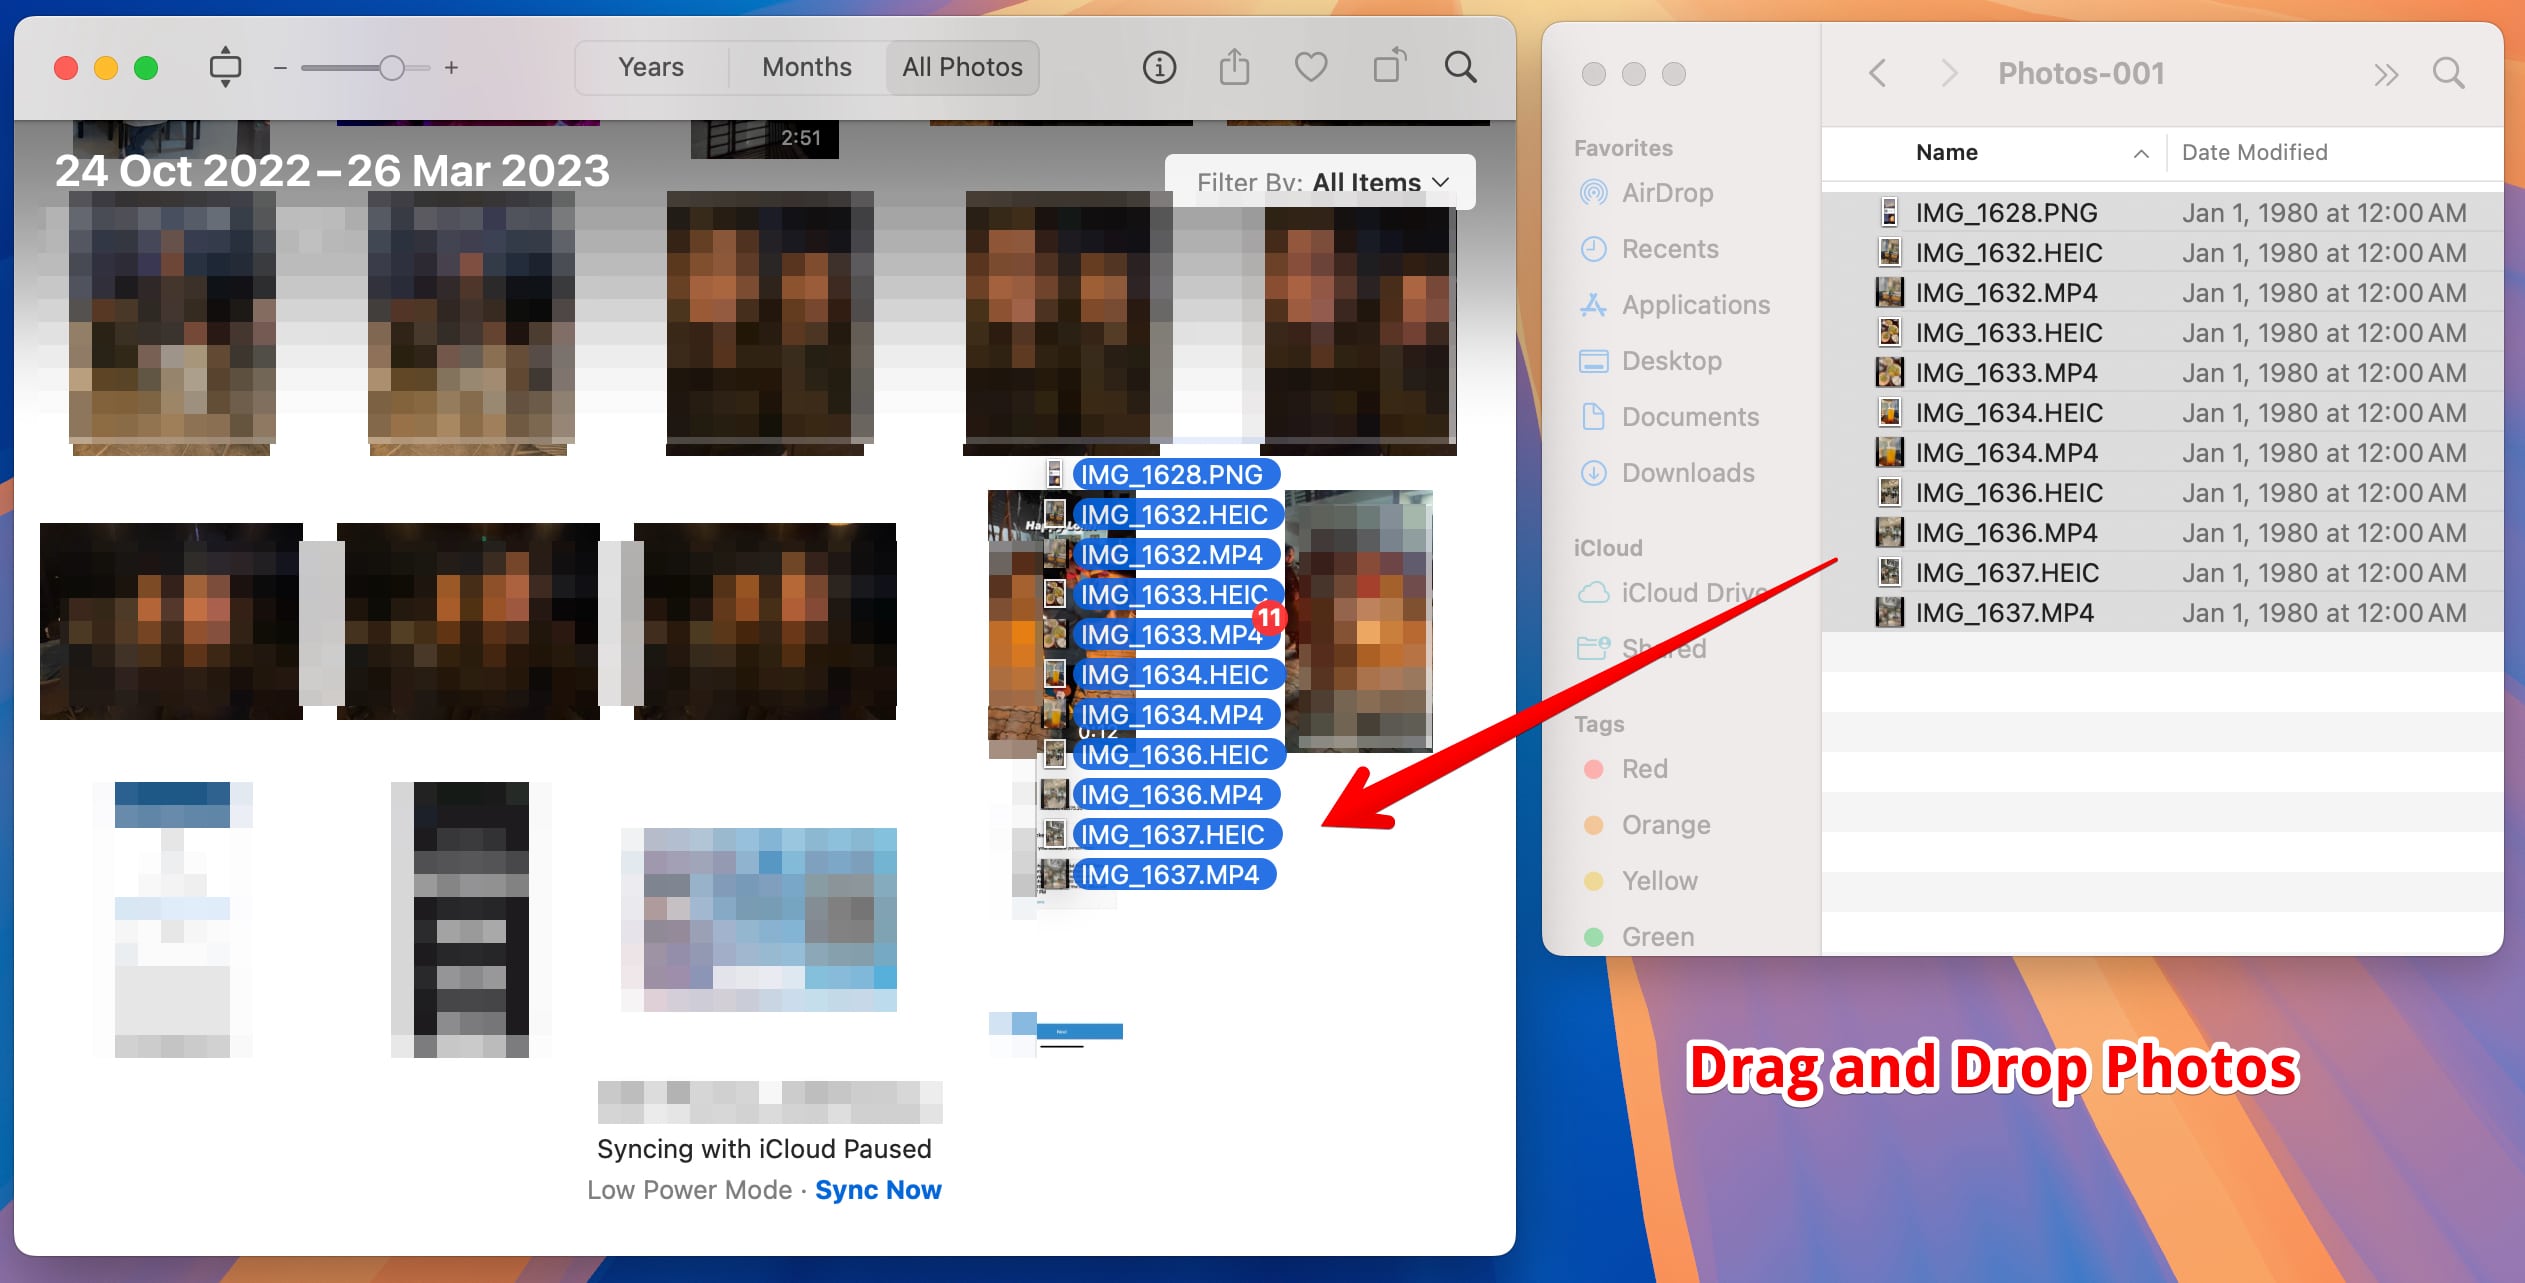
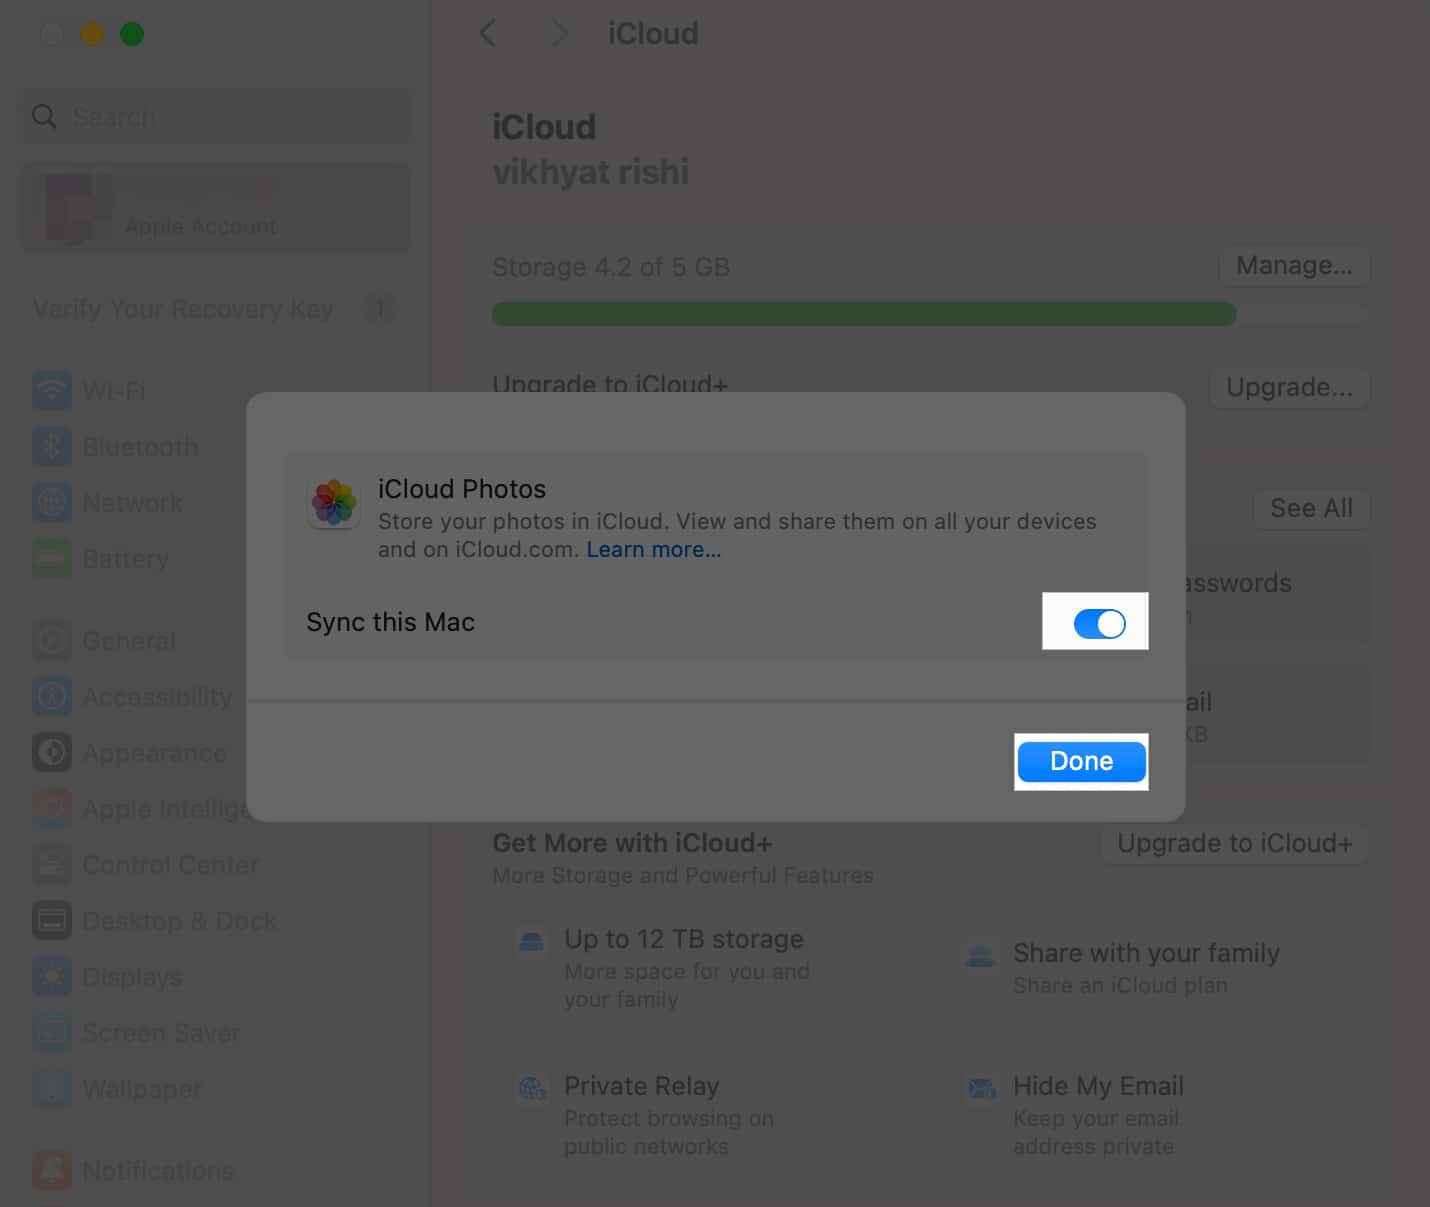
- Now, if you have iCloud photos enabled on your Mac, it will automatically upload all the photos and videos to iCloud. However, if it isn’t, go to Settings → Apple ID → iCloud and toggle on Sync this Mac.
Transmission complete….
Become an iGeeksBlog Premium member and access our content ad-free with additional perks.
That’s all you need to know about transferring your photos and videos on Google Photos to your iCloud storage. To ensure there are no hiccups during the transfer process, make sure to free up storage in your iCloud account first so that there’s enough space for new files.
While the process can feel tedious, it helps ensure your photos are well-organized and available in your preferred cloud storage.
Got into an issue or have a doubt? Feel free to comment down below.
FAQs
No, there will be no loss in terms of image quality during the transfer process. All your transferred photos will be the same quality as they were in Google Photos.
It depends on the number of photos and videos you’re transferring and may take anywhere between a few minutes to several hours.
No. As of now, Google Takeout is the only official method to sync Google Photos with iCloud.
Also Read :
