I love listening to songs while relaxing on my couch, walking around, or when working. While Apple Music is home to millions of songs, it sometimes gets on the nerves to find the right song. Well, my solution is Siri. Did you know you could use Siri with Apple Music in a range of ways?
It allows me to control anything and everything with just a voice command. The voice assistant is programmed to entertain and assist you in all possible ways. And this is one alluring facet of it. Keep scrolling to learn more about how you can ask Siri to enhance your Apple Music experience.
- Find and play music with Siri
- Find music by charts, popularity, or genre
- Tell Siri what you like to listen to
- Add music to your library or playlist
- Listen to the radio with Siri
- Control what’s playing on Apple Music
- Learn about what’s playing
Find and play music with Siri
If there isn’t any particular song that you wish to listen to, you can ask Siri to play music for you. However, consider telling her the artist, album, or part of lyrics for more personalized results. Say ‘Hey Siri’ followed by:
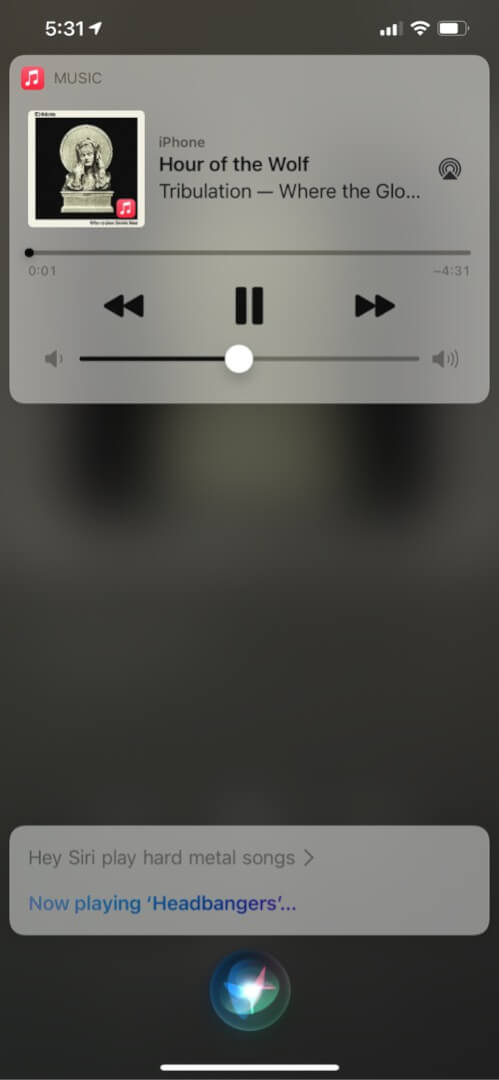
- Play songs by Bryan Adams.
- Play Shawn Mendes Essentials.
- Play my evening playlist.
- Play the song that goes ‘at the sight of the black smoke.’
- Play ambient sounds.
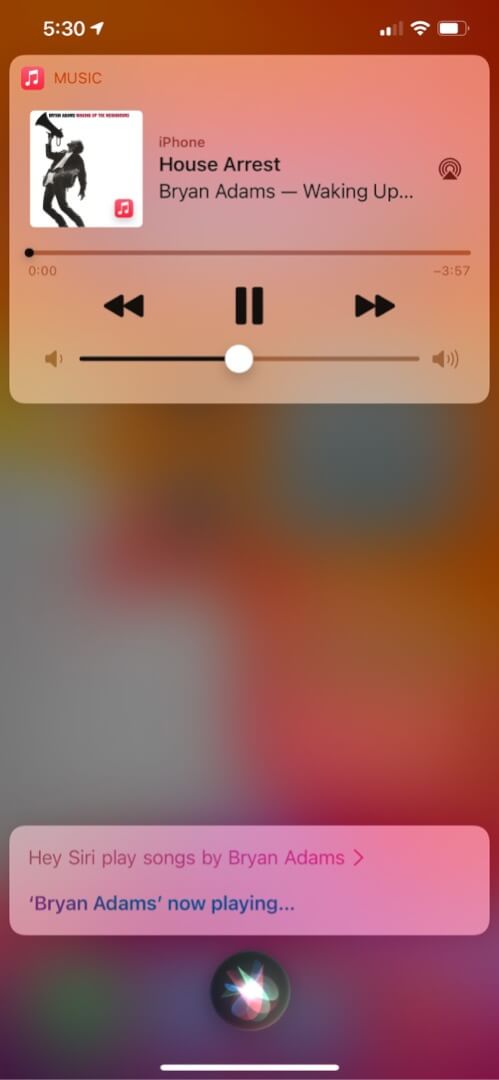
Find music by charts, popularity, or genre
Unlike the previous one, this one’s more precise. You can try saying ‘Hey Siri’ followed by:
- Play hits of 2020/Play 2020 chartbusters.
- Play top 90’s songs.
- Play the latest romantic songs.
- Play hard metal songs.
Tell Siri what you like to listen to
While you are listening to songs, don’t miss letting Siri know how you feel about it. This will eventually help the voice assistant to cater to you with more personalized songs and respond accurately to the commands like, ‘Hey Siri! Play my favorite music.’/ ‘Hey Siri! Play the songs I like.’ You can do so by saying, ‘Hey Siri’ followed by:
- I like/don’t like this song.
- Play more songs like this.
- Play other songs by this artist.
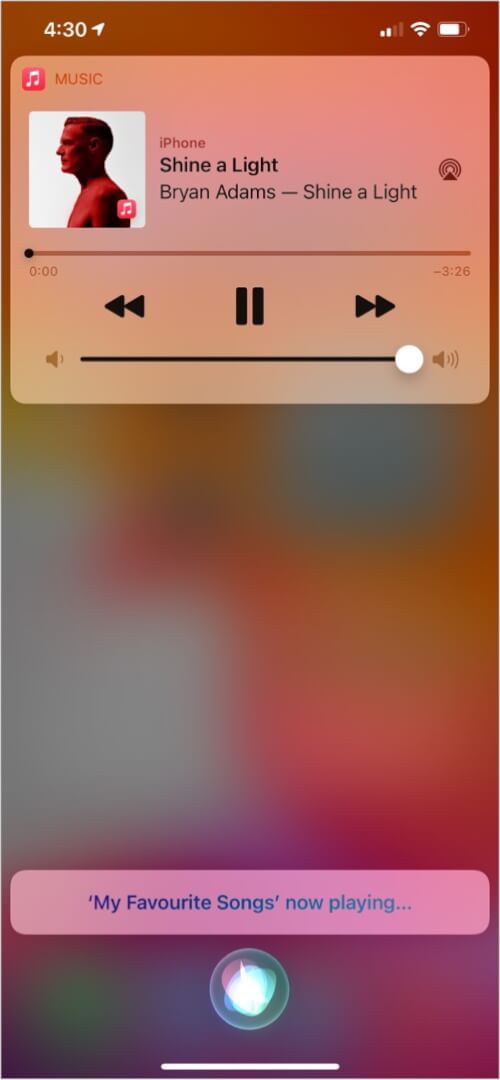
Add music to your library or playlist
Say, ‘Hey Siri’ followed by
Become an iGeeksBlog Premium member and access our content ad-free with additional perks.
- Add this song/album to my library.
- Add this song/album to my evening playlist.

Listen to the radio with Siri
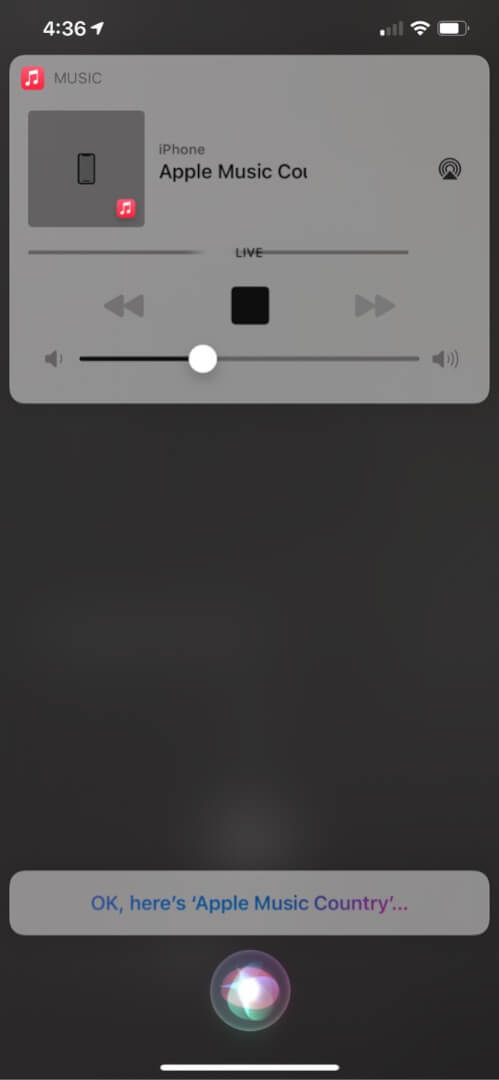
You can also listen to live radio using your Apple Music app. Besides this, you can also create a custom channel with your list of favorite songs. To do this, try saying ‘Hey Siri’ followed by
- Play BBC Radio.
- Play the latest episode of ‘the end of the world.’
- Play Apple Music Country.
- Play Apple Music 1.
- Create a radio station for Billie Eilish.
Control what’s playing on Apple Music
You can have full command of what’s playing. Below are a few commands you can try after saying, ‘Hey Siri.’
- Play/Resume/Stop/Pause.
- Play next track/song.
- Skip this song.
- Switch volume to 50%.
- Volume up/down by three levels.
- Turn repeat mode on/off.
- Play the previous track.

Learn about what’s playing
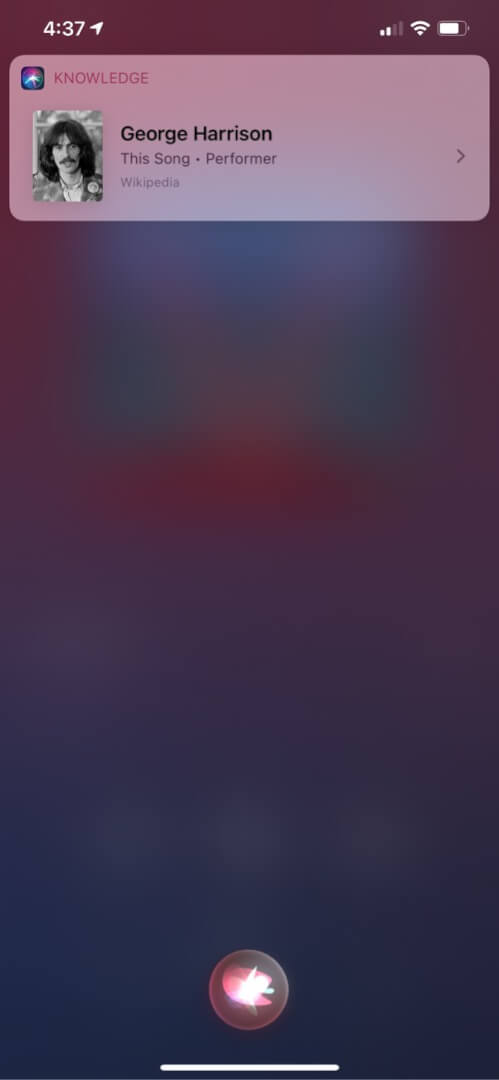
Siri is regularly updated and upgraded to deliver information on anything and everything you want. This includes your songs as well. You can try some questions by saying Hey Siri, followed by:
- Who is the singer of this song?
- What song is this?
- When was this song released?
Stream Apple Music using Siri commands!
Siri is designed to deliver you ease in day-to-day things. There’s so much you can do with Siri, including message announcements on AirPods, type to Siri, play YouTube Music, use Siri offline etc. All you need to do is, say ‘Hey Siri’!!
Read more:

