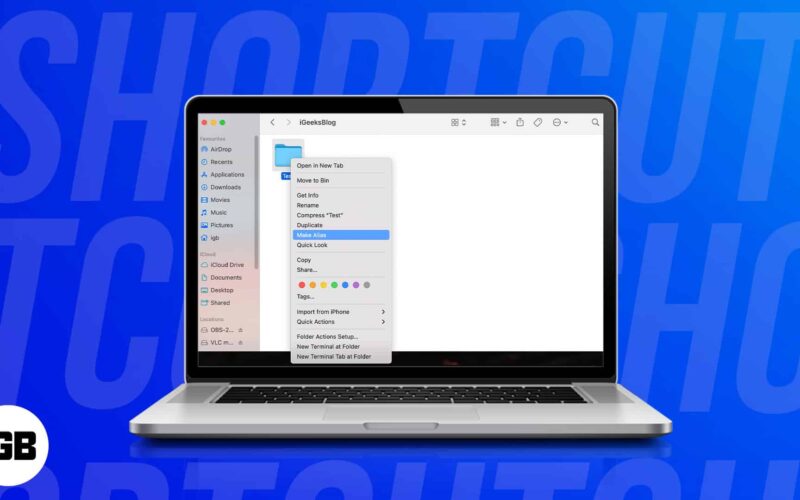
When you download an app on Android or Windows, you get an option, or it automatically creates a shortcut on the home screen or the desktop. On Mac too creating a folder or app shortcut is extremely easy. It hardly requires four clicks. We first make an alias and then move it to the desired location.
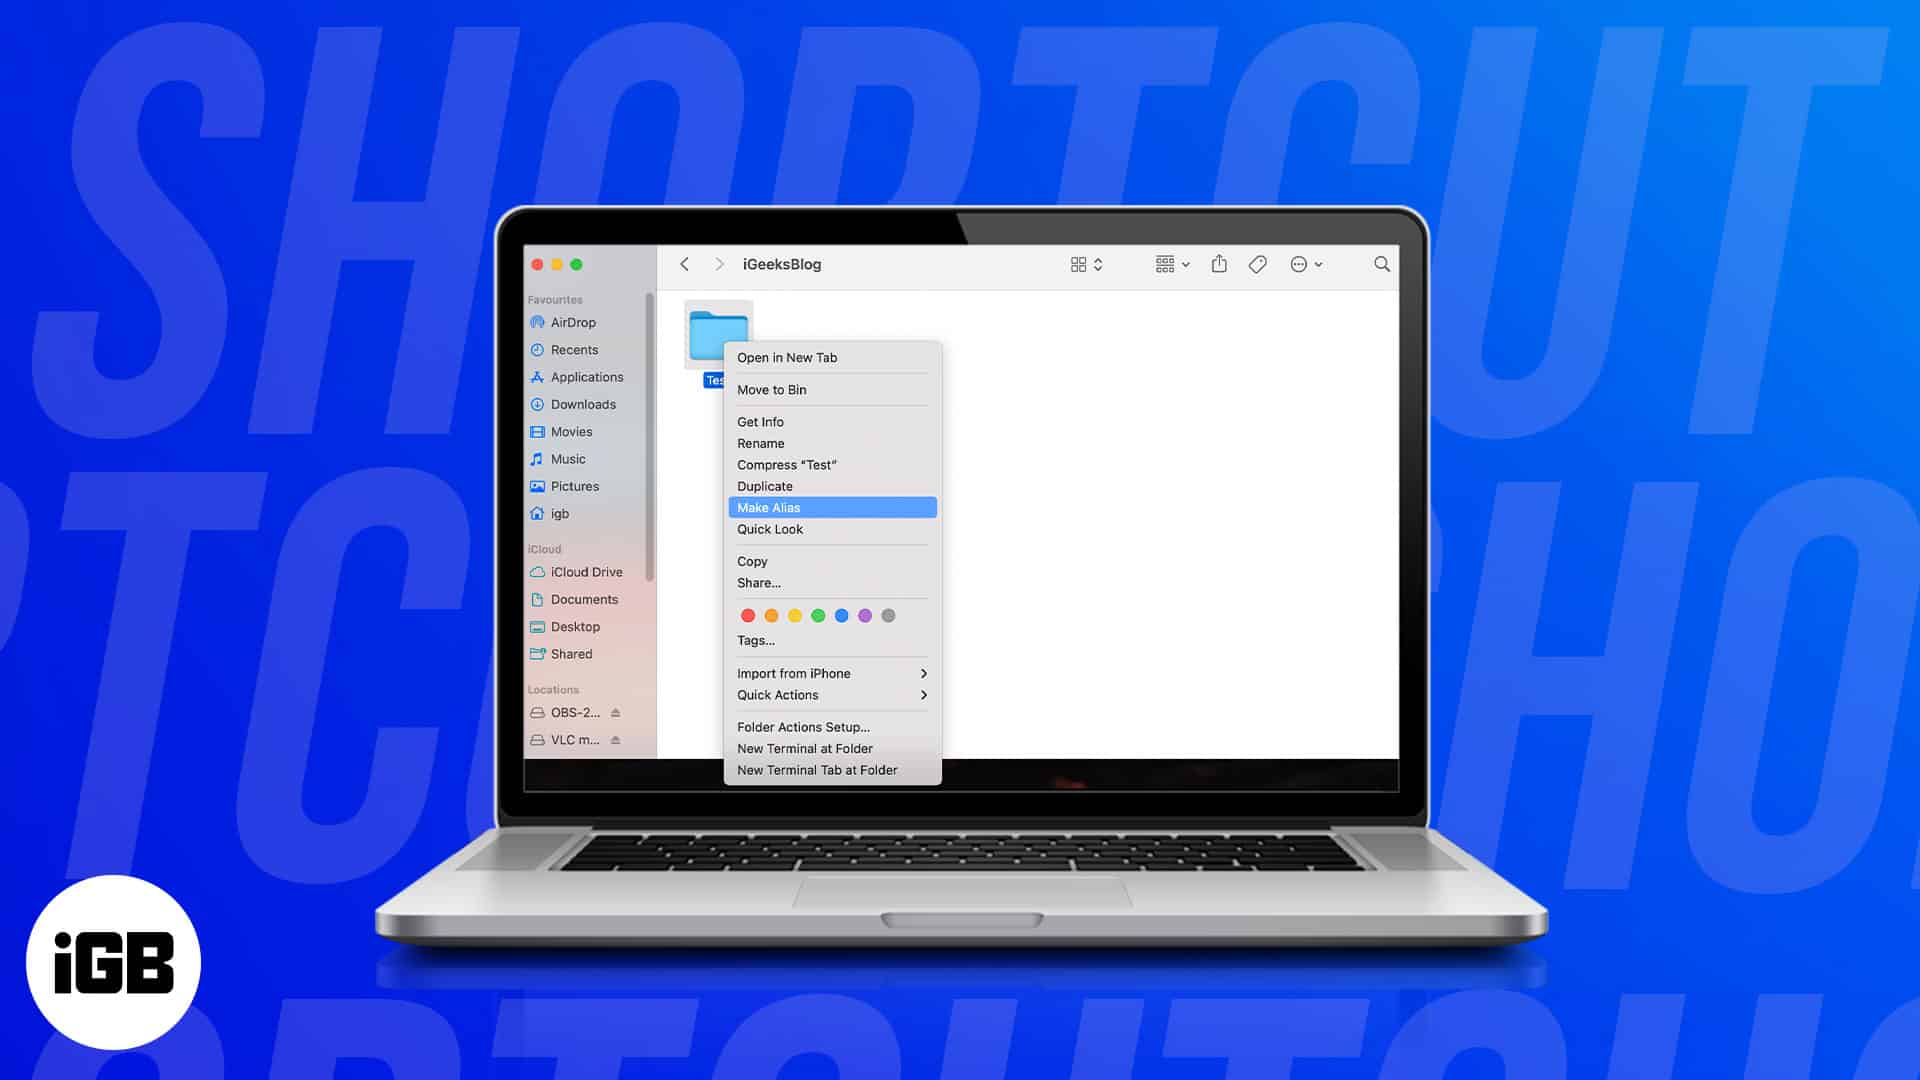
You can add shortcuts for folders and apps to the desktop or Dock of your Mac. The first method below is the one I prefer. The second method is also quick, but it at times copies the folder instead of making the shortcut. Anyways, here are two easy ways to create desktop shortcuts on Mac.
4 Ways to create desktop shortcuts on Mac
Shortcuts provide quick access to items you frequently use, such as files, folders, and apps. Creating desktop shortcuts takes a few seconds, and you can remove them whenever you want. Take a look.
1. Create desktop shortcuts for files and folders on a Mac
- Launch Finder.
- Select the file or folder to make a shortcut.
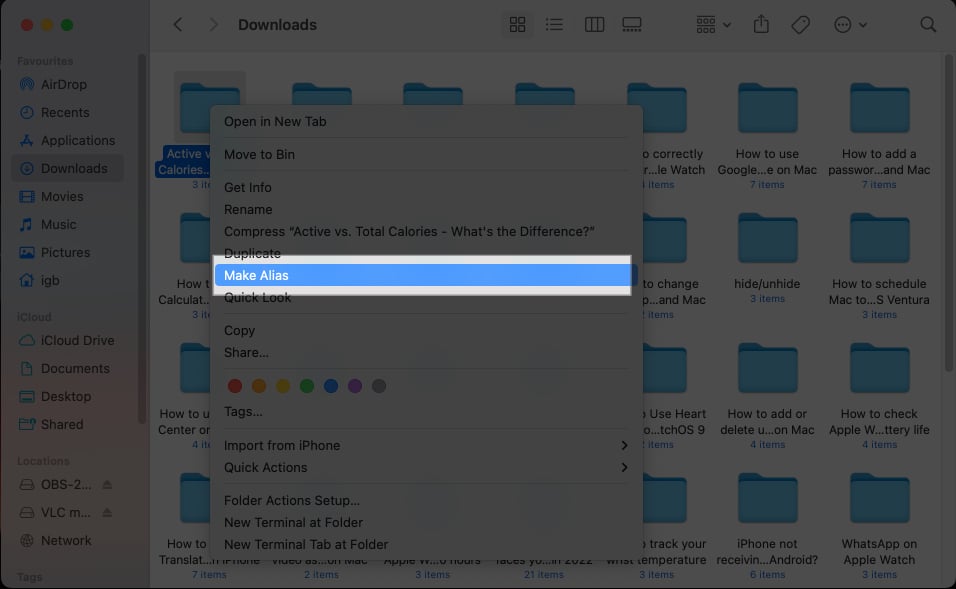
- Right-click and choose Make Alias.
- Drag and drop the alias file/folder on the desktop.
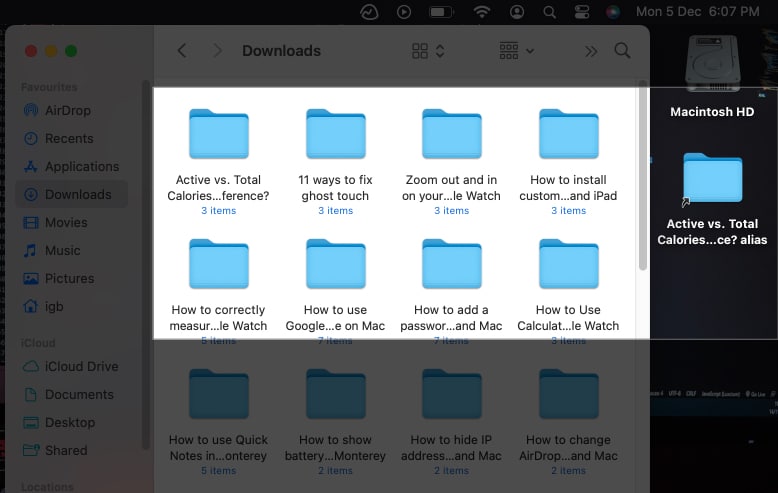
- Hit return and rename the Alias if you wish to.
Want to view the original file of the Alias? Use the following steps:
- Right-click on the shortcut folder.
- Select Show Original.
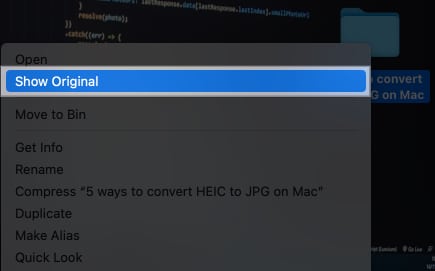
Note: The shortcut you generated will continue to function even if the original folder is relocated.
2. Create desktop shortcuts on Mac using drag and drop
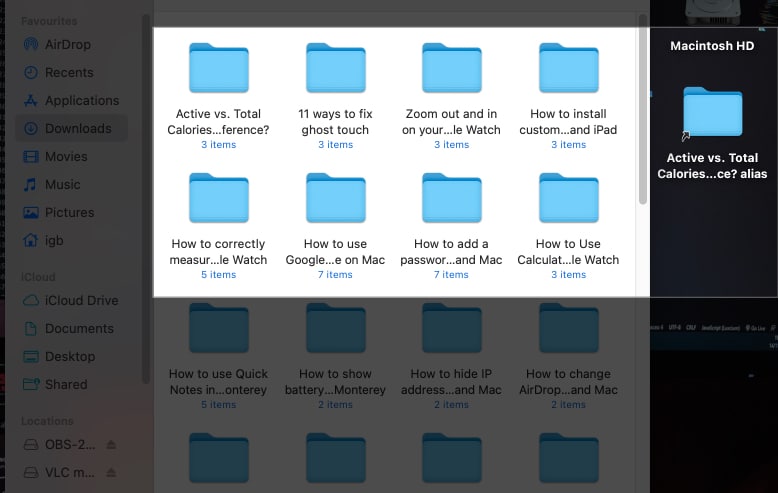
If the above-mentioned method is too much for you, then you can follow these simple steps to create an Alias on your Mac.
- Navigate to the Folder or File.
- Press option (⌥) + Cmd (⌘) and drag the item to the desktop.
3. Create desktop shortcuts from Applications folder in Mac Finder
Unlike other files and directories, the contents in the Applications folder function differently.
Become an iGeeksBlog Premium member and access our content ad-free with additional perks.
It is significantly quicker to create an alias of the Applications folder than to create files or folders, as you’ve to just drag the app out to the desktop. Voila!
4. Create a website desktop shortcut on Mac
A website shortcut allows you to navigate to the webpage with the ease of a click without digging through bookmarks or typing the URL in the address bar. Here’s how you can create one:
- Open a web browser.
- Head to a particular website.
- Resize the browser window to make the desktop visible.
- Select the URL in the address bar.
- Drag and drop the selected URL on the desktop.
Or any other location you want.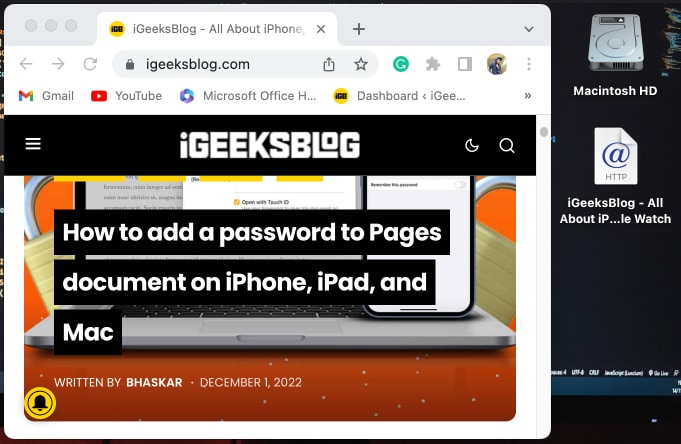
Signing off…
The methods above are the easiest ones to create desktop shortcuts. There was another that I didn’t include because it required the use of a Terminal and was a little more difficult.
Additionally, all the approaches described above make it simple to build shortcuts, but there’s a good possibility you’ll create one in the wrong place. In that case, you can simply press Cmd (⌘) + Z to undo your activity or maybe just drag the Alias to the trash and erase it.
FAQs
You can create a keyboard shortcut on macOS Ventura by heading to System Settings → Keyboard → select Keyboard Shortcuts → now you can create different shortcuts under various sections according to your need.
To add a Chrome shortcut on your Mac desktop screen, go to Finder → Applications → select Chrome → press option + command and drag it to the desktop.
More from us:

